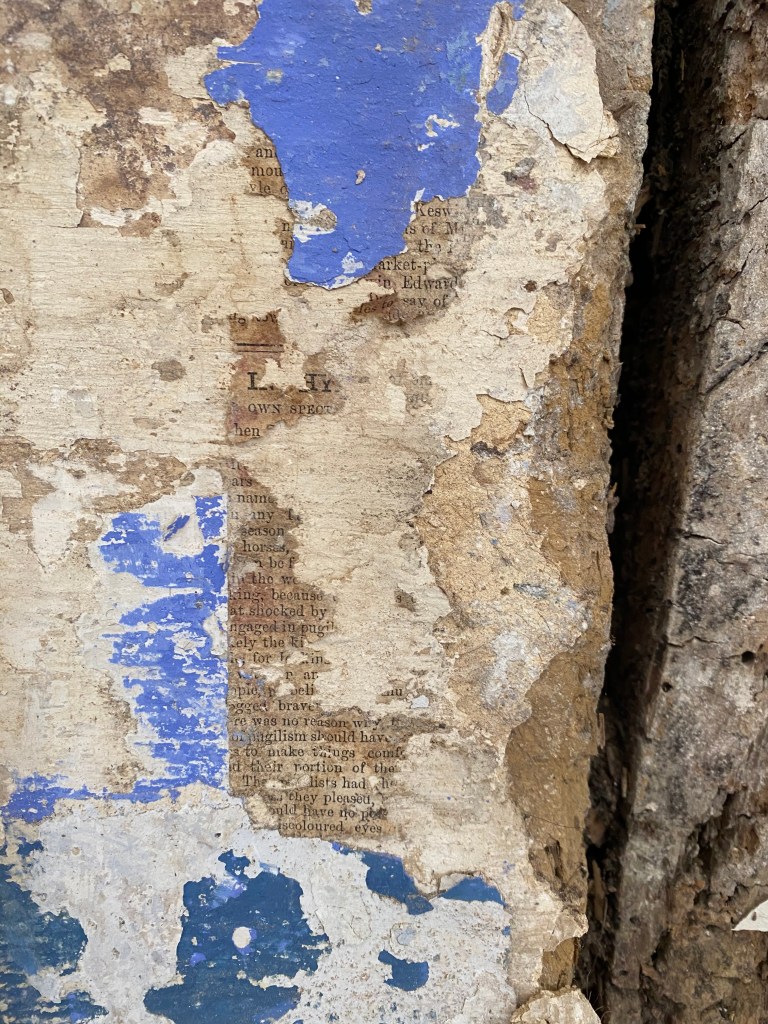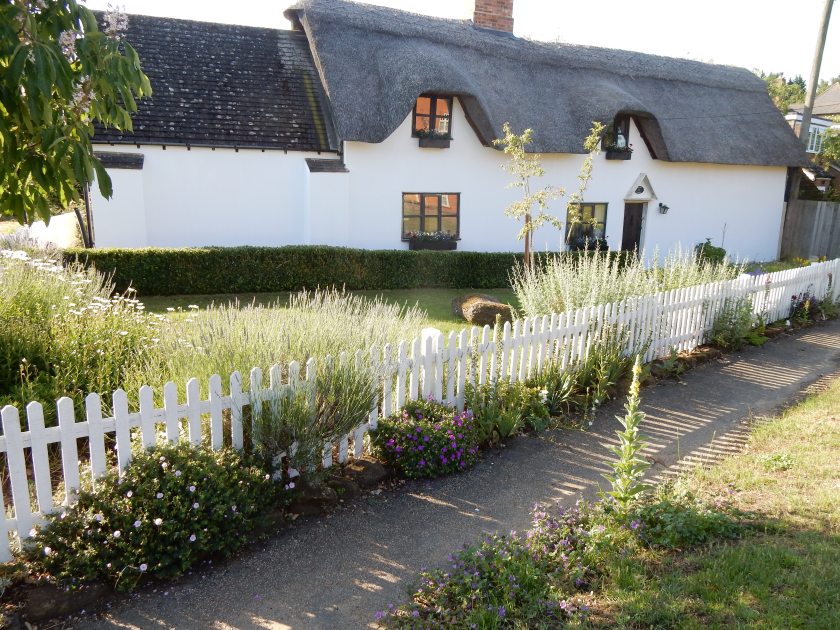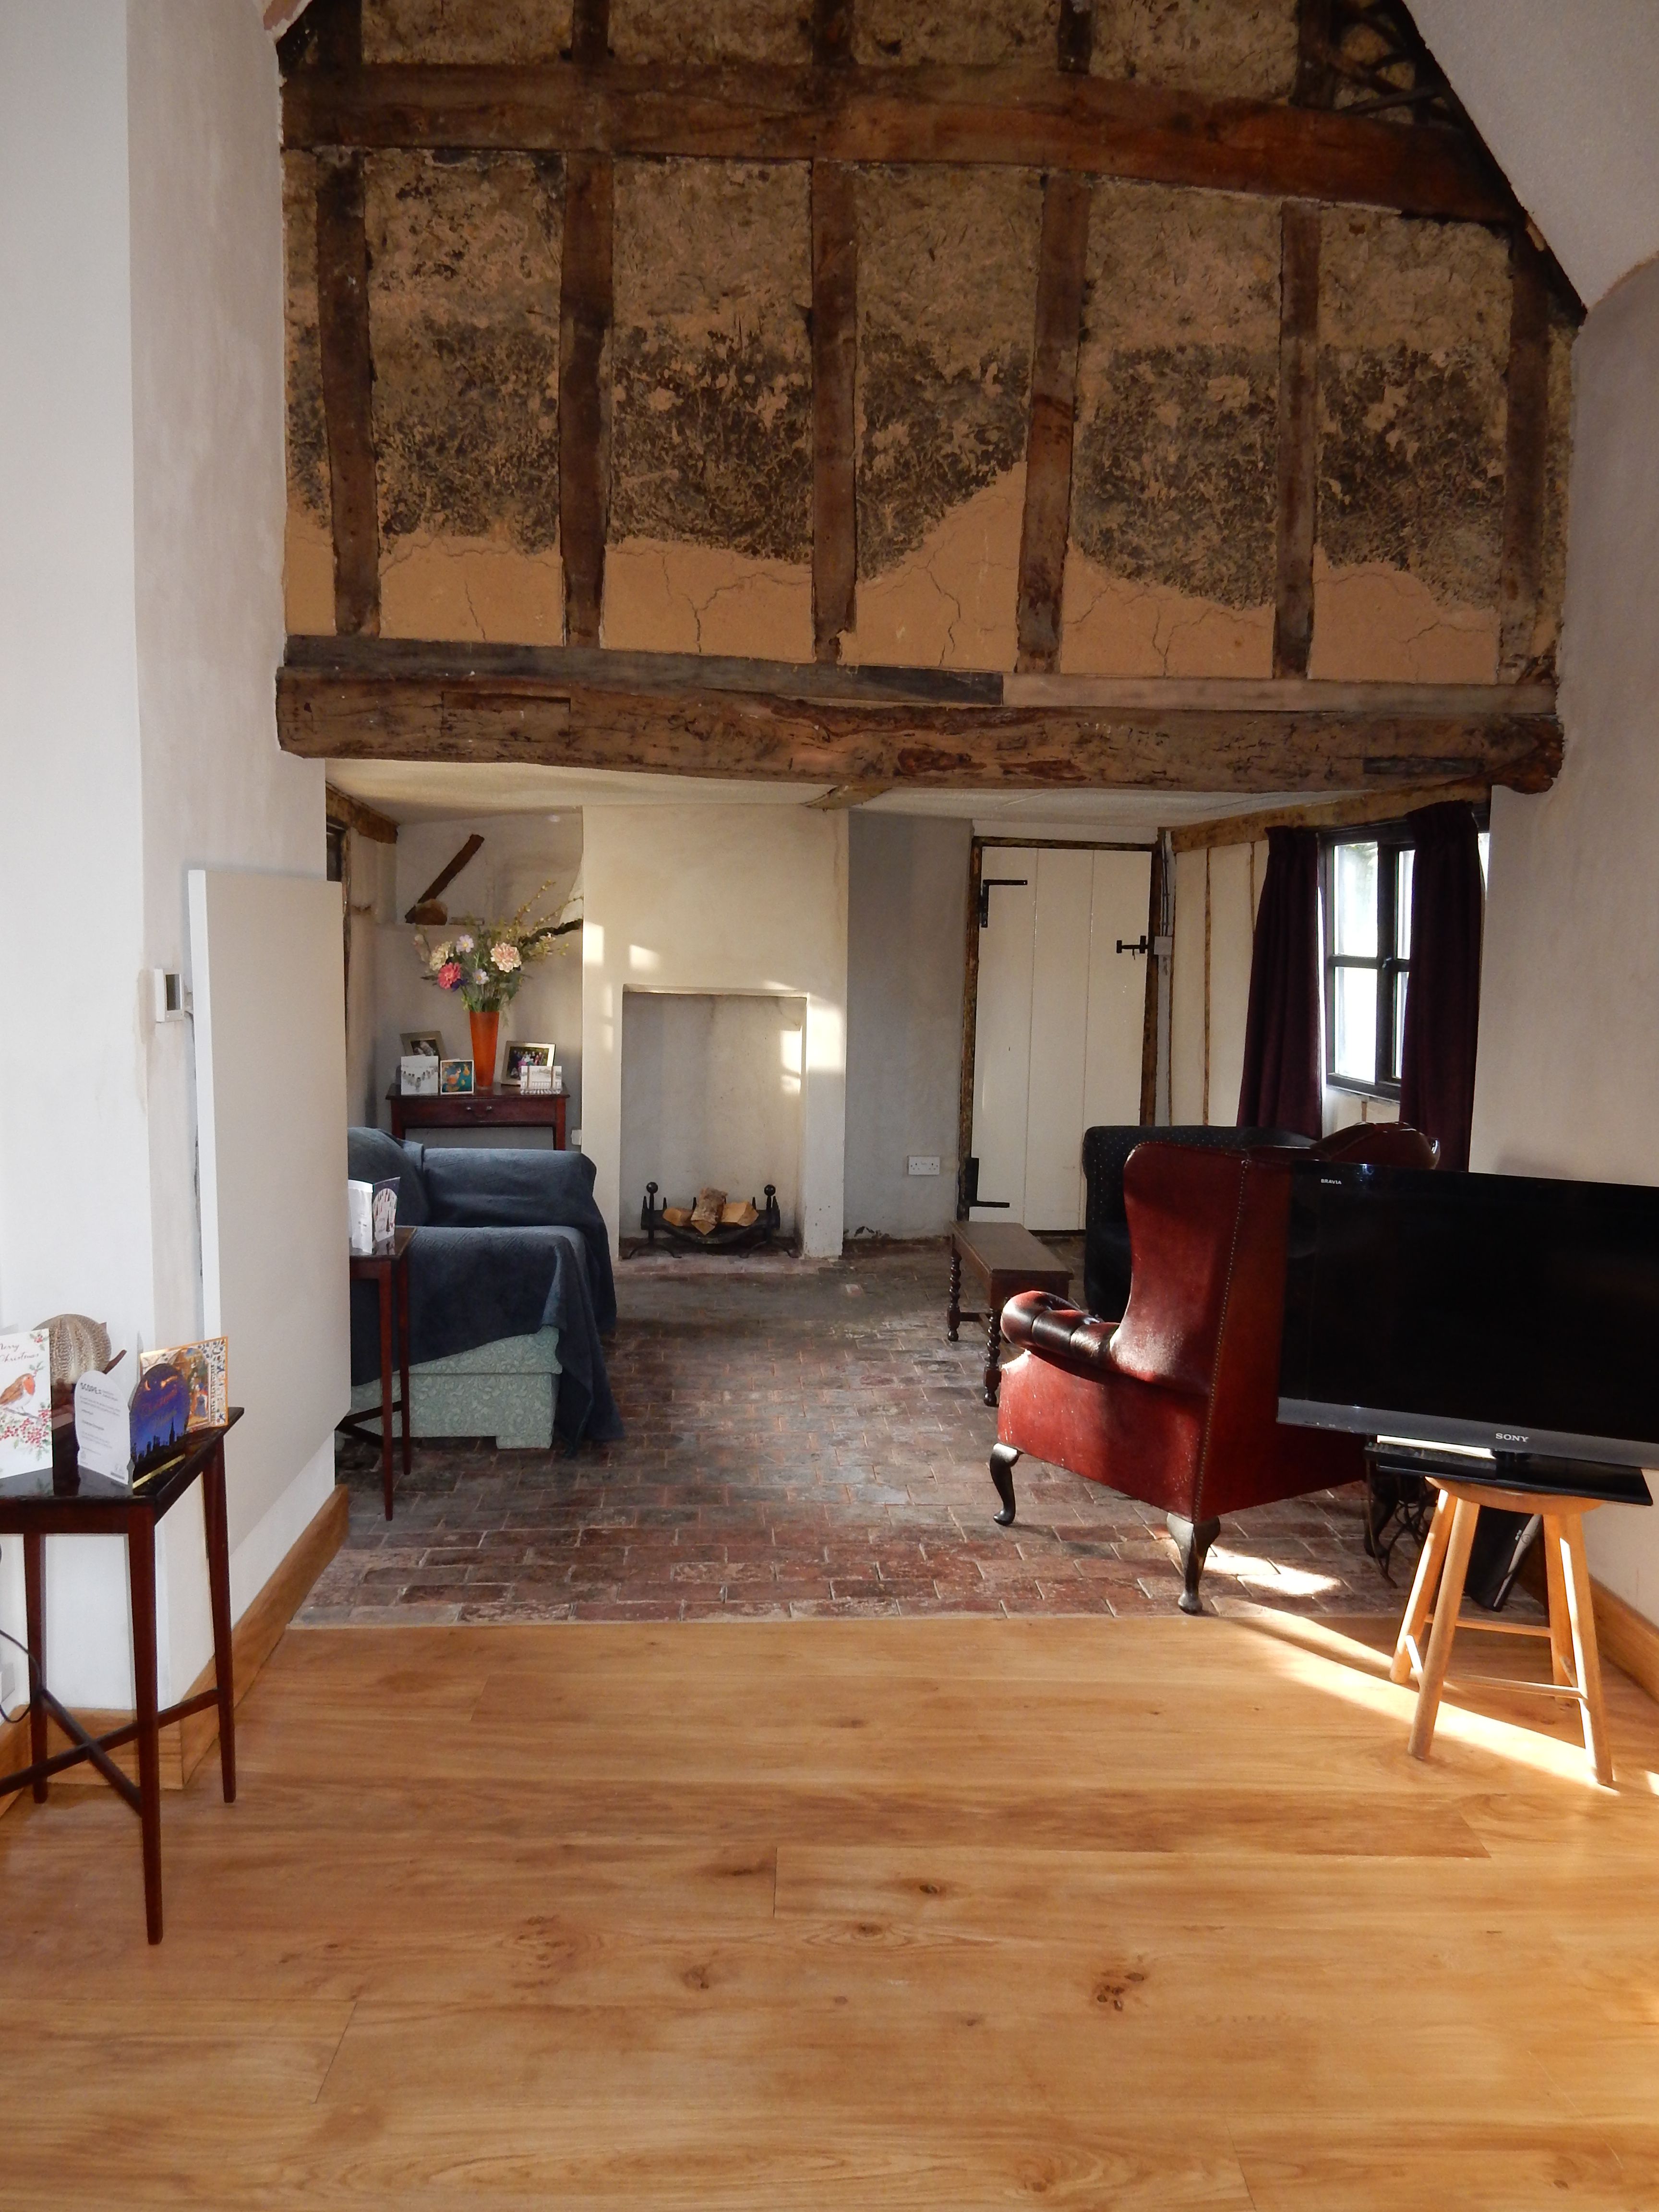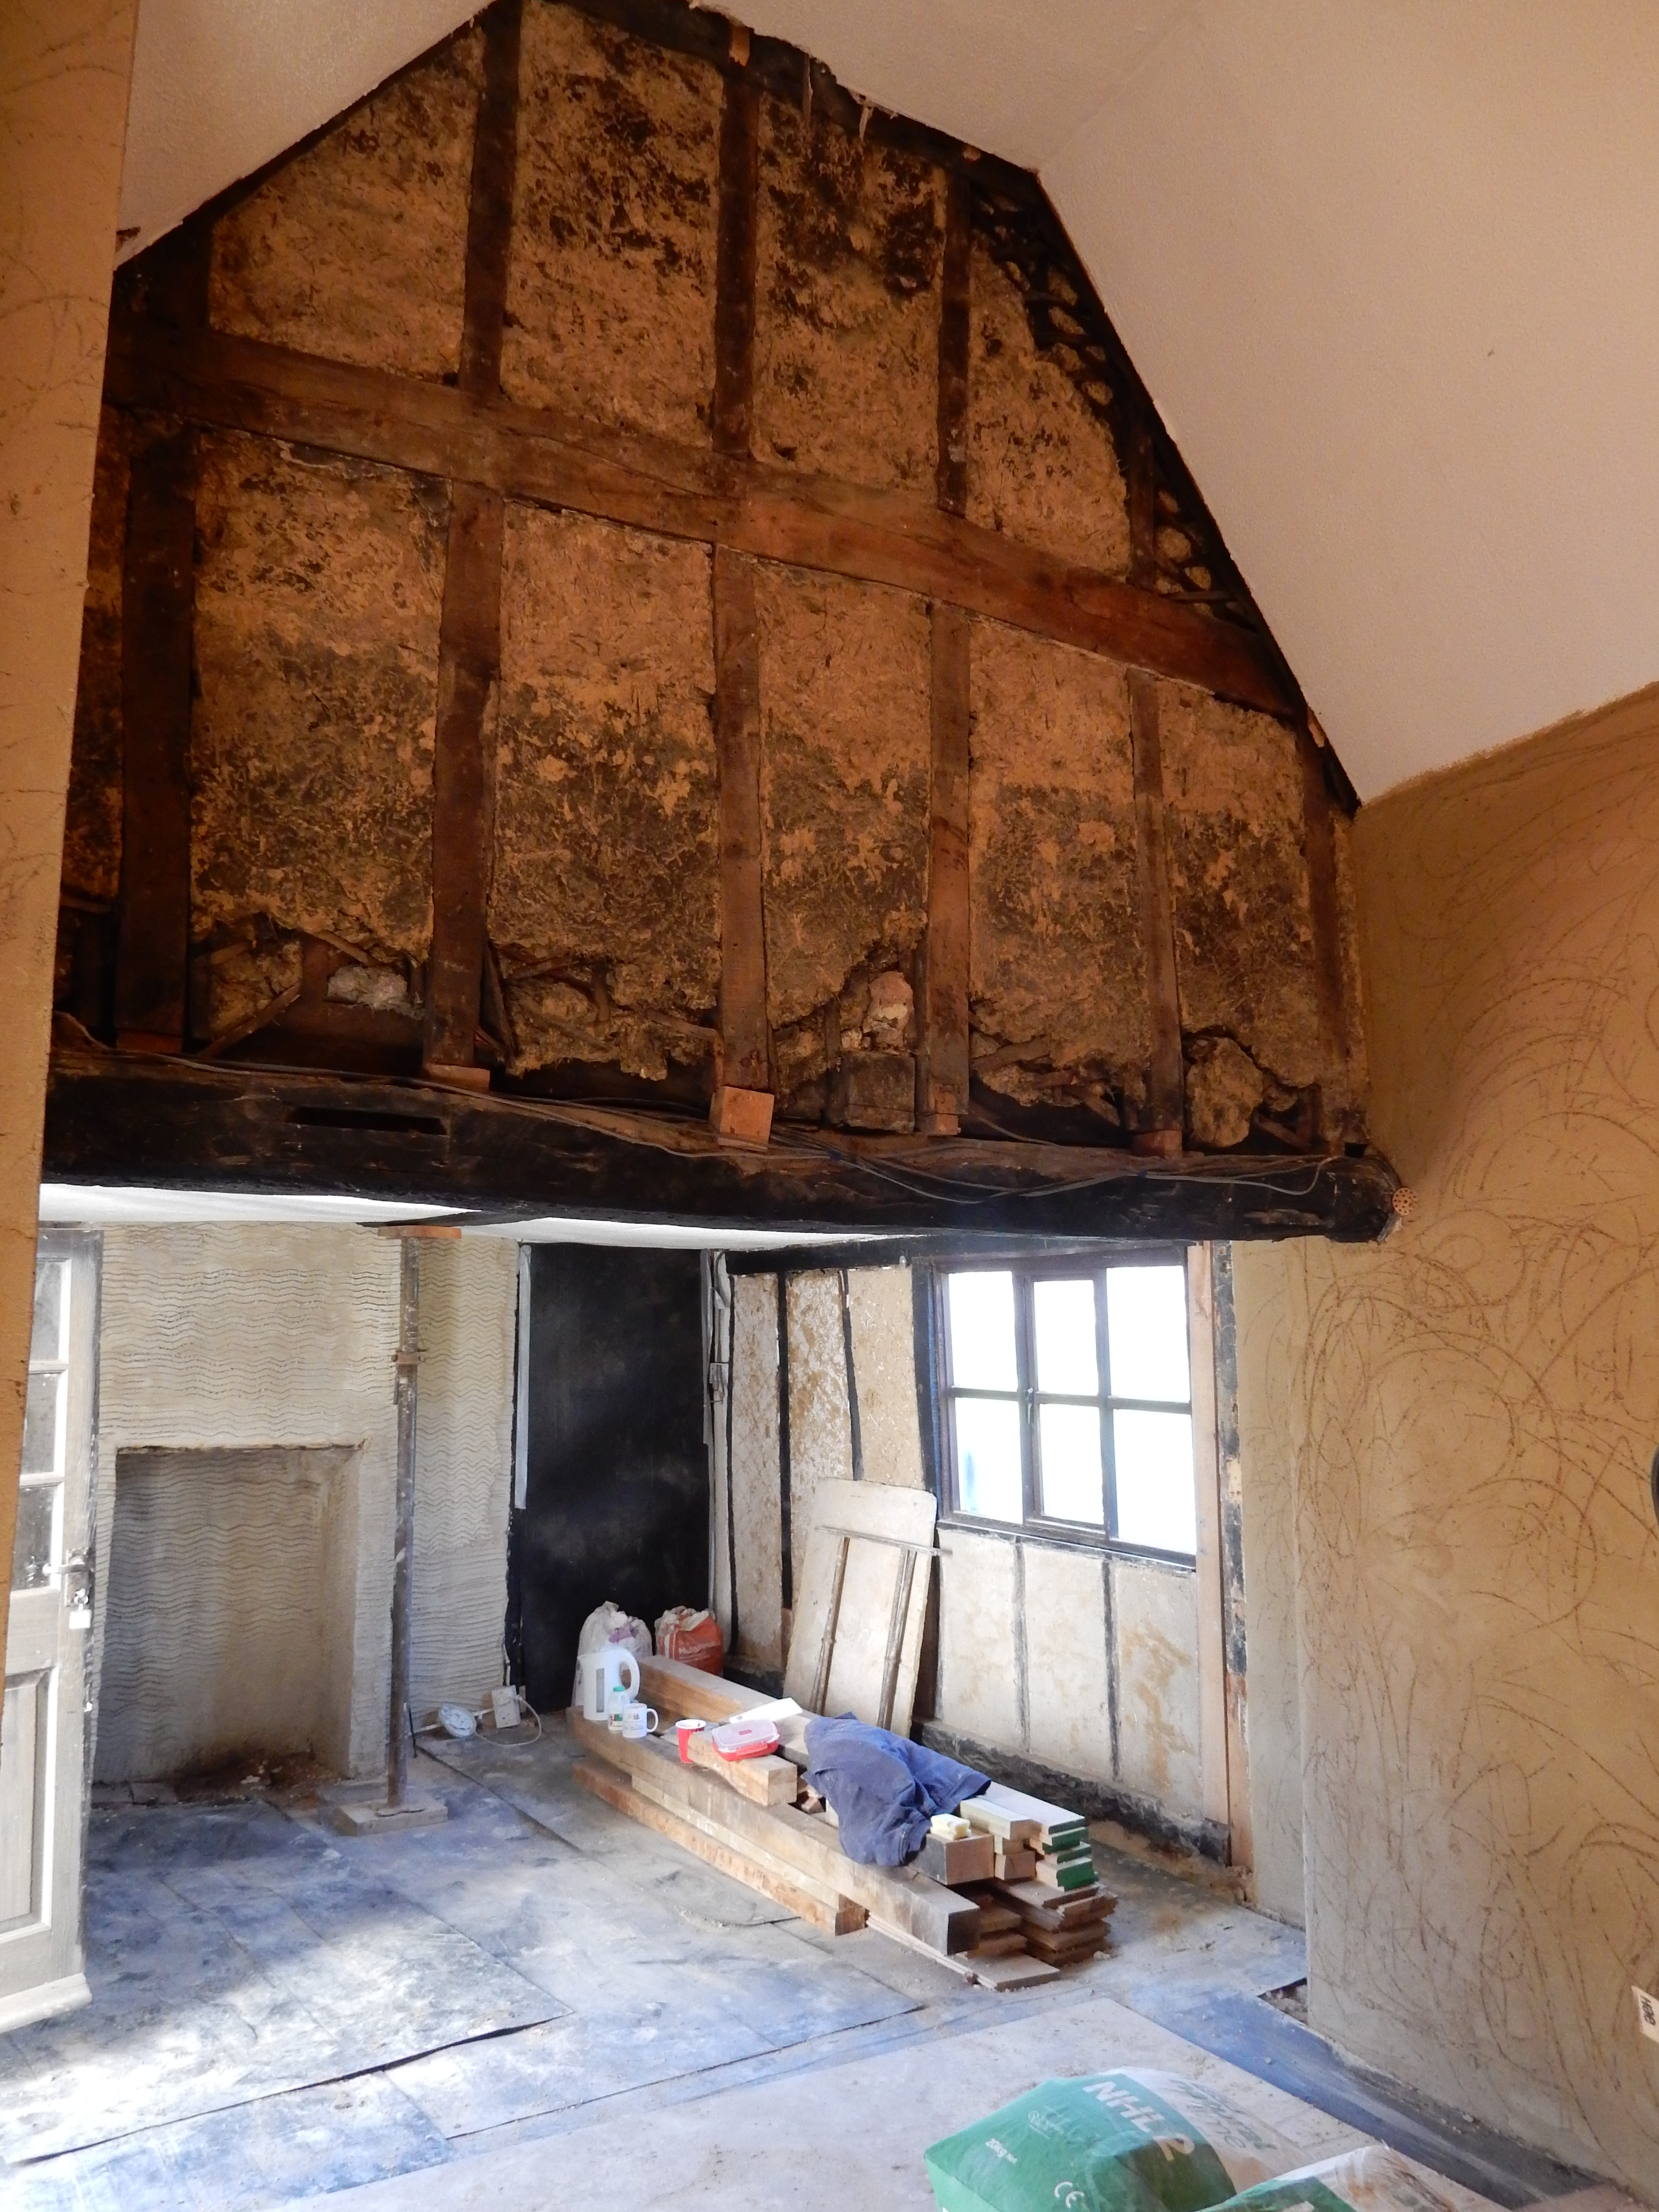
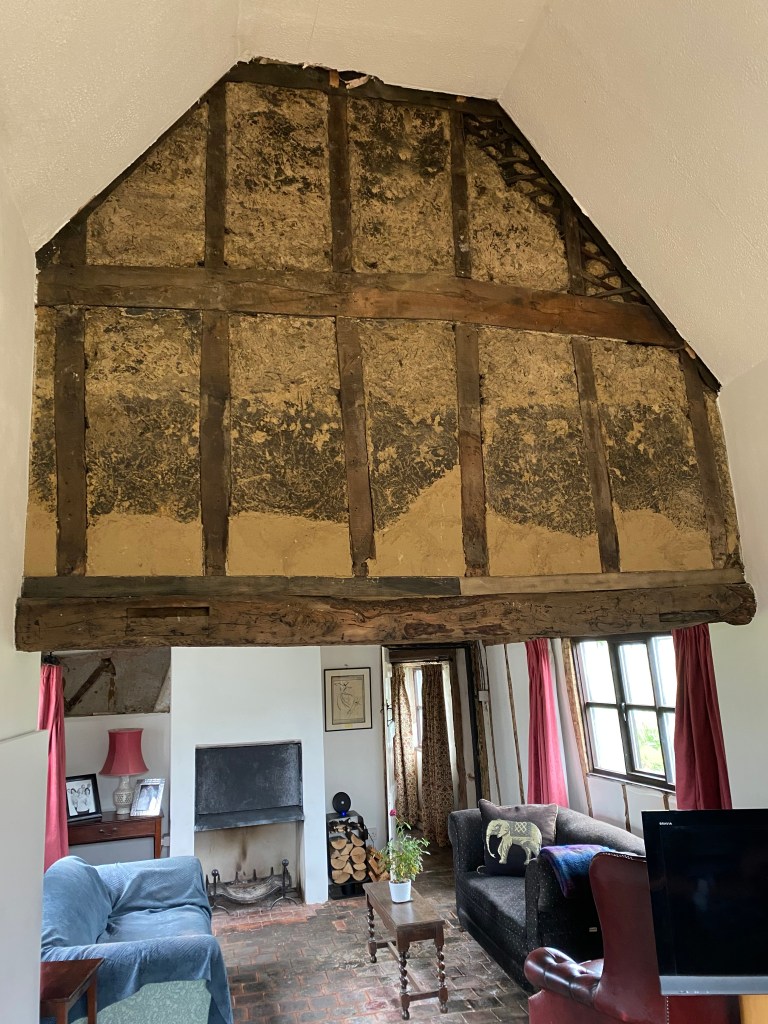
One thing you learn very quickly owning an old house is nothing is certain. Embarking on our project to renovate the medieval cottage that is the core of our home we knew it would be a voyage of discovery and there have been highs as well as lows. Discovering the original gable end wall in the smithy end of the sitting room hidden underneath plaster and false beams was definitely one of the highlights.
With our specialist builders back and starting on the restoration of the last part of the planned works, the end wall to the old kitchen and the spare bedroom above, we were fully expecting the worst. They hacked off a bit of the concrete render when renovating the rest of the house in 2019 and found a crumbling wall underneath. They stopped fearing it was going to be a major job that they wouldn’t be able to finish in time before winter and bad weather set in, covered it up and left us to it. Initially they were going to come back a few months later in the following spring. Due to COVID they were delayed a year and the gaps in the walls meant cold draughts for two winters.
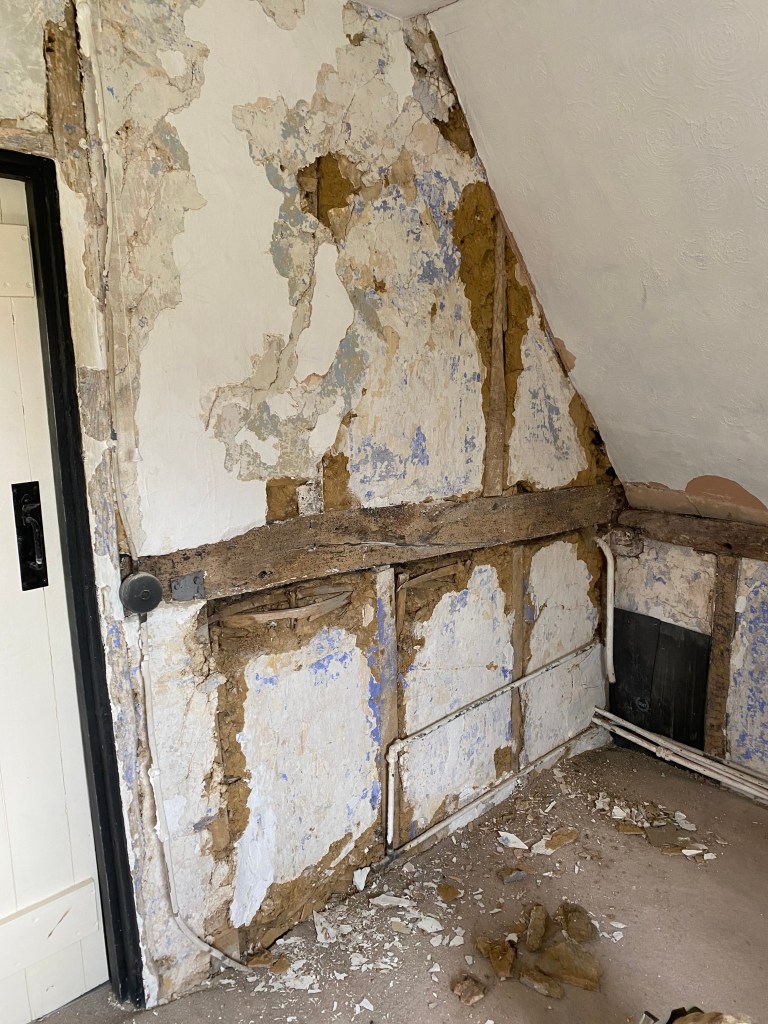
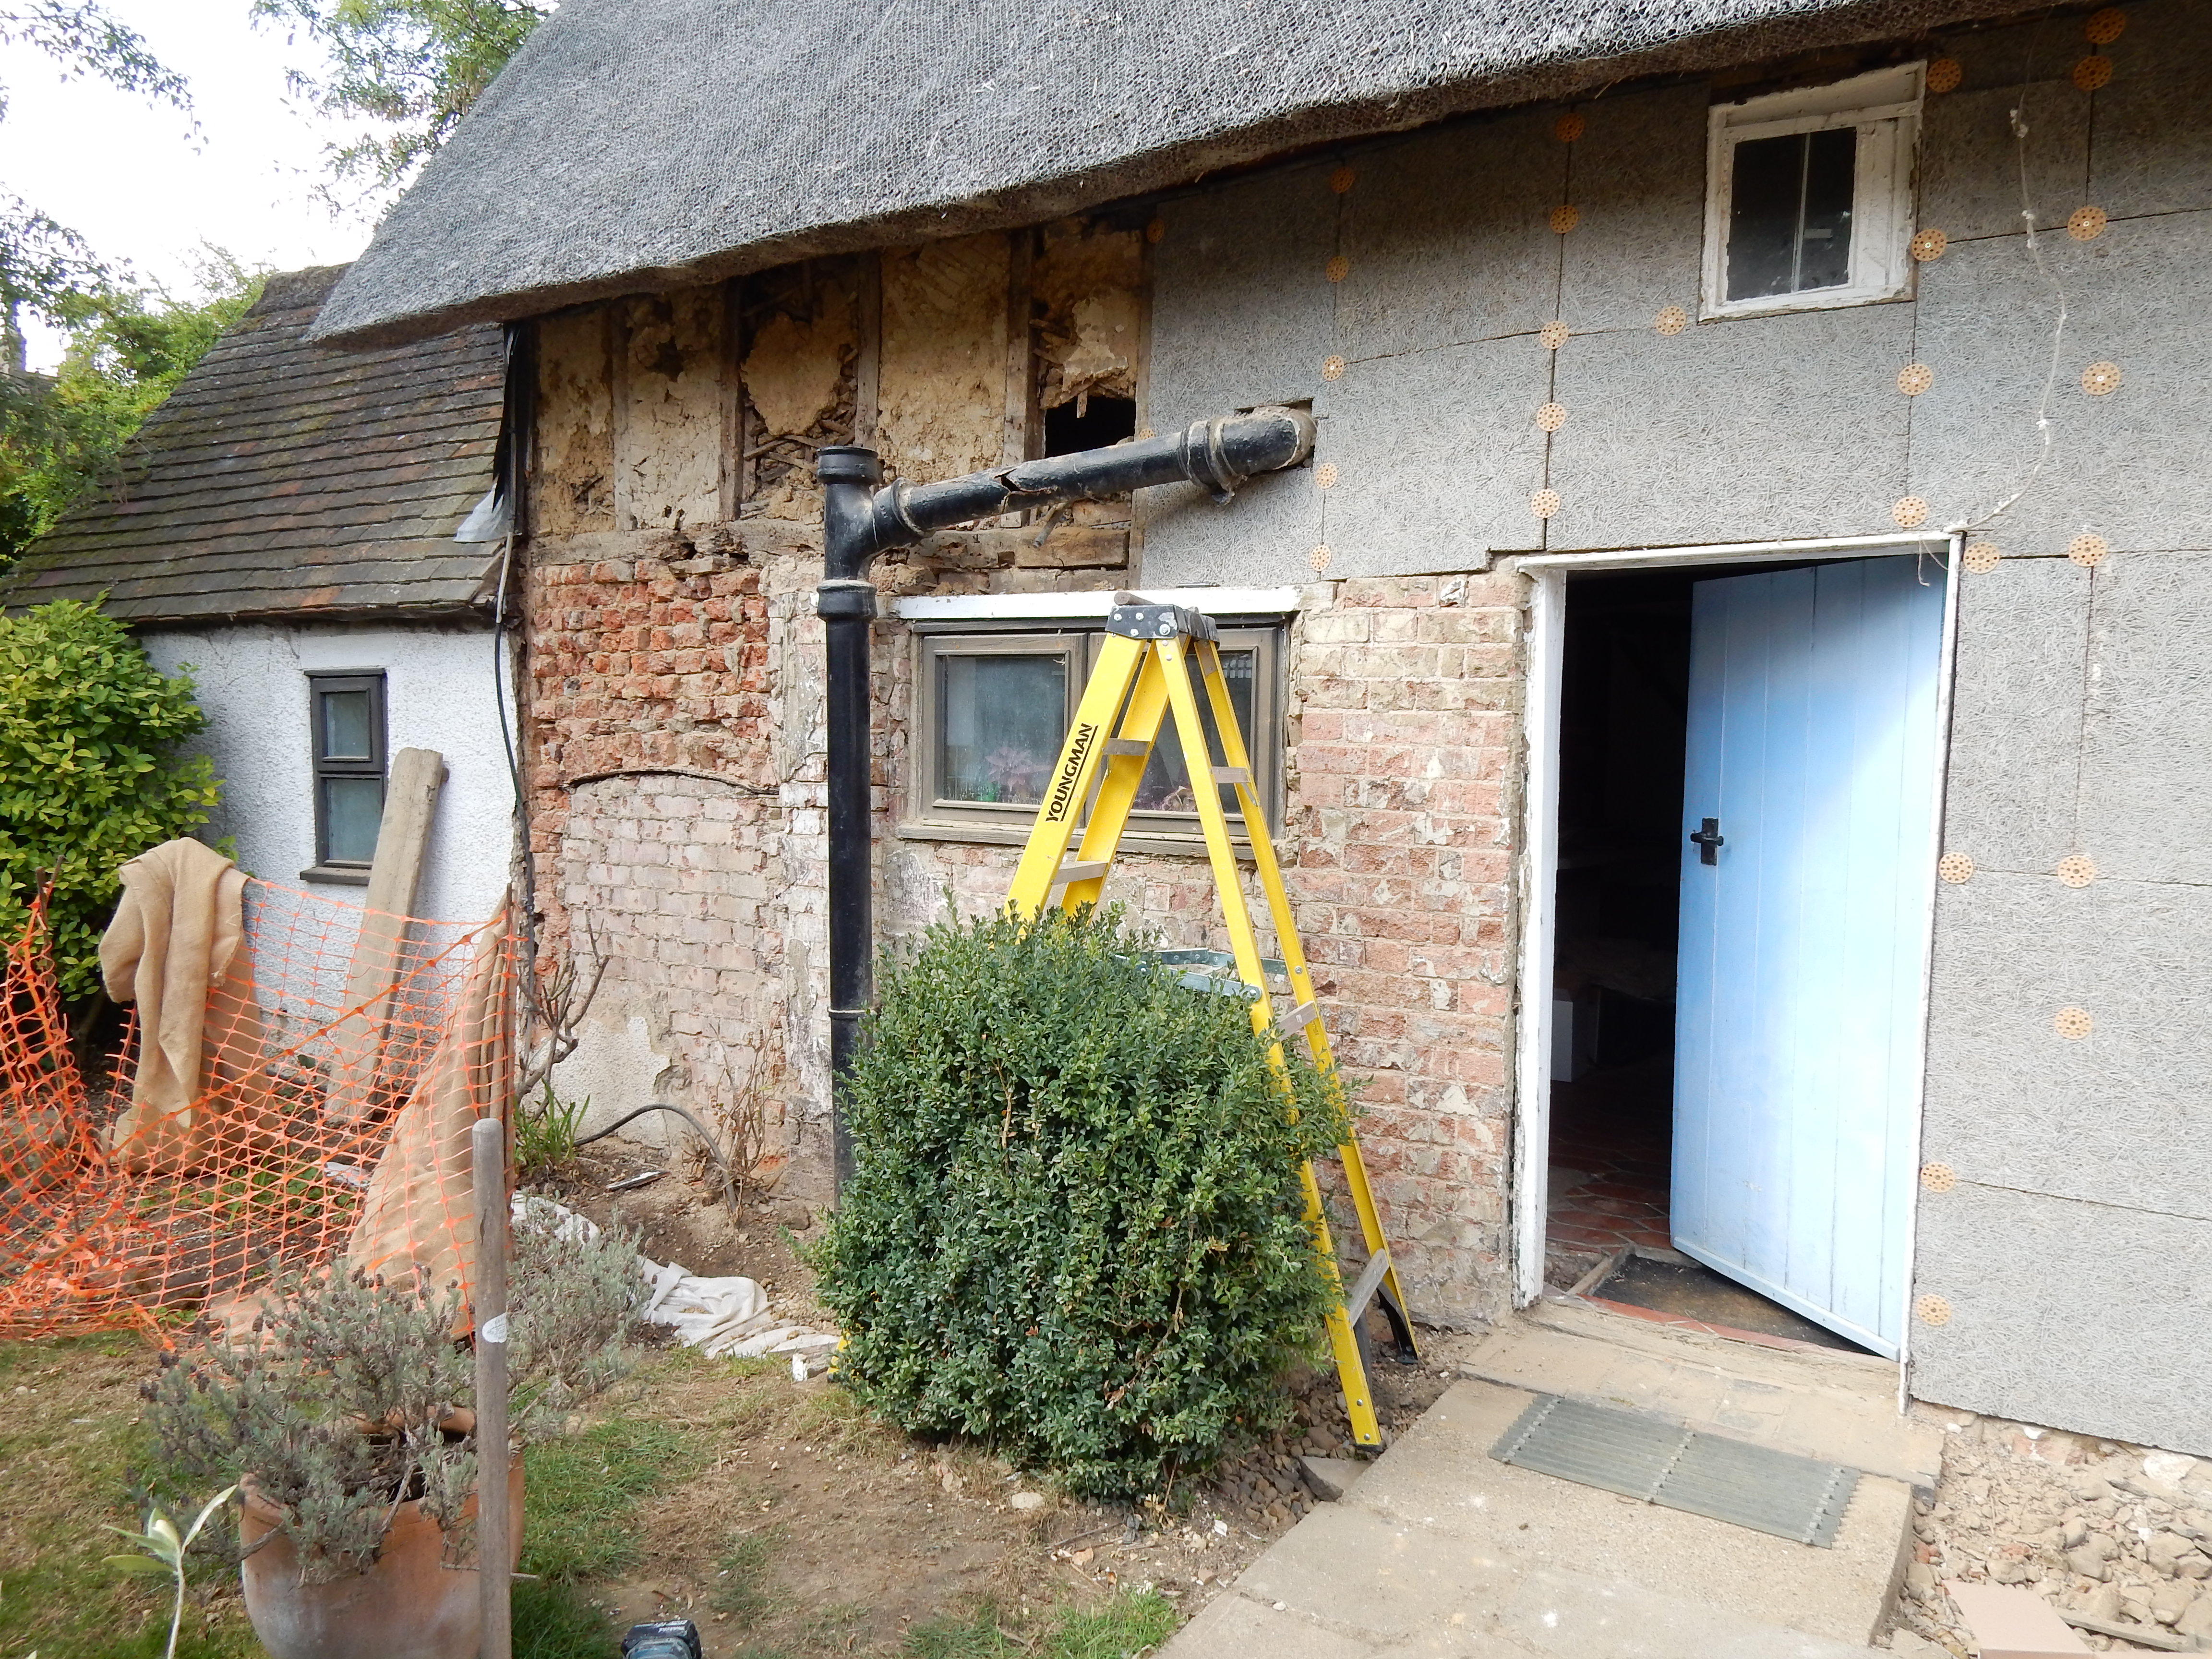
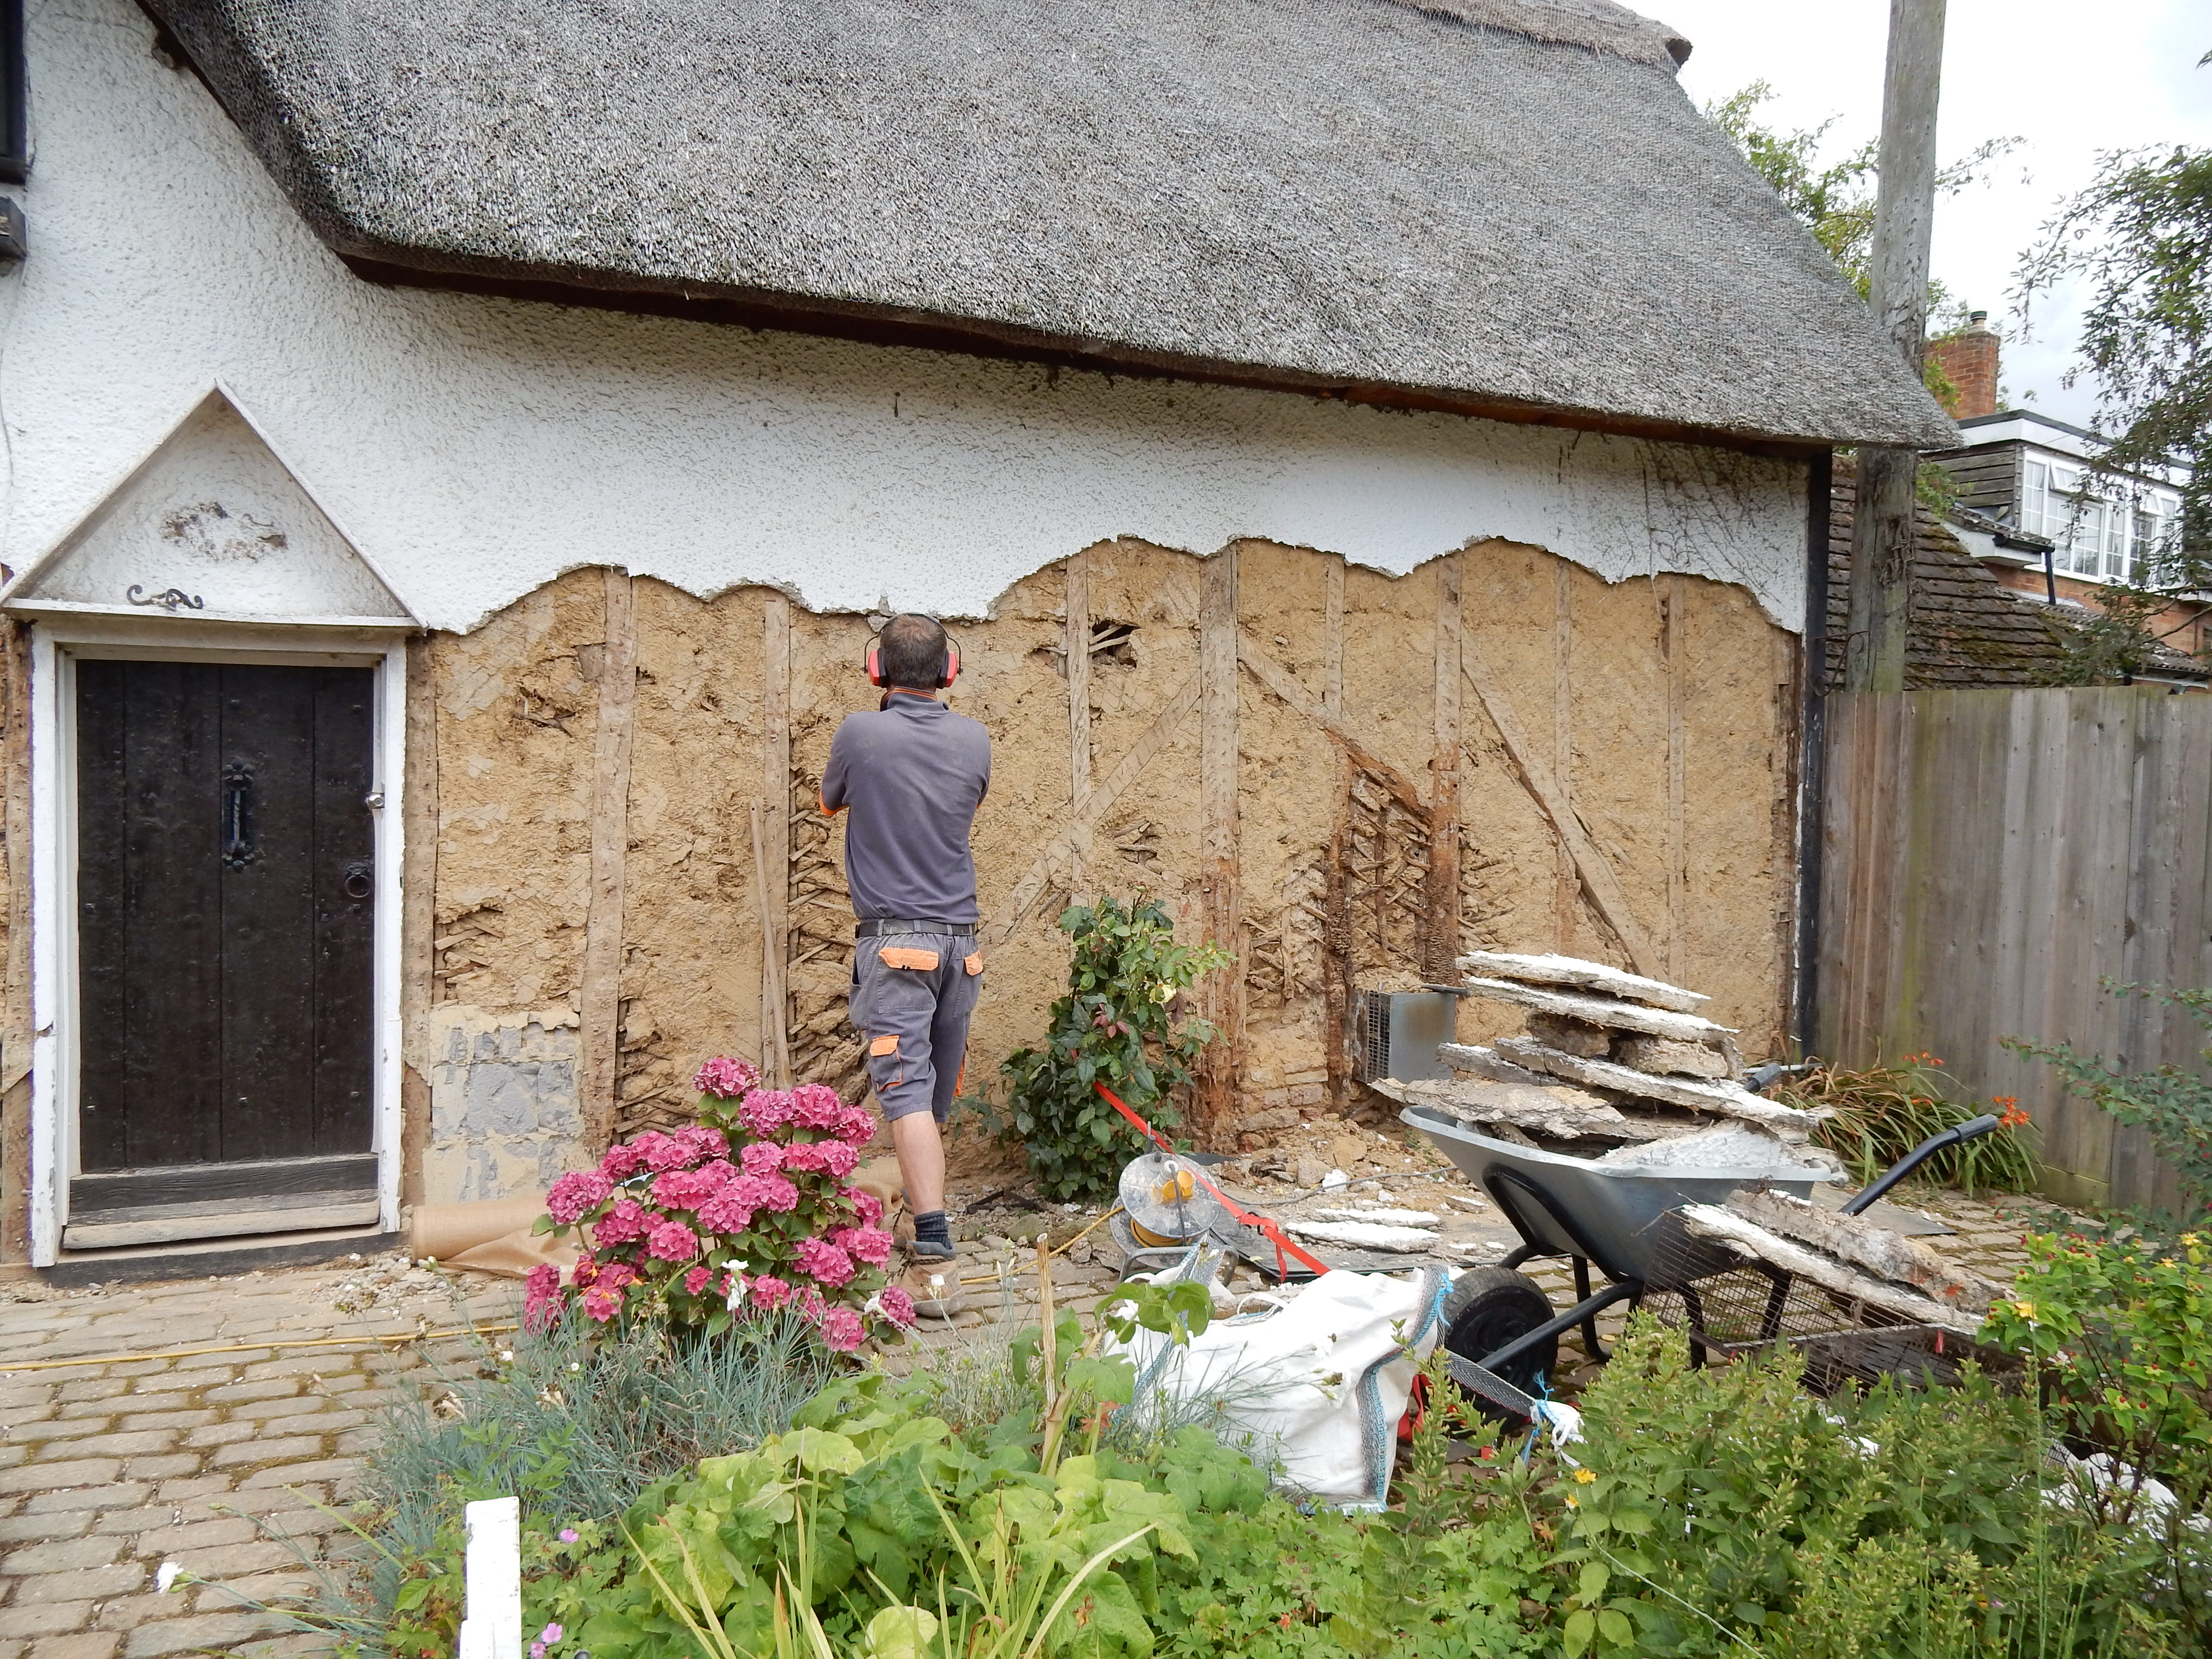
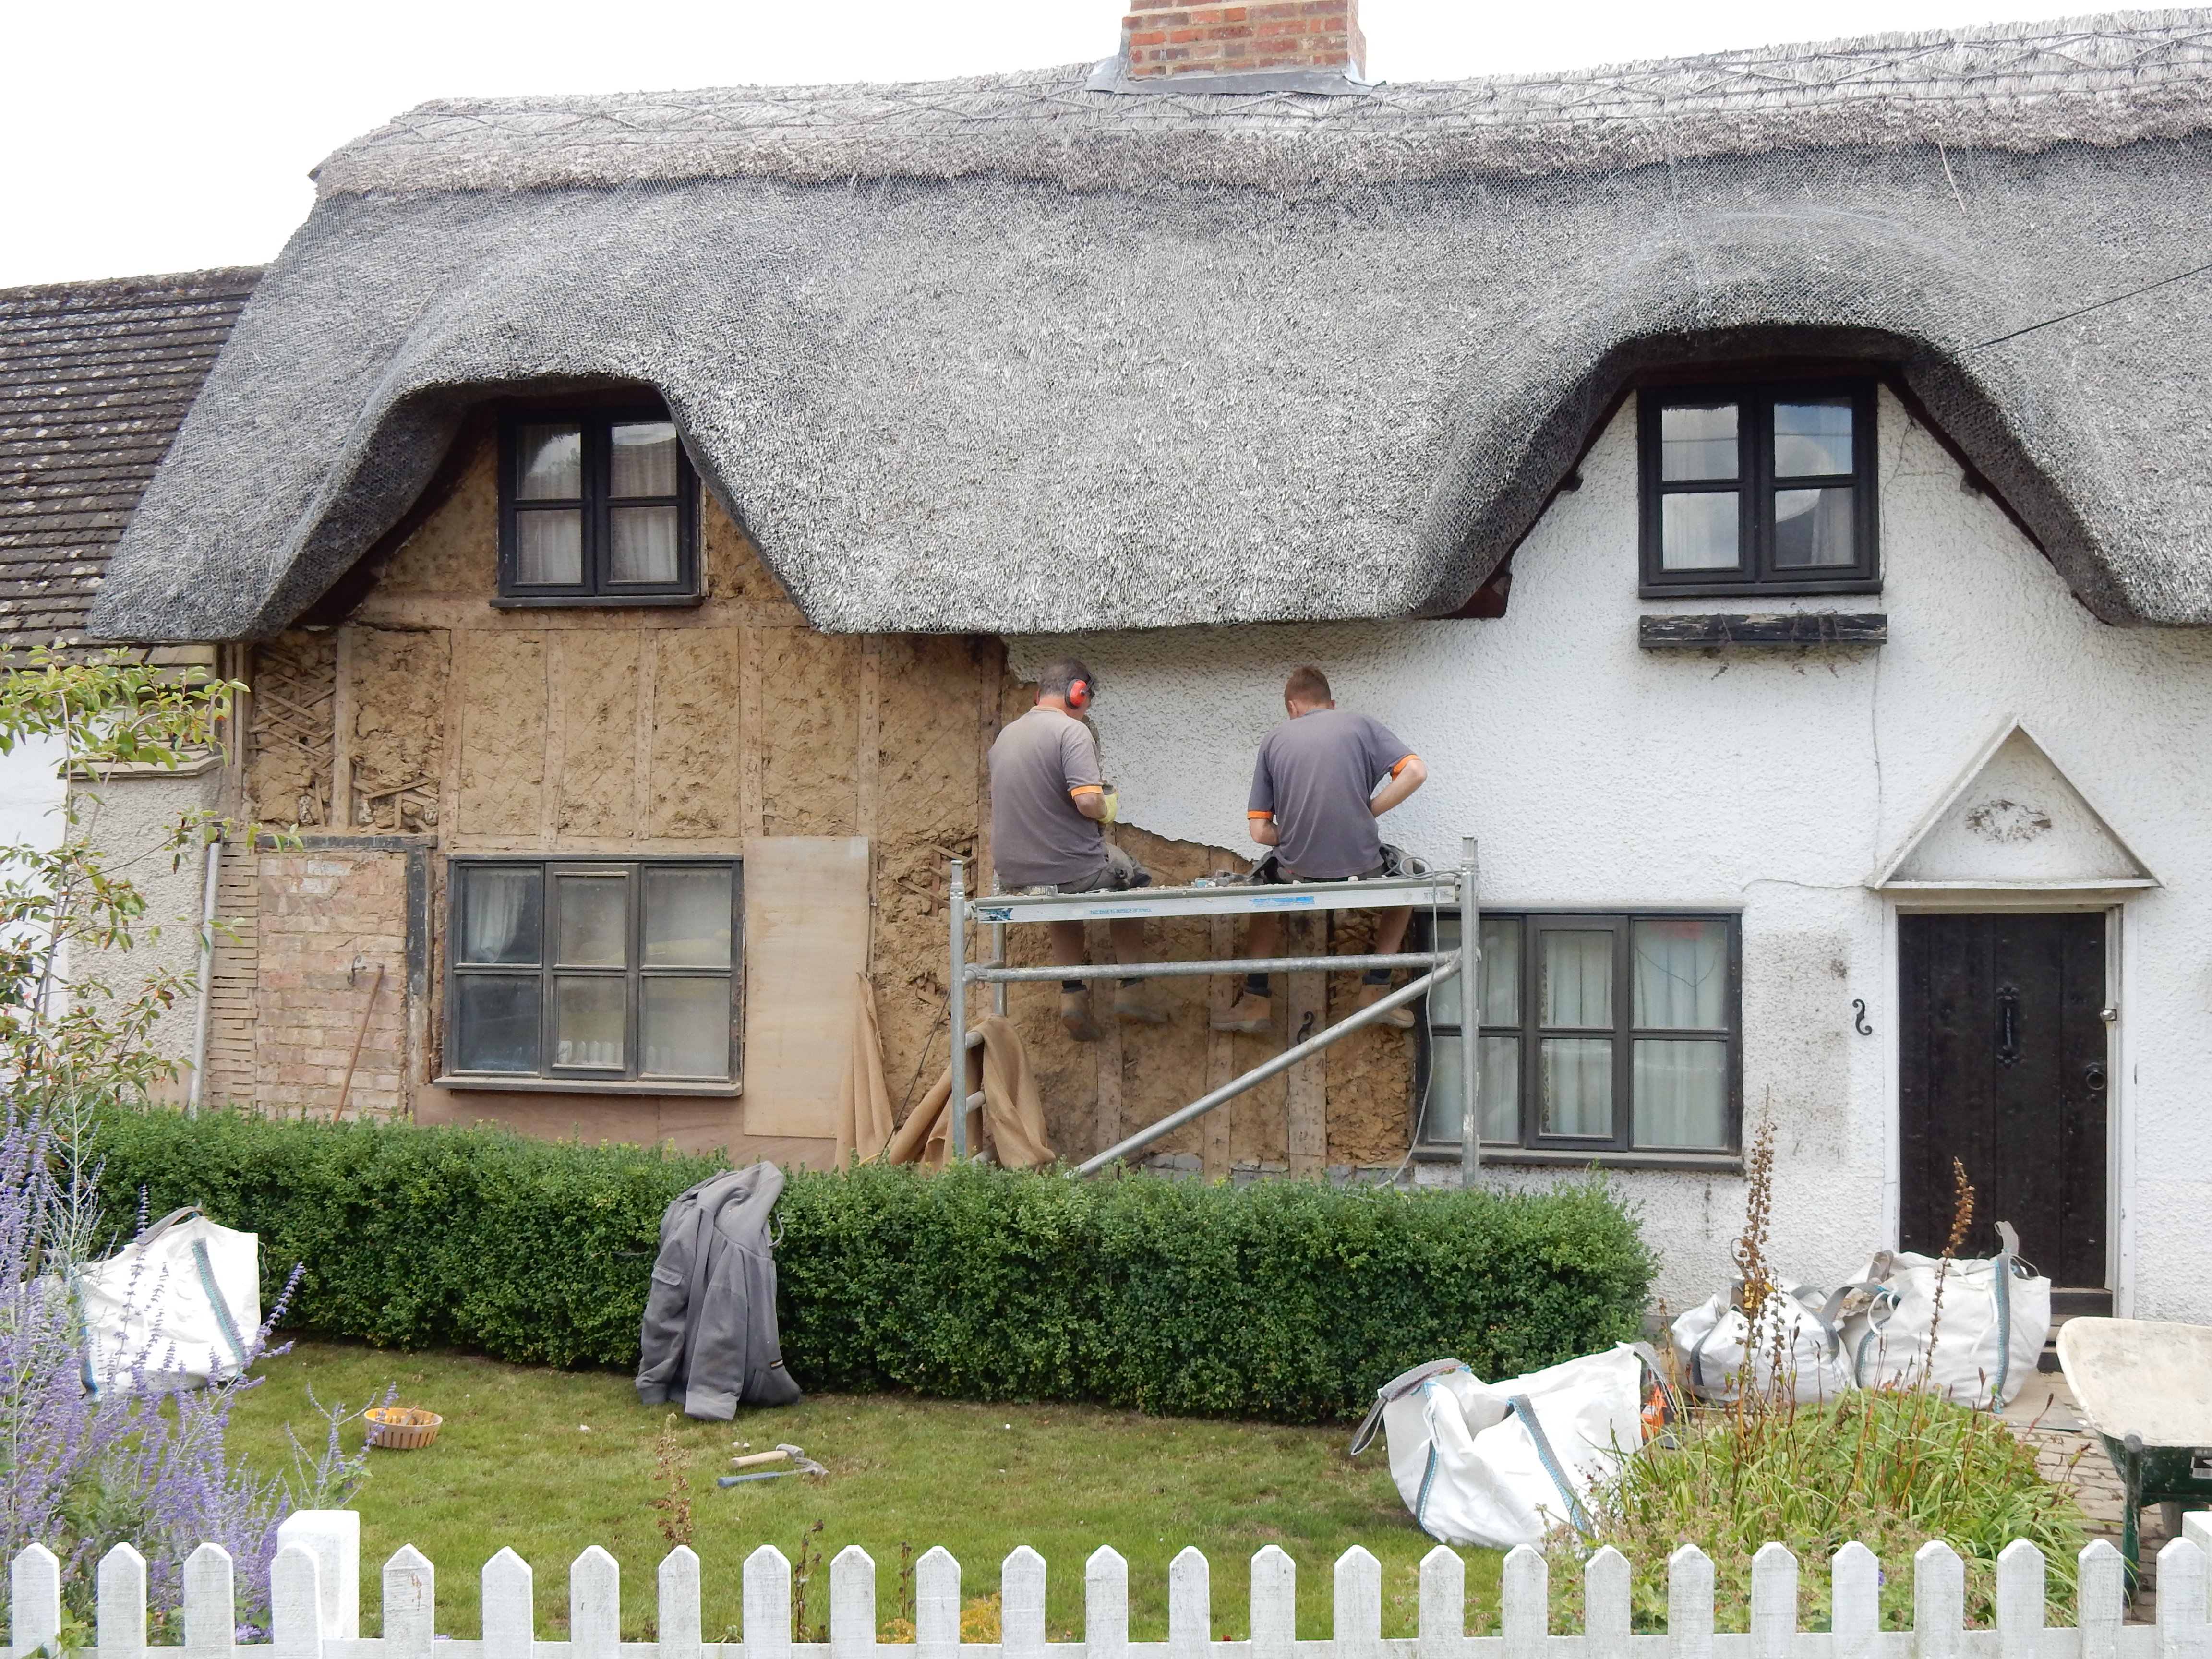
Now, finally, all of the concrete render was to be removed and we were going to find out if our worst fears would come true – the need to re-build the whole timber frame and install new wattle and daub panels. We were pleasantly surprised, the timber frame wasn’t in too bad a state. It needed some restoration work but not a full re-build, a relief.


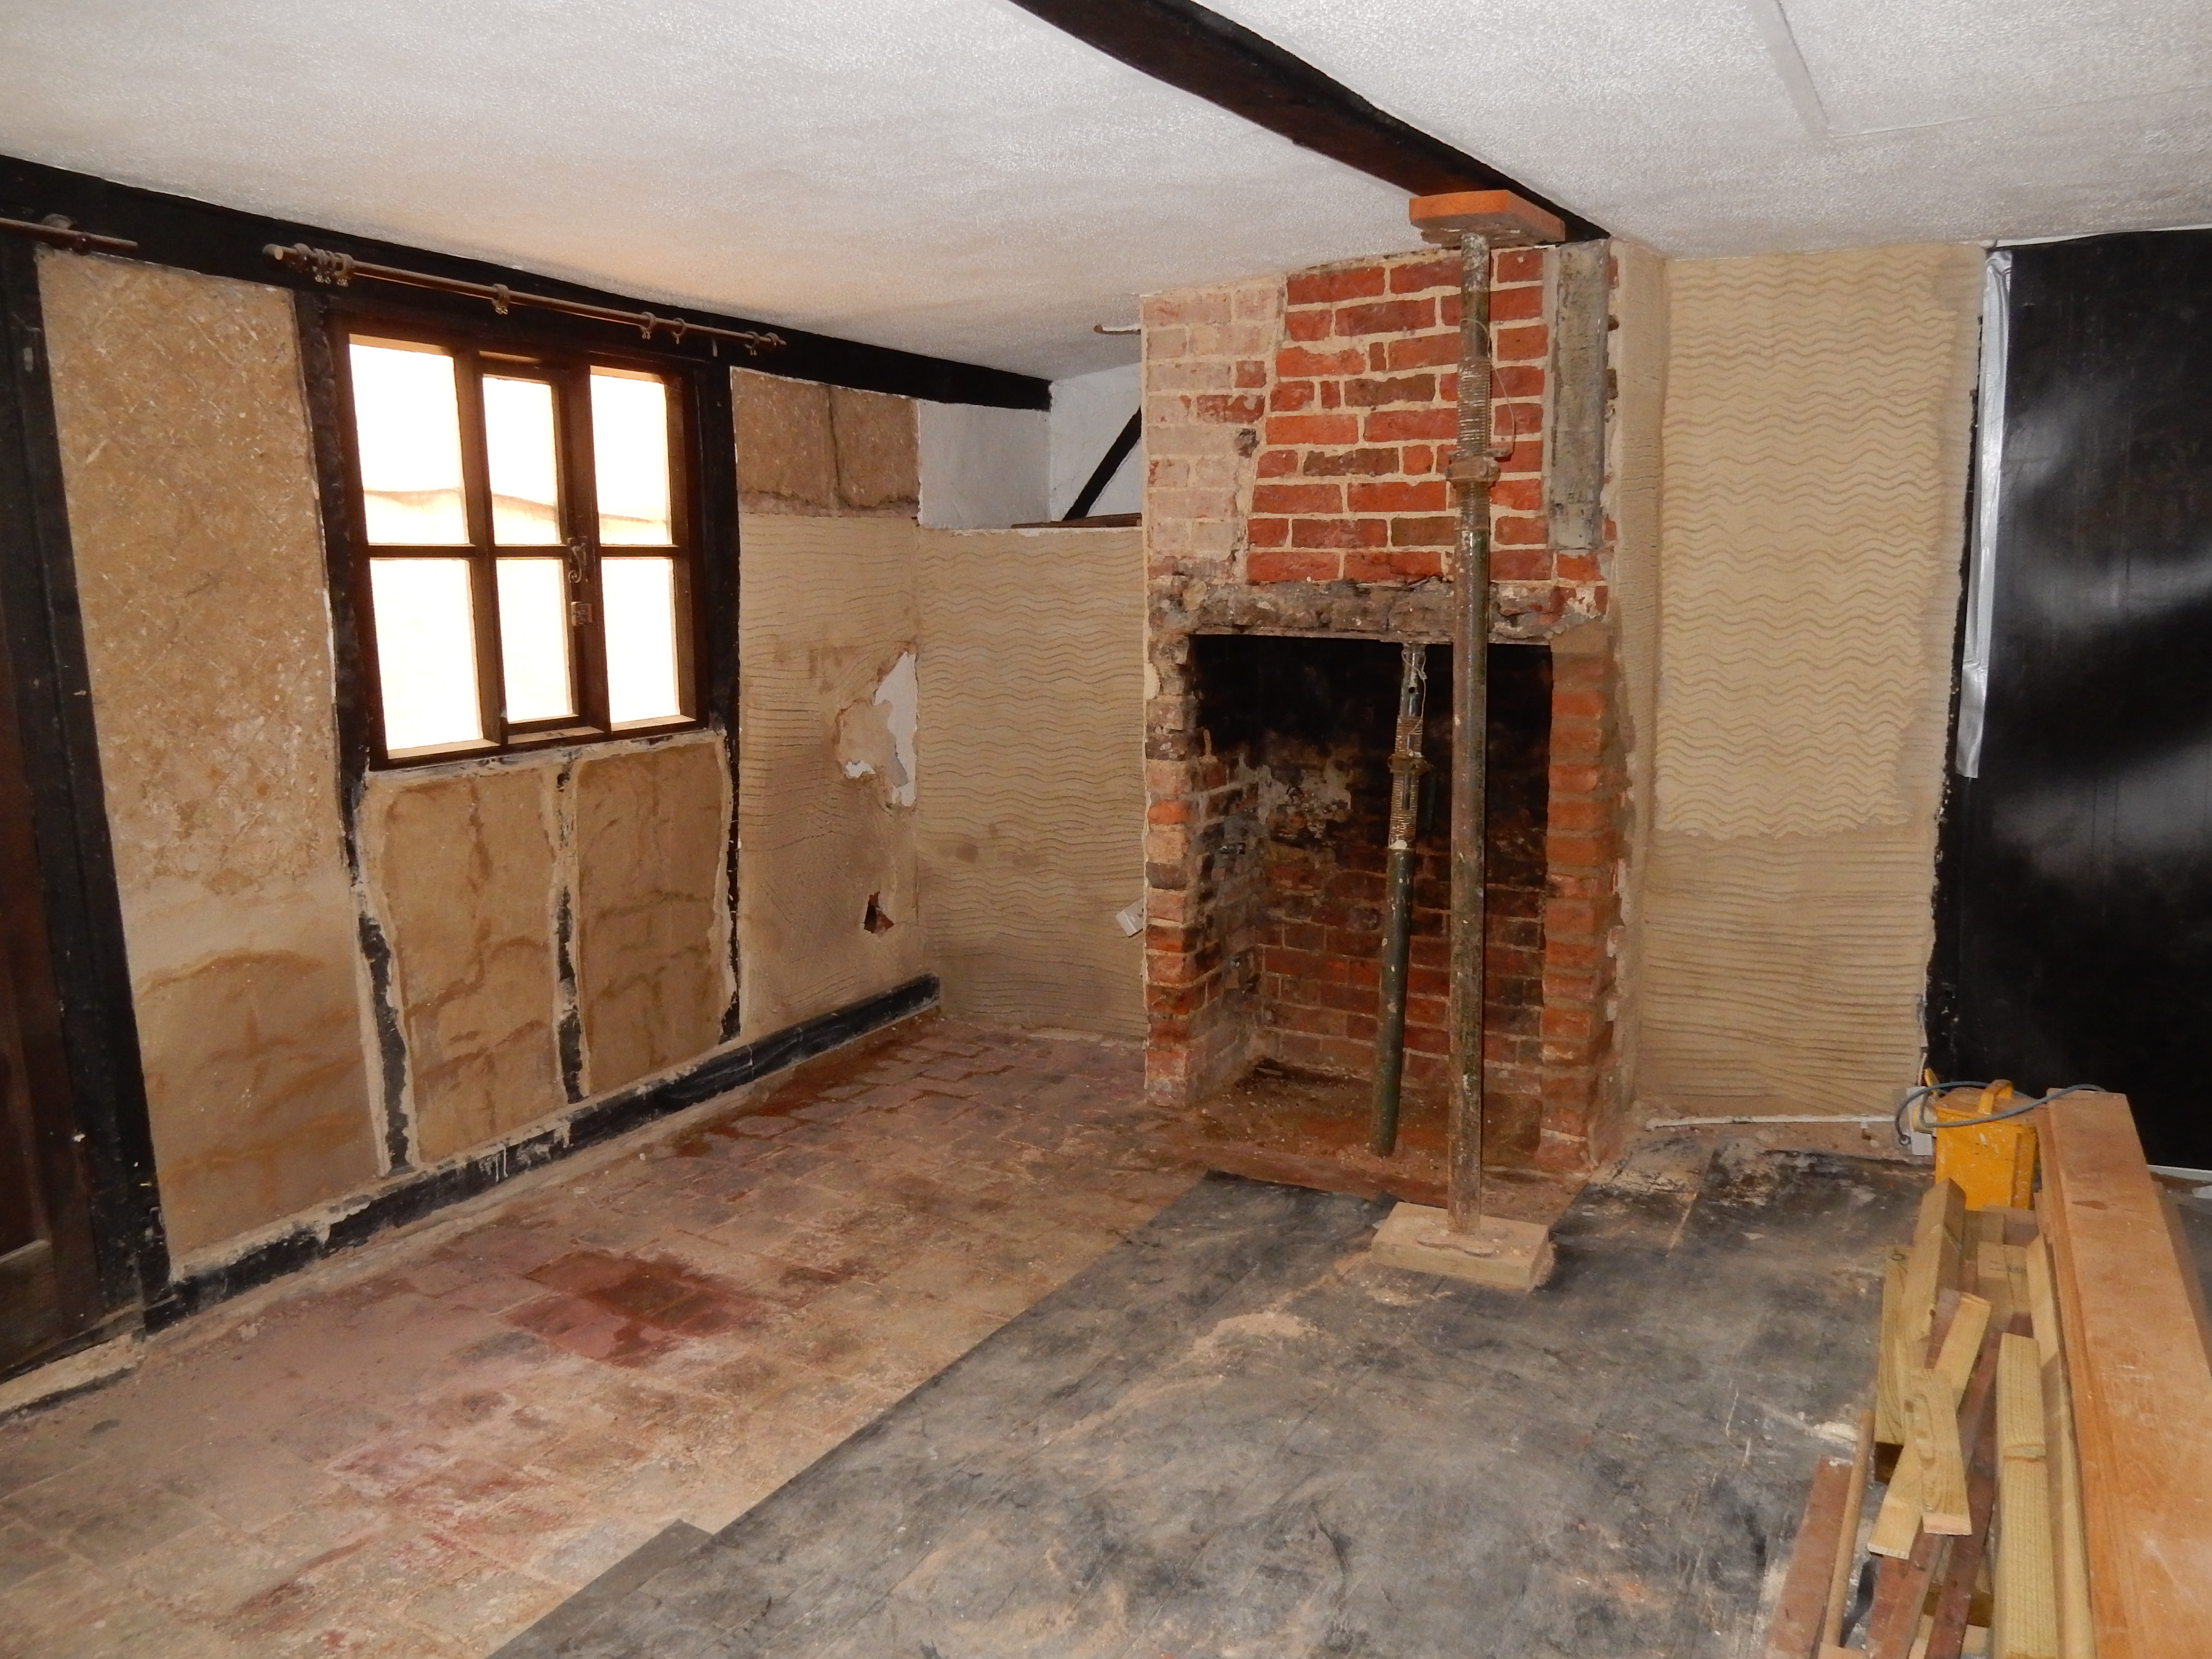
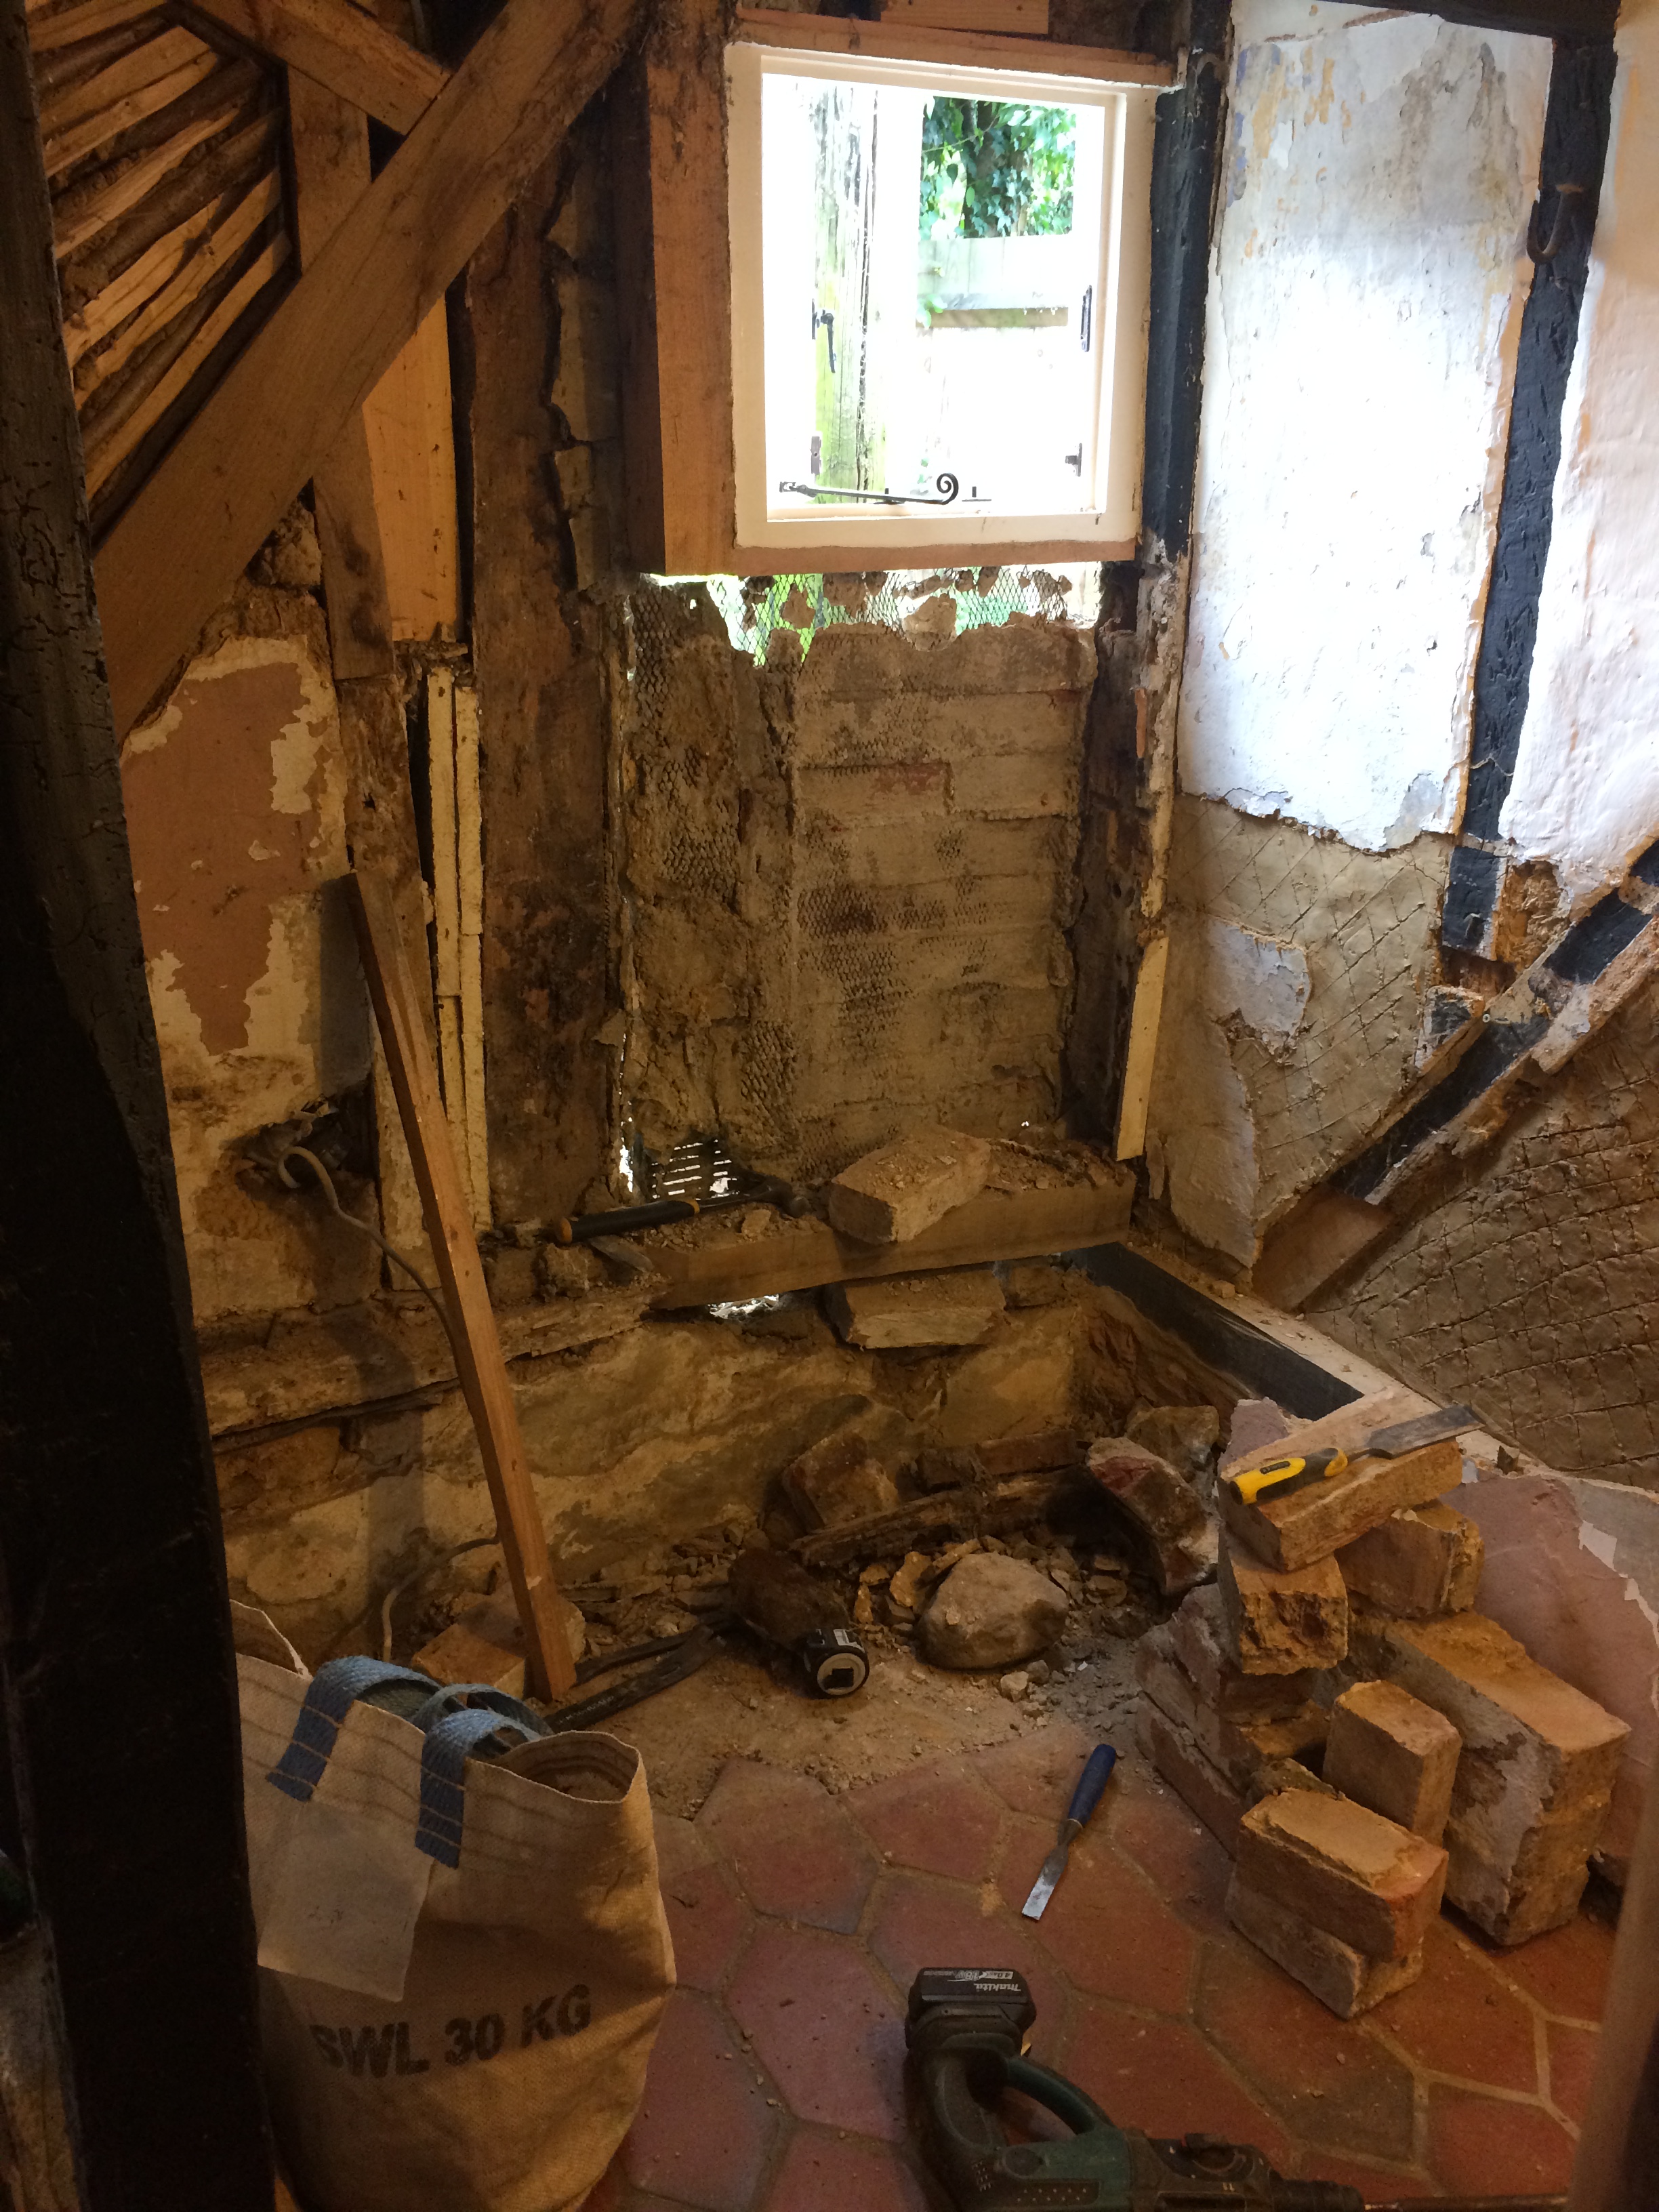
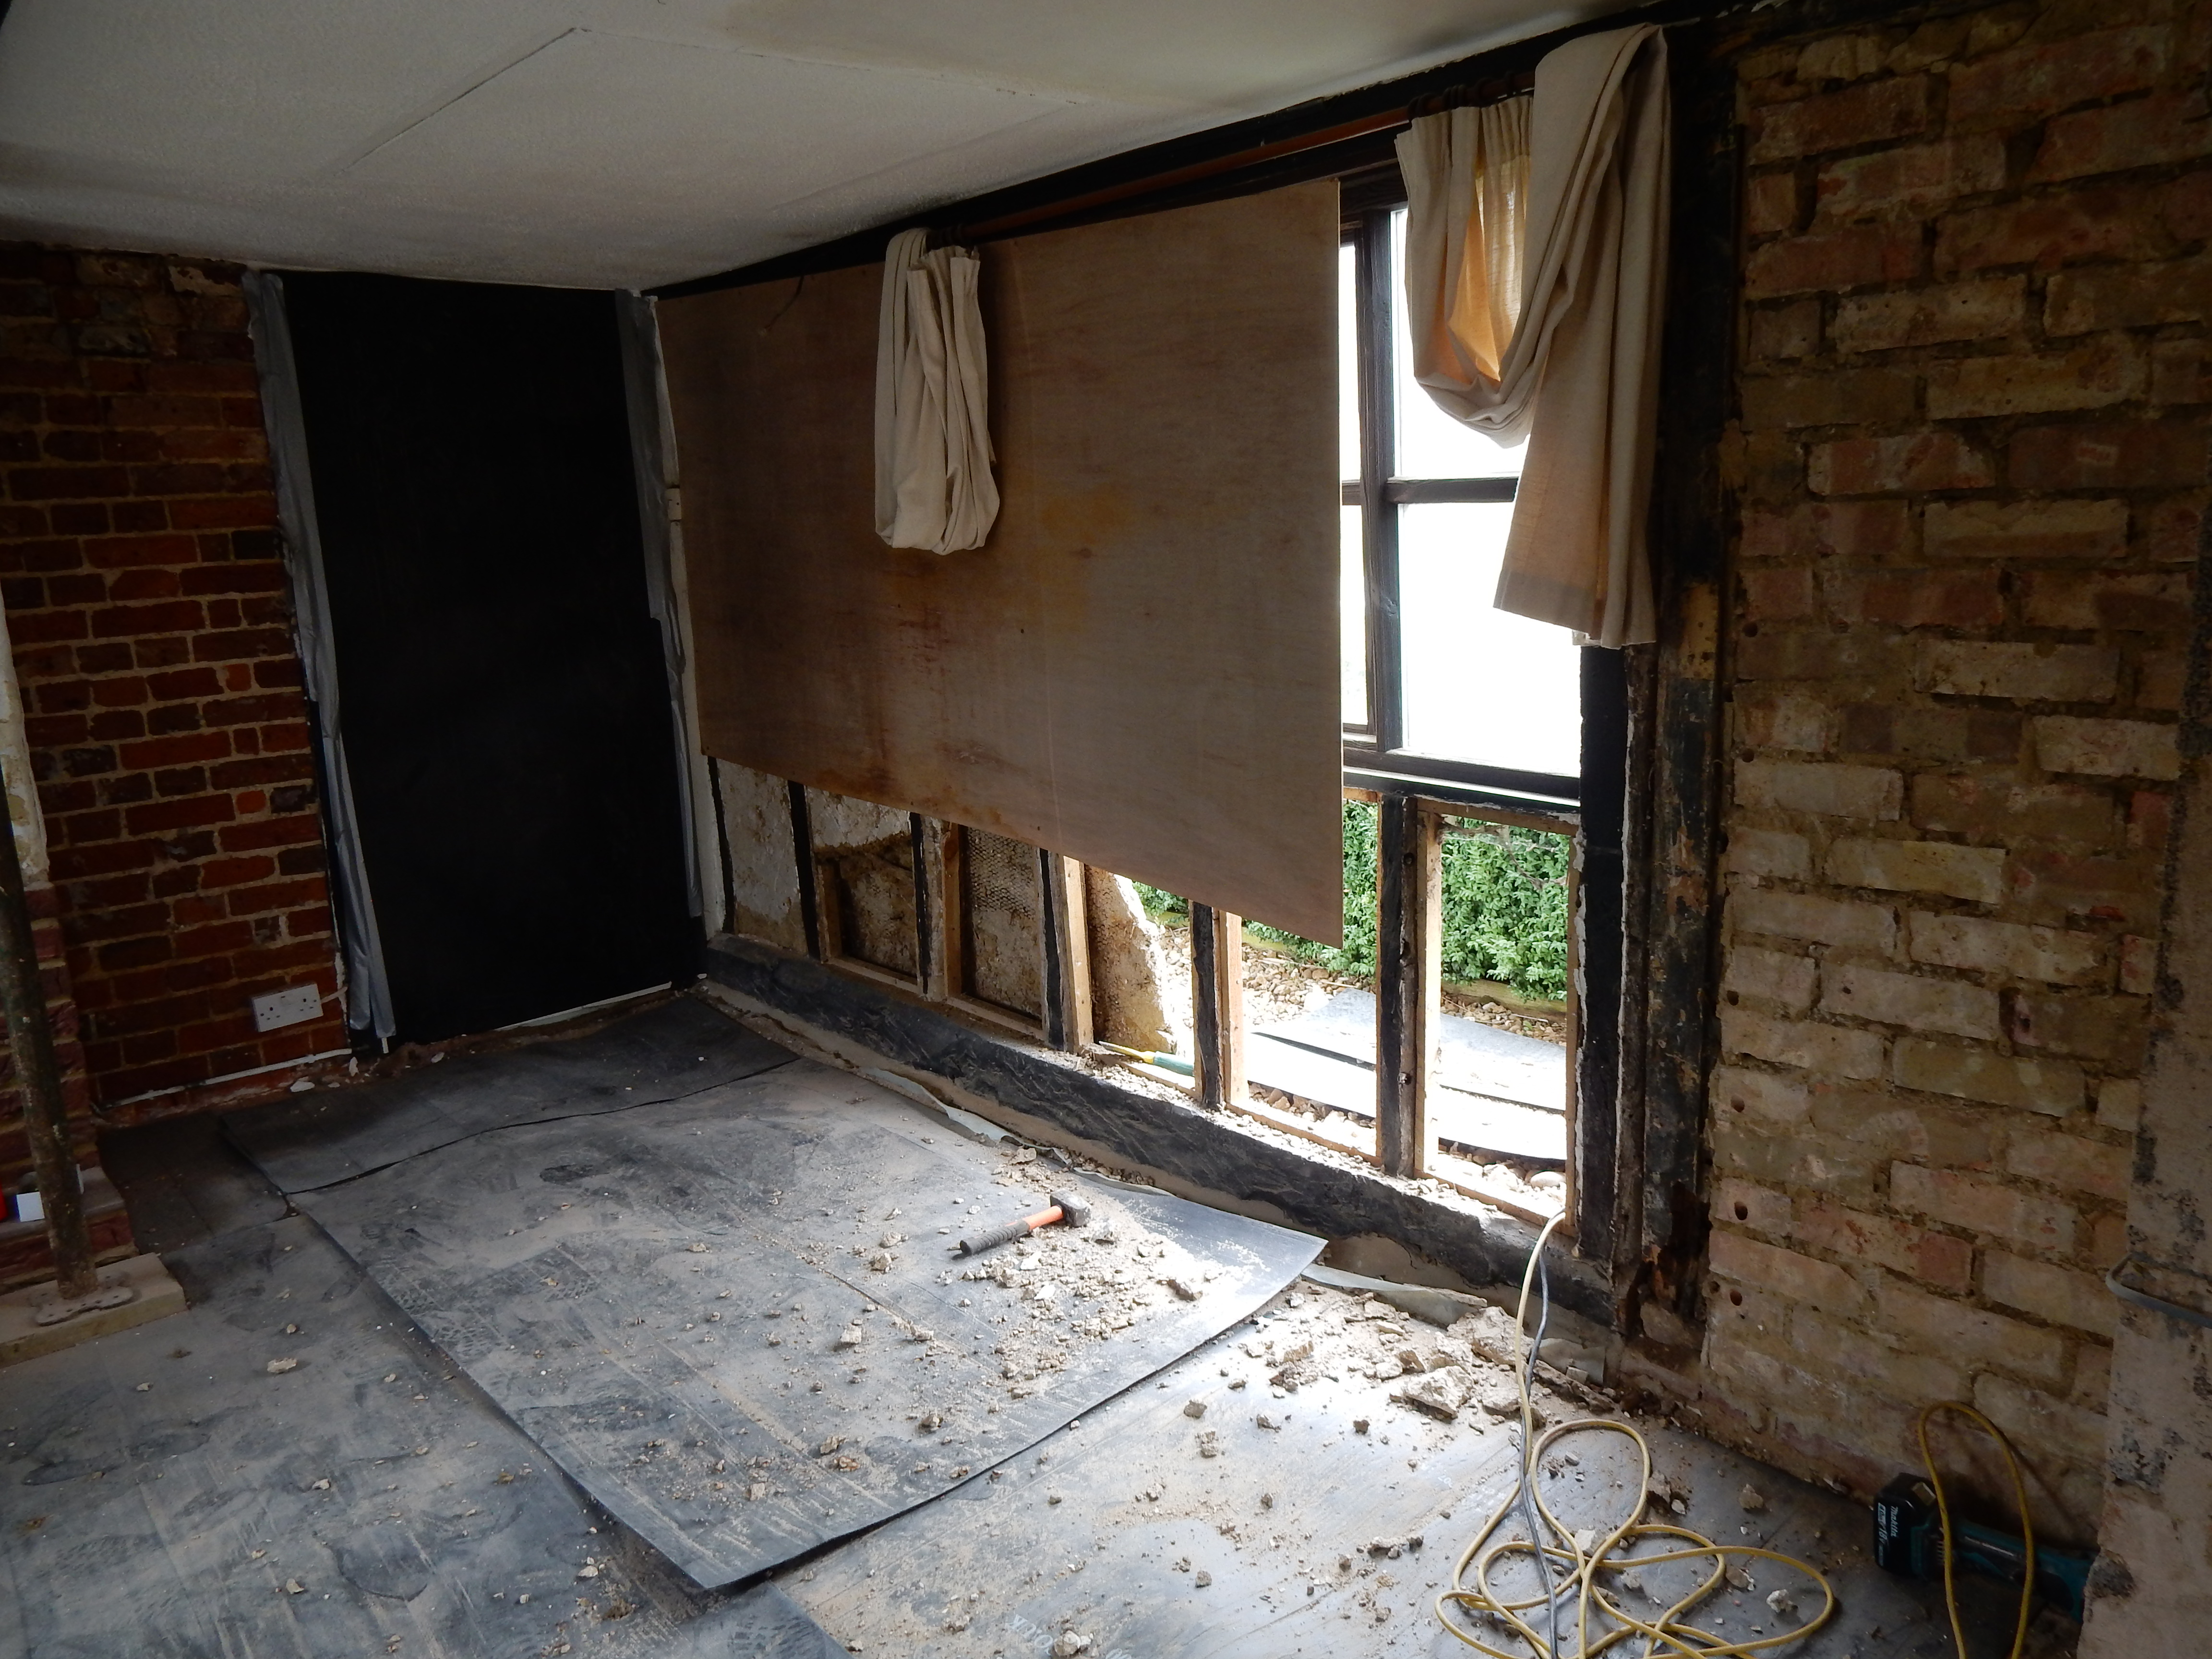
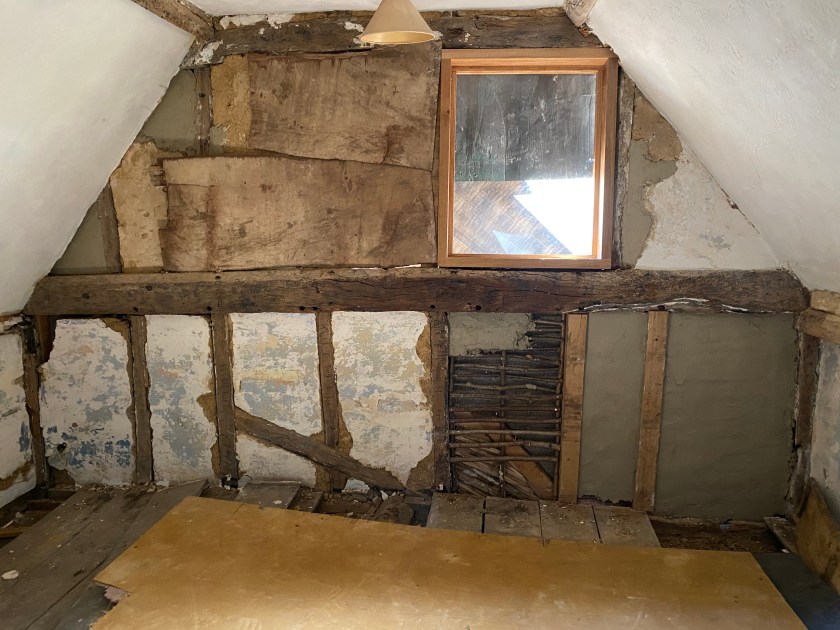
The view from the inside looked even more impressive. We unfortunately lost a panel to the left of the window as they took the render off. The ones under the window at floor level had been lost years ago and been replaced by plasterboard which we were happy to get rid of. Thankfully it wasn’t too cold as all the builders could do before installing new panels was board it up each night to keep the worst of the weather and animals out of the house.
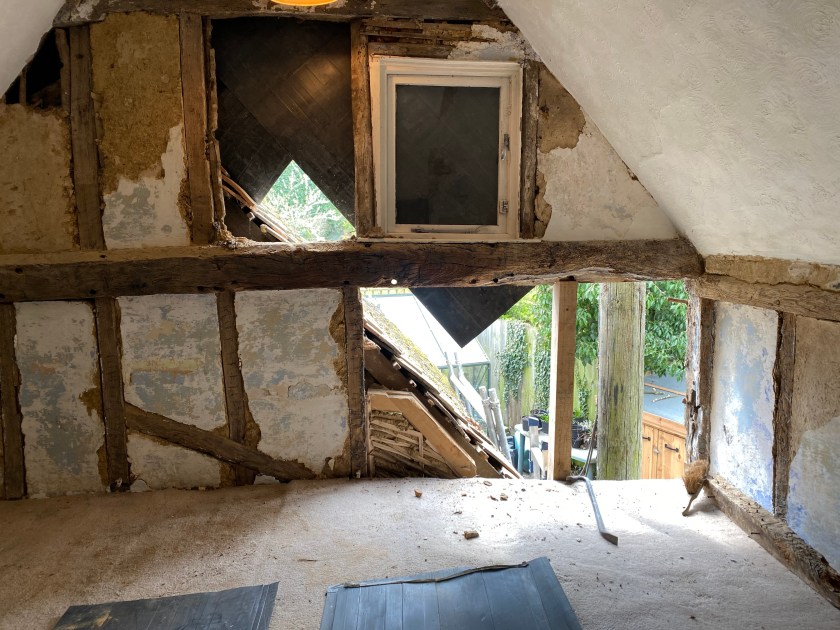
Once the frame had been re-built they could then get on with a new window frame giving us a larger opening and letting more light into the room. The new wattle and daub panels they create on site in the traditional way with hazel sticks and then daub before a final layer of lime plaster to finish it off.
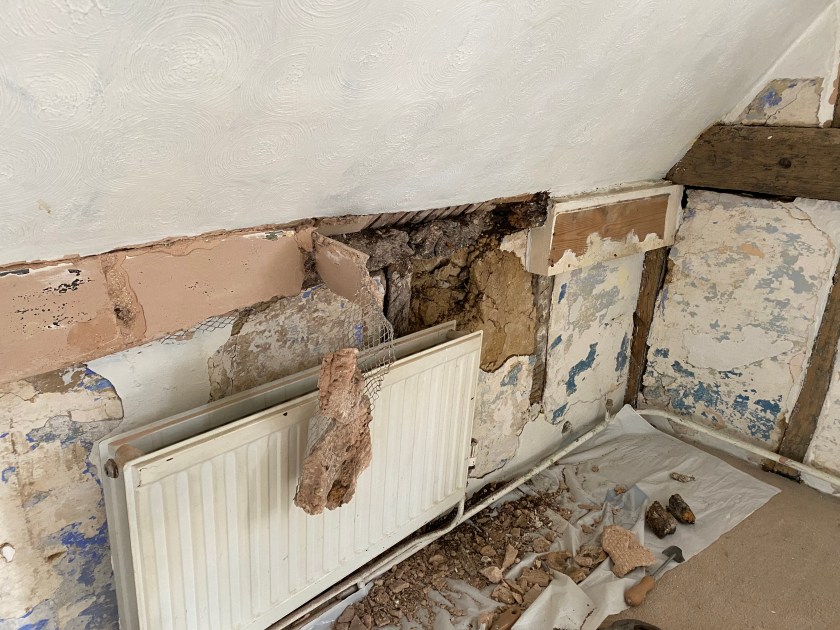
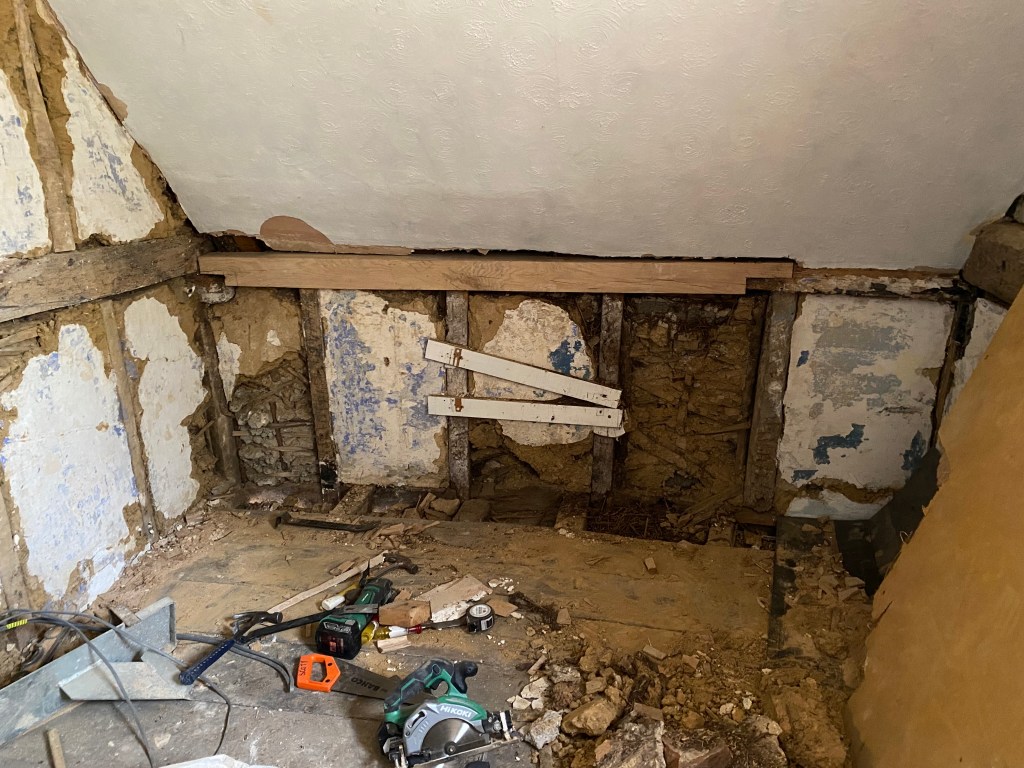
The ring beam on the back wall where I had removed modern plaster and metal mesh had deteriorated so much that it needed to be completely replaced with a new piece of timber. It is very obviously new which is good practice with restoring an old building so visitors/future owners are clear what is part of the original house and what is not. It does stick out a bit like a sore thumb though so hopefully it will mellow a bit with age. At least the roof is now properly supported which is the main thing.
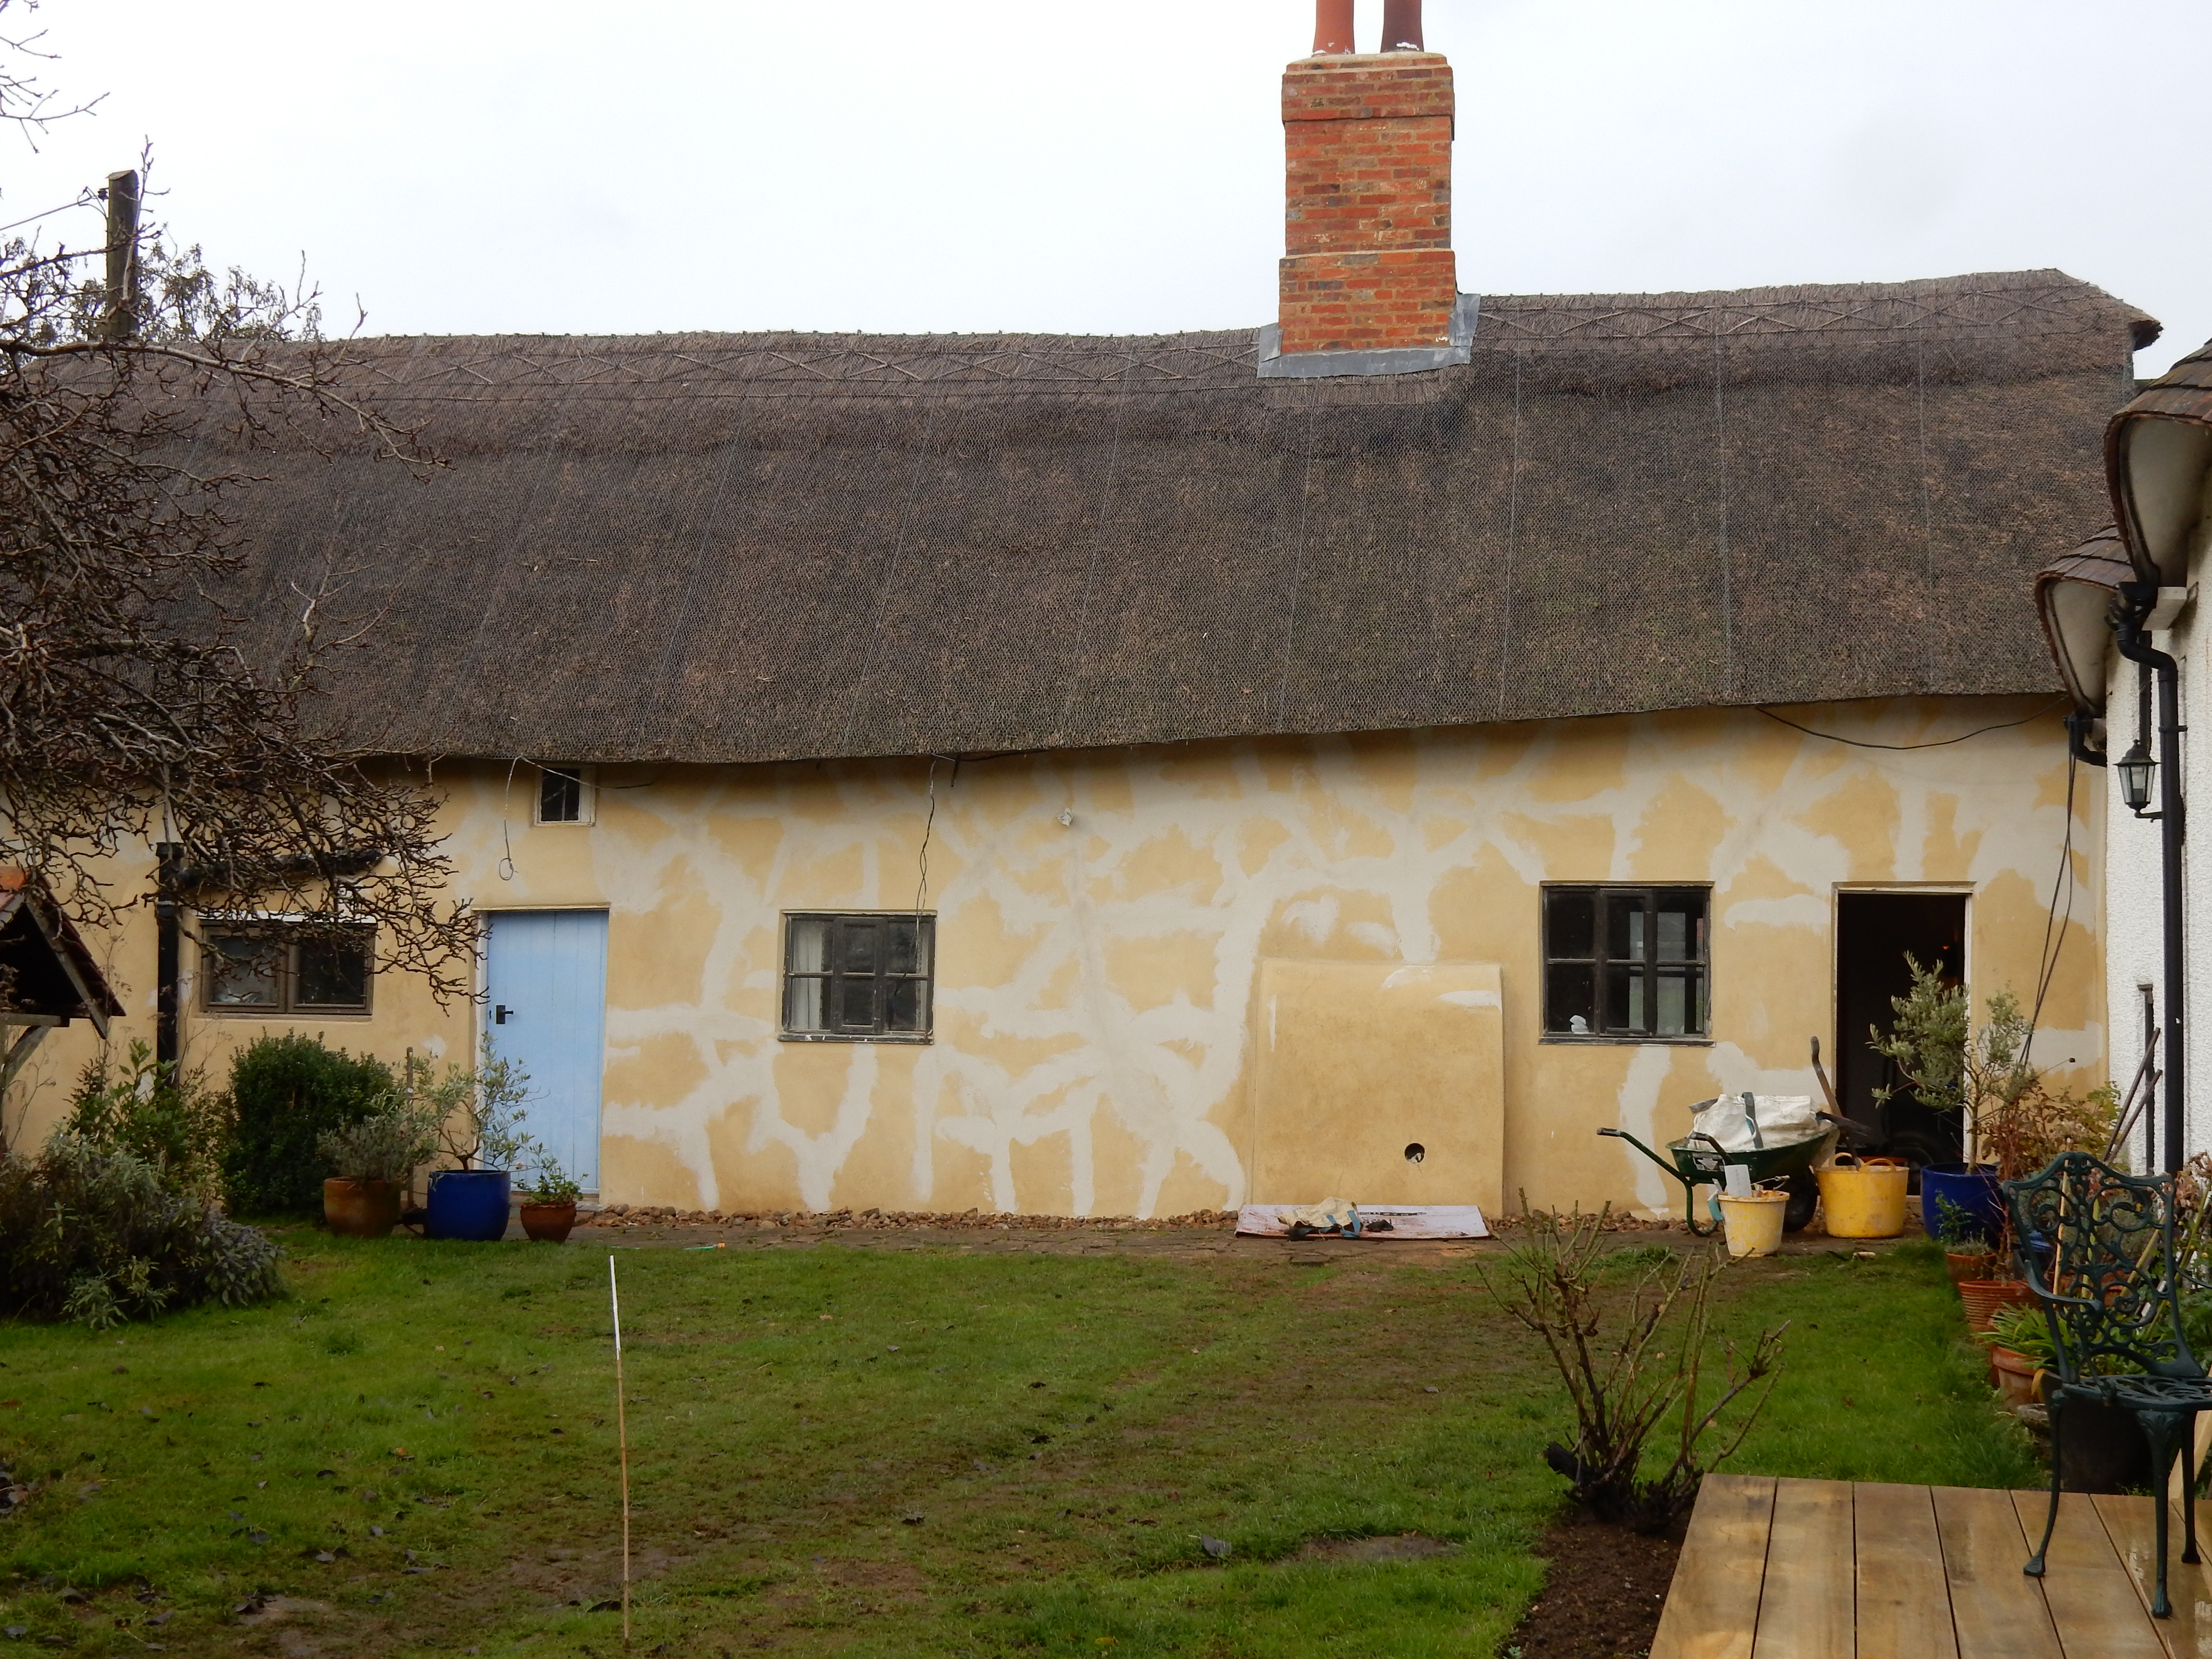
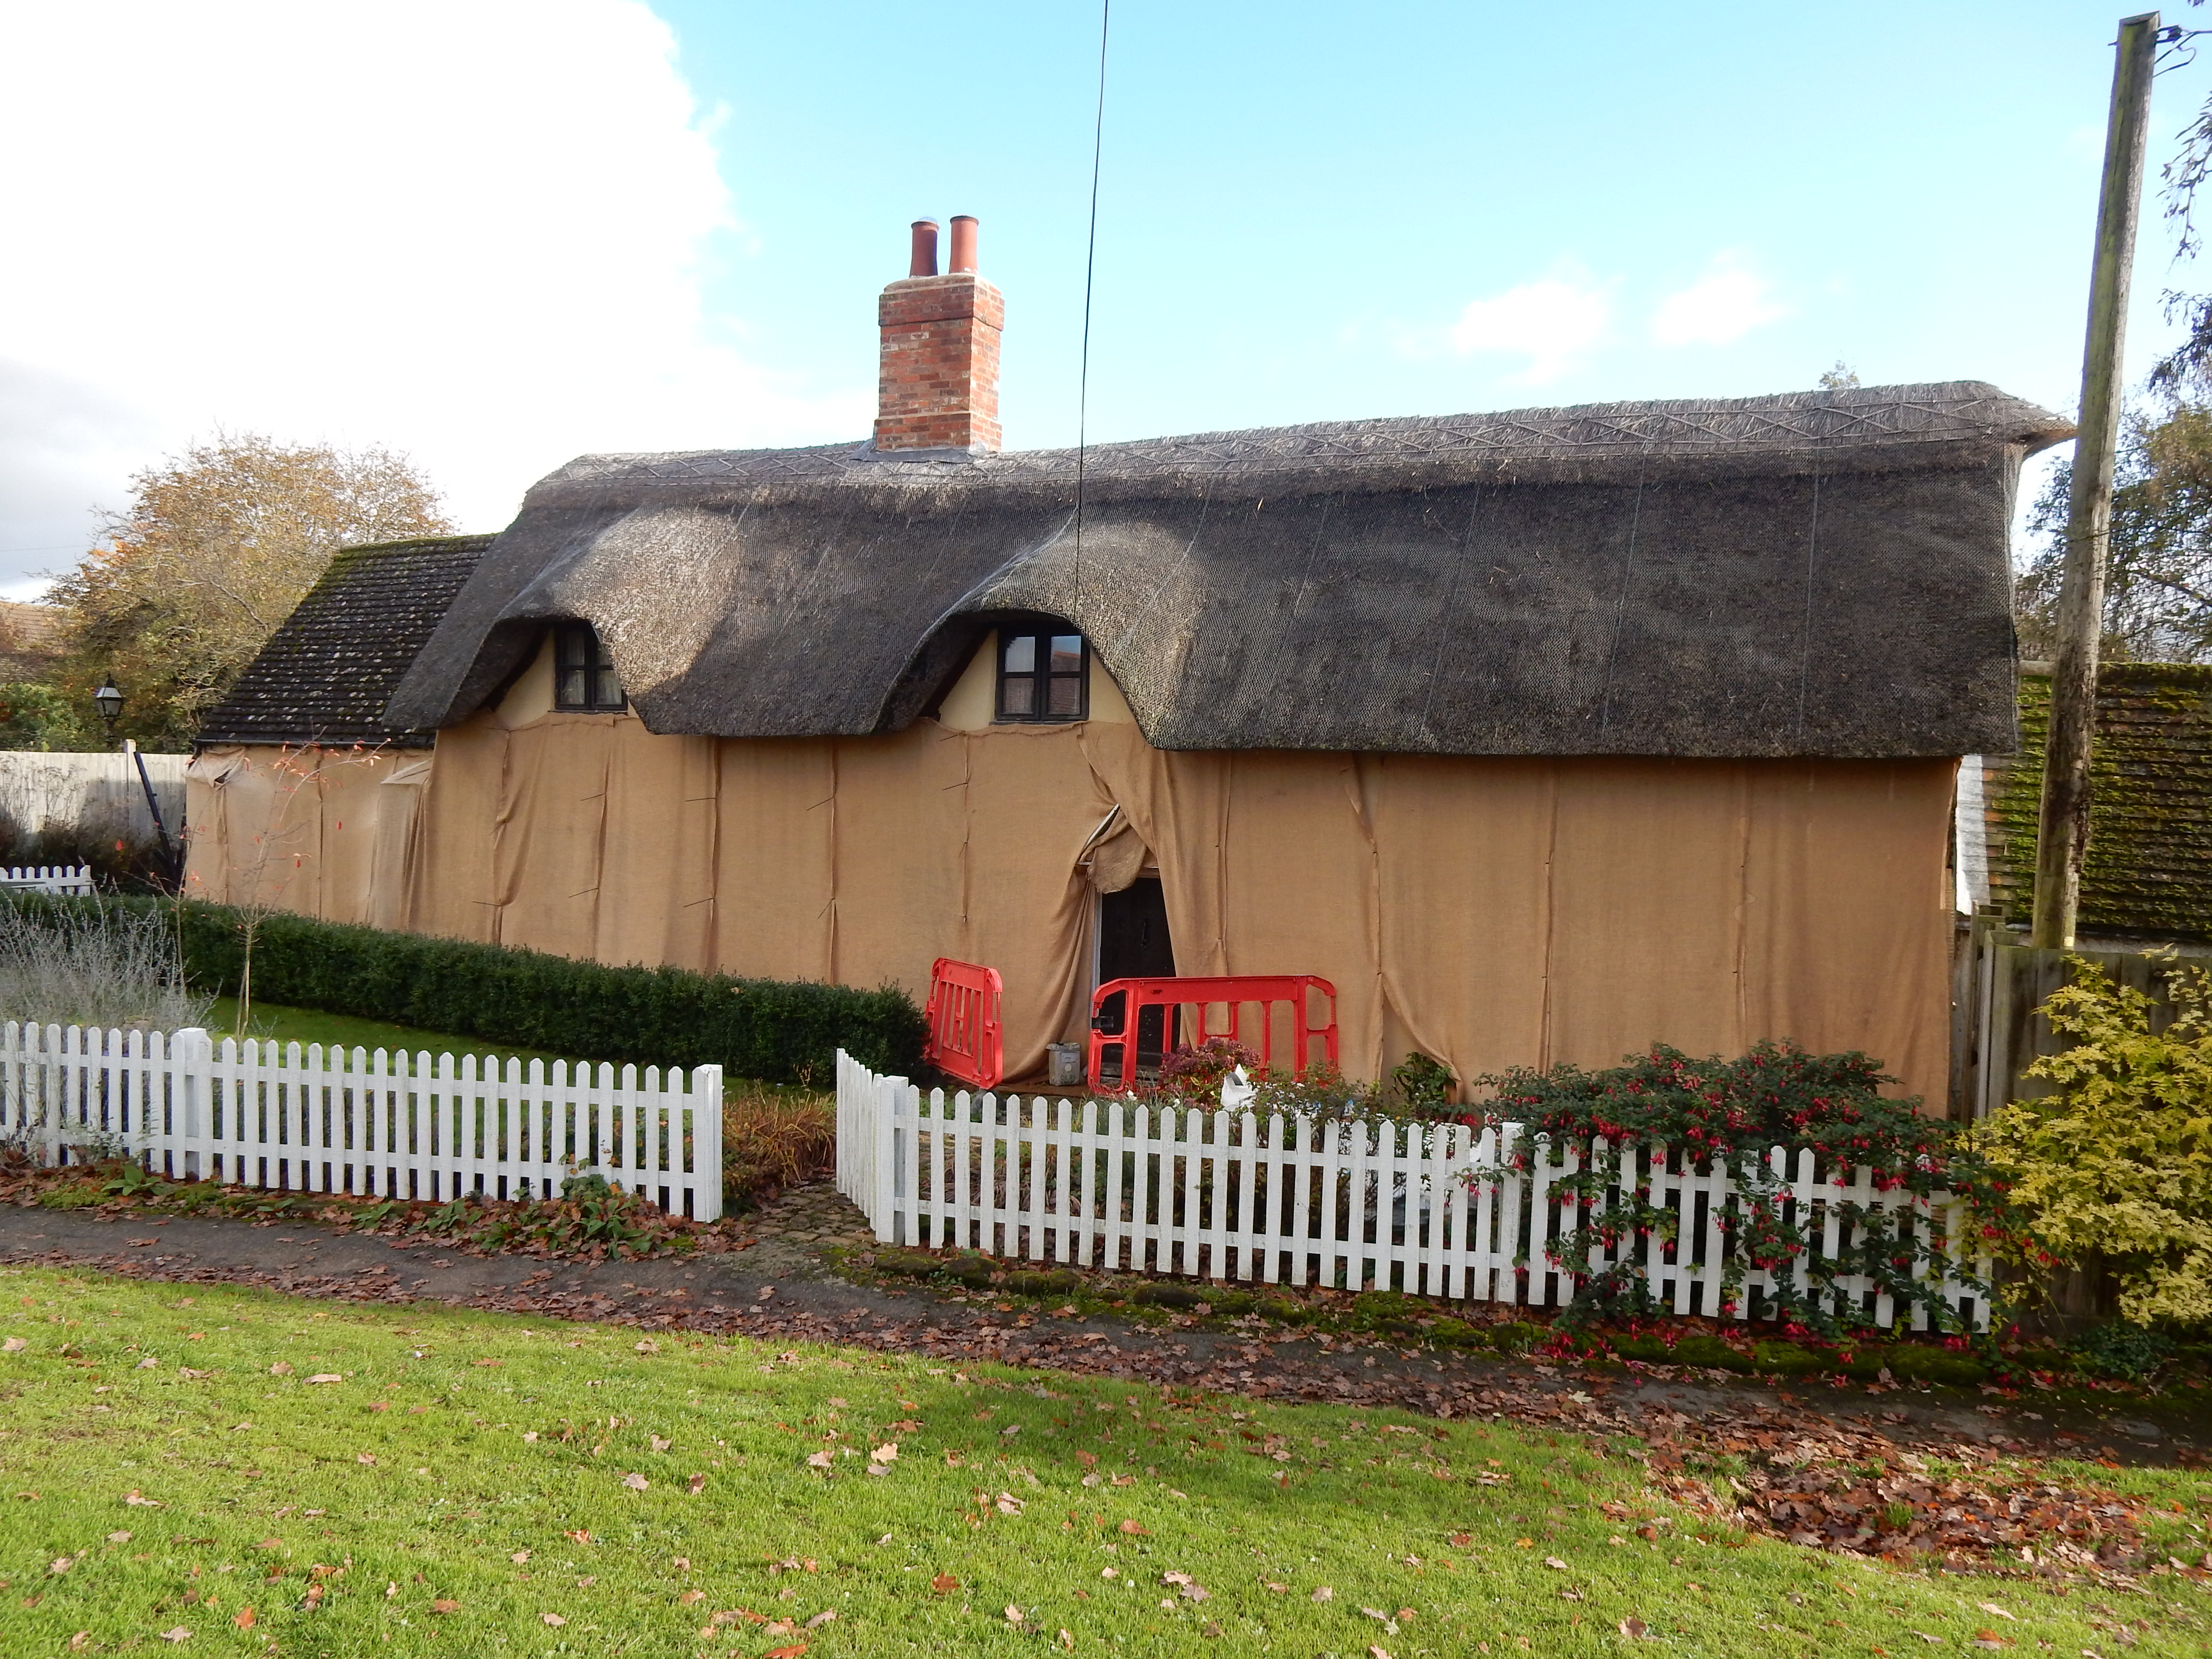
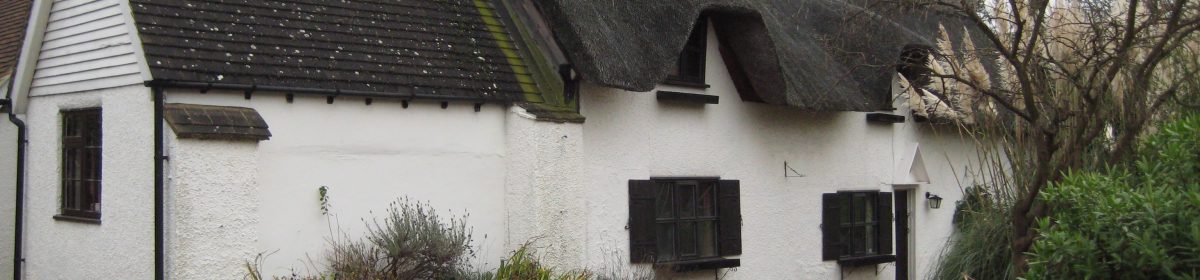
On the outside they installed wood wool board over the frame to improve the insultation before plastering with lime render. It will take a number of coats with time left between each for them to cure. It is important to control the moisture loss to avoid cracking and help with carbonation as this is what gives the lime finish its strength. So we’re back to having our outside wall covered in hessian to help manage this process.


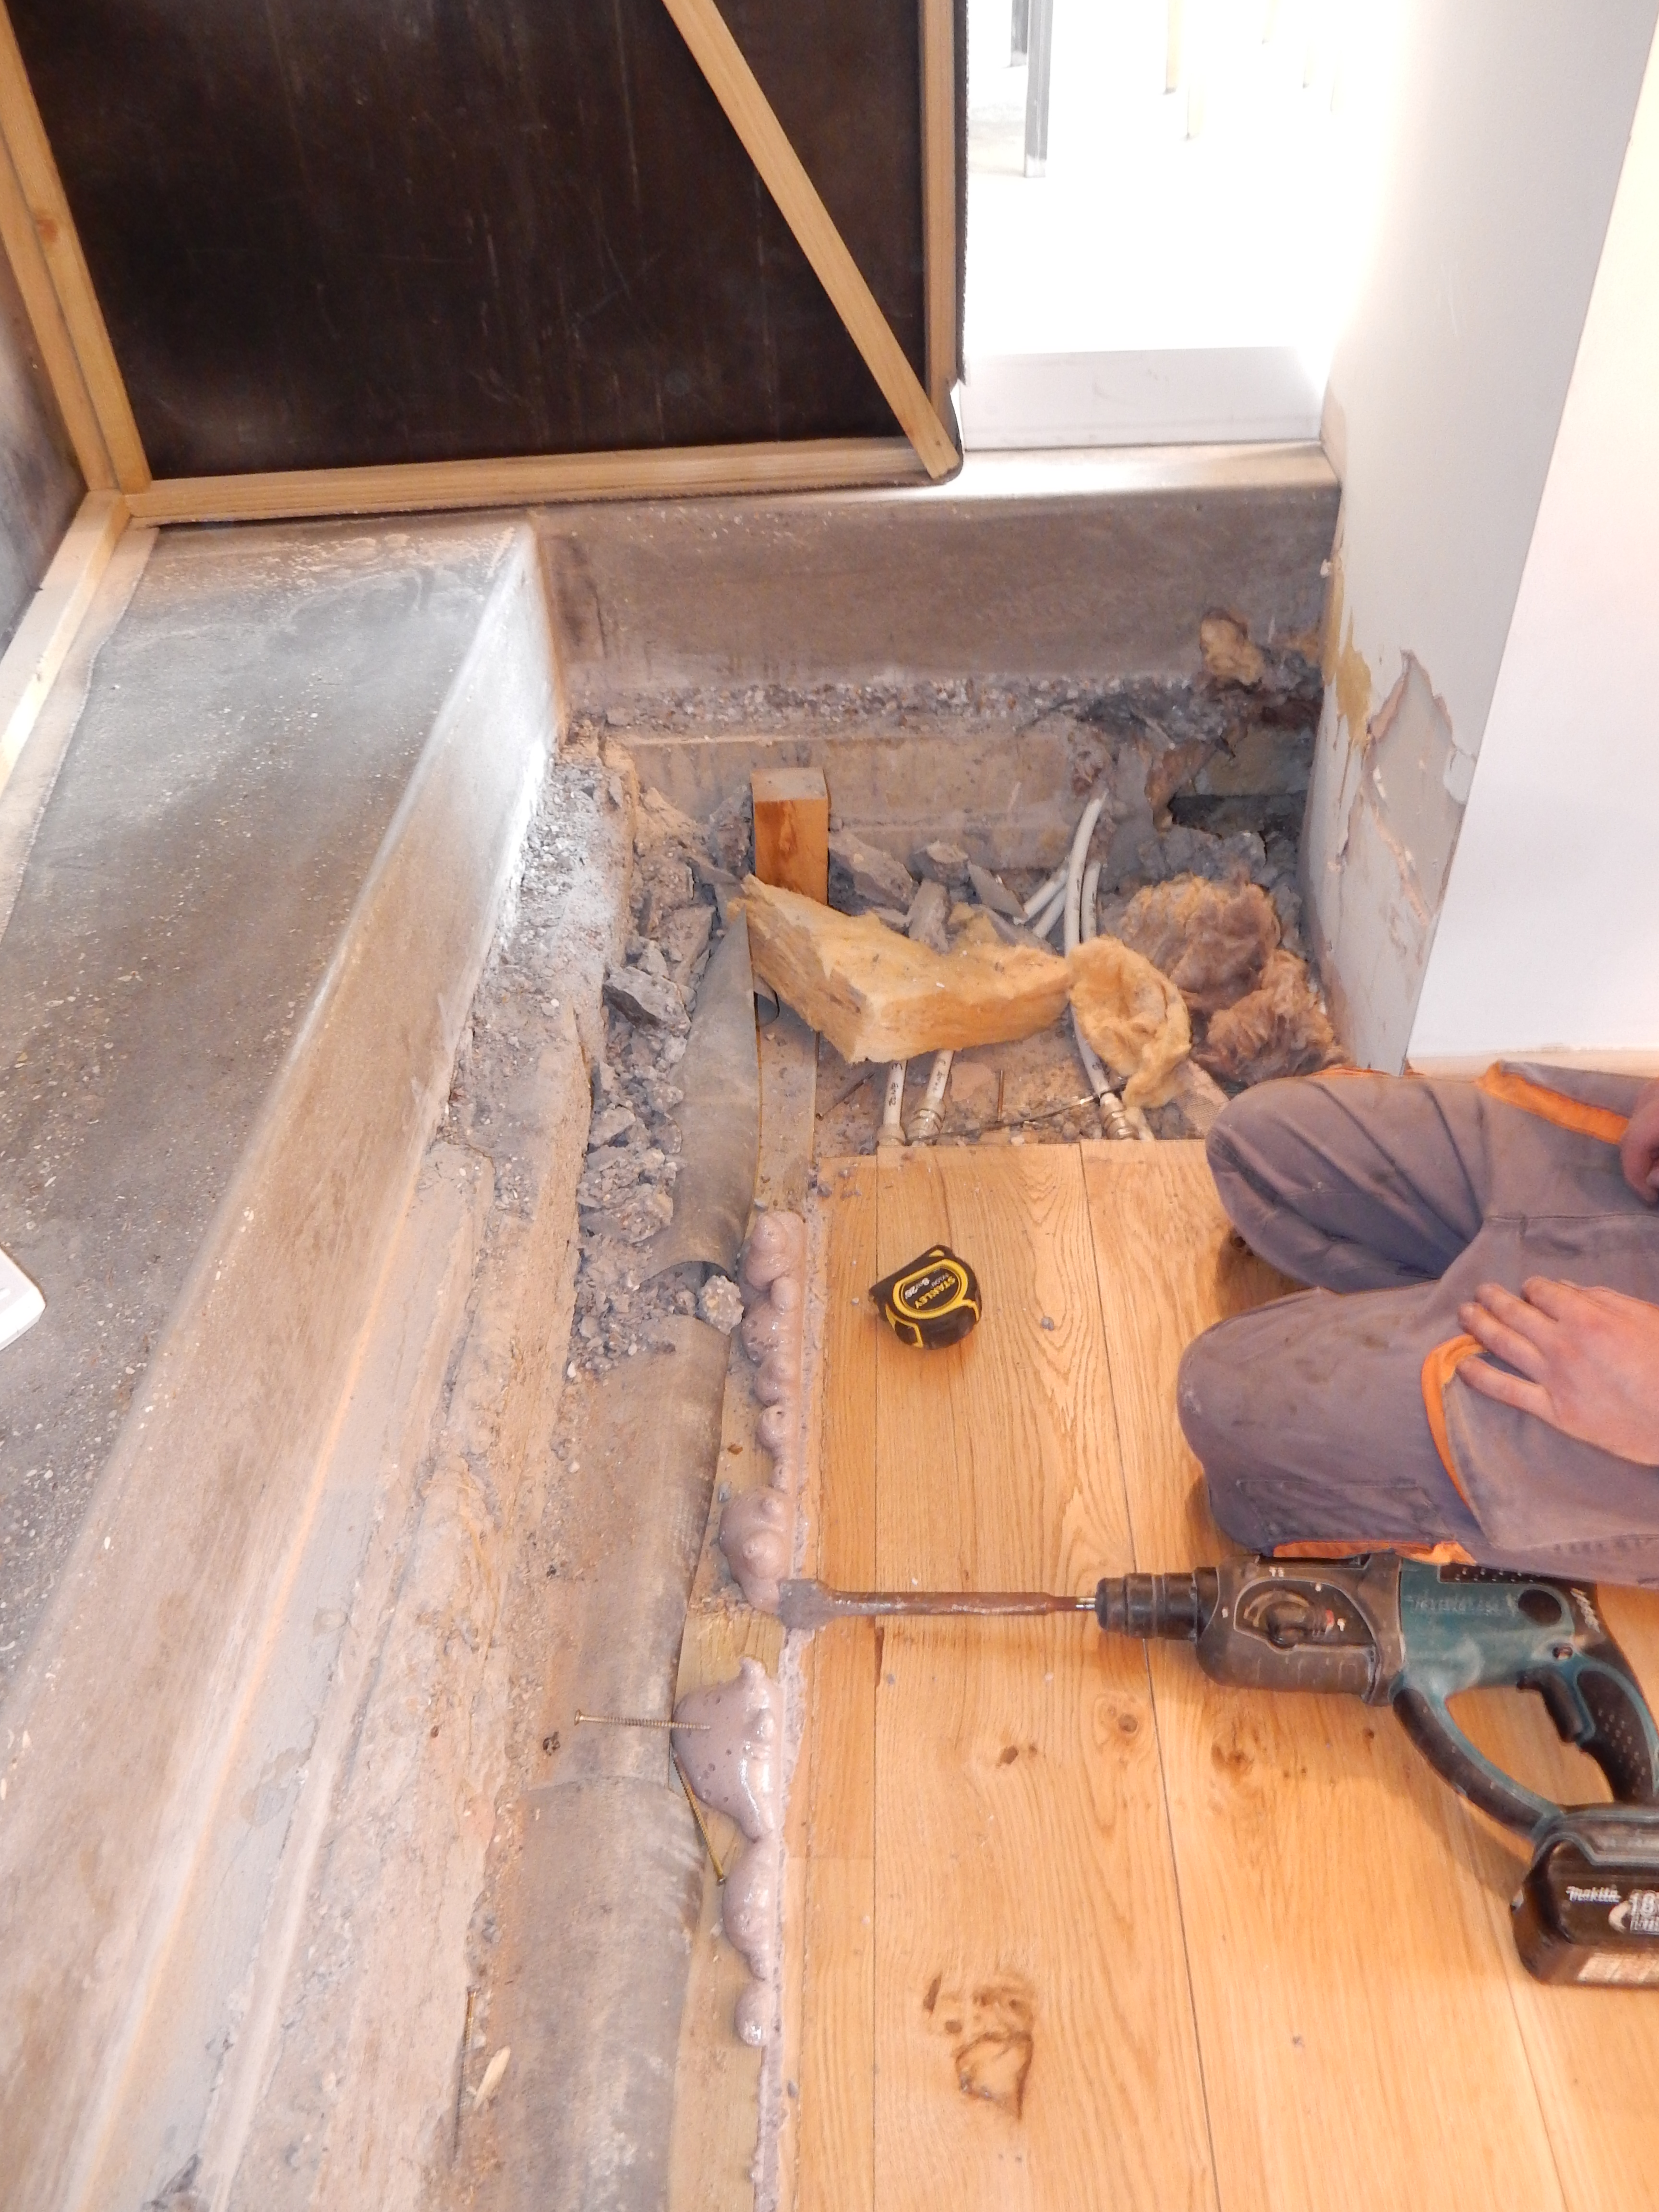
Two organisations – the Society for the Protection of Ancient Buildings and the Listed Property Owners Club – have been invaluable on our restoration journey and have increasingly helped us make the best decisions for the house. It is inevitable when you start on a project like this that you make changes with the best of intentions that you later wish you had done differently as you learn more. We certainly feel that way with the bathroom, our first project in 2009, where we used a general builder who put in damp proofing under the floor. Sensible in a new build, a real problem in an old house that needs to breath. It is something we will have to come back to and fix once the rest of the house is finished.
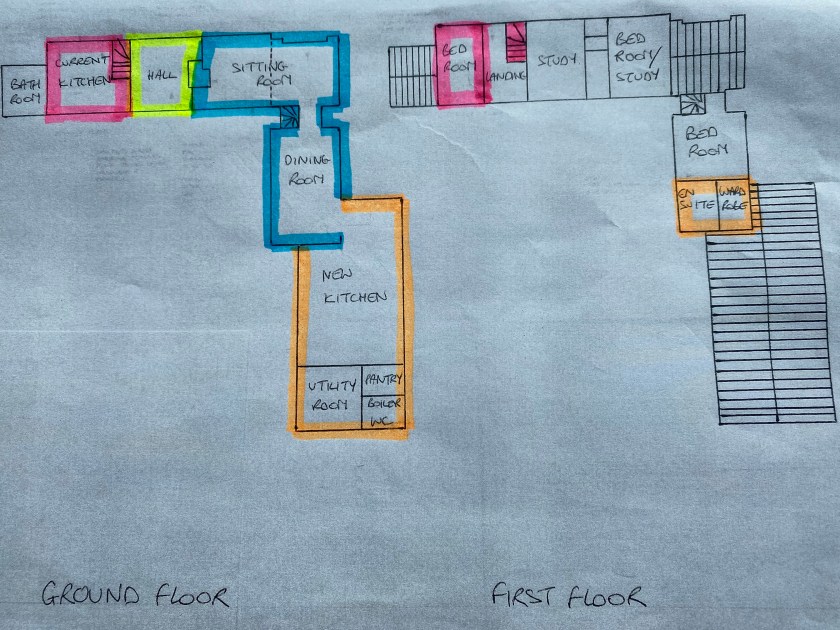
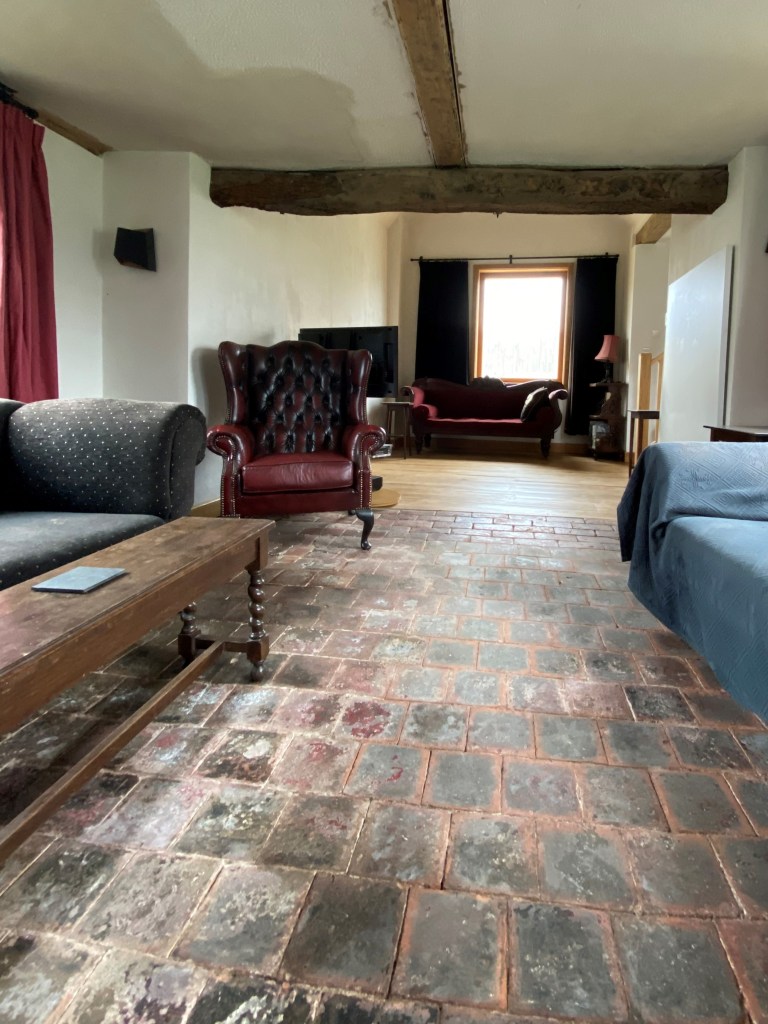
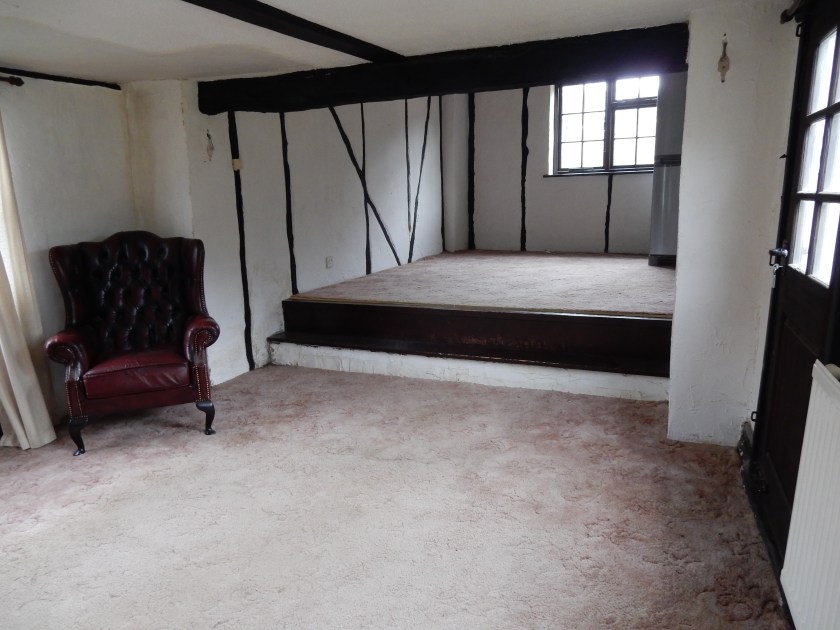
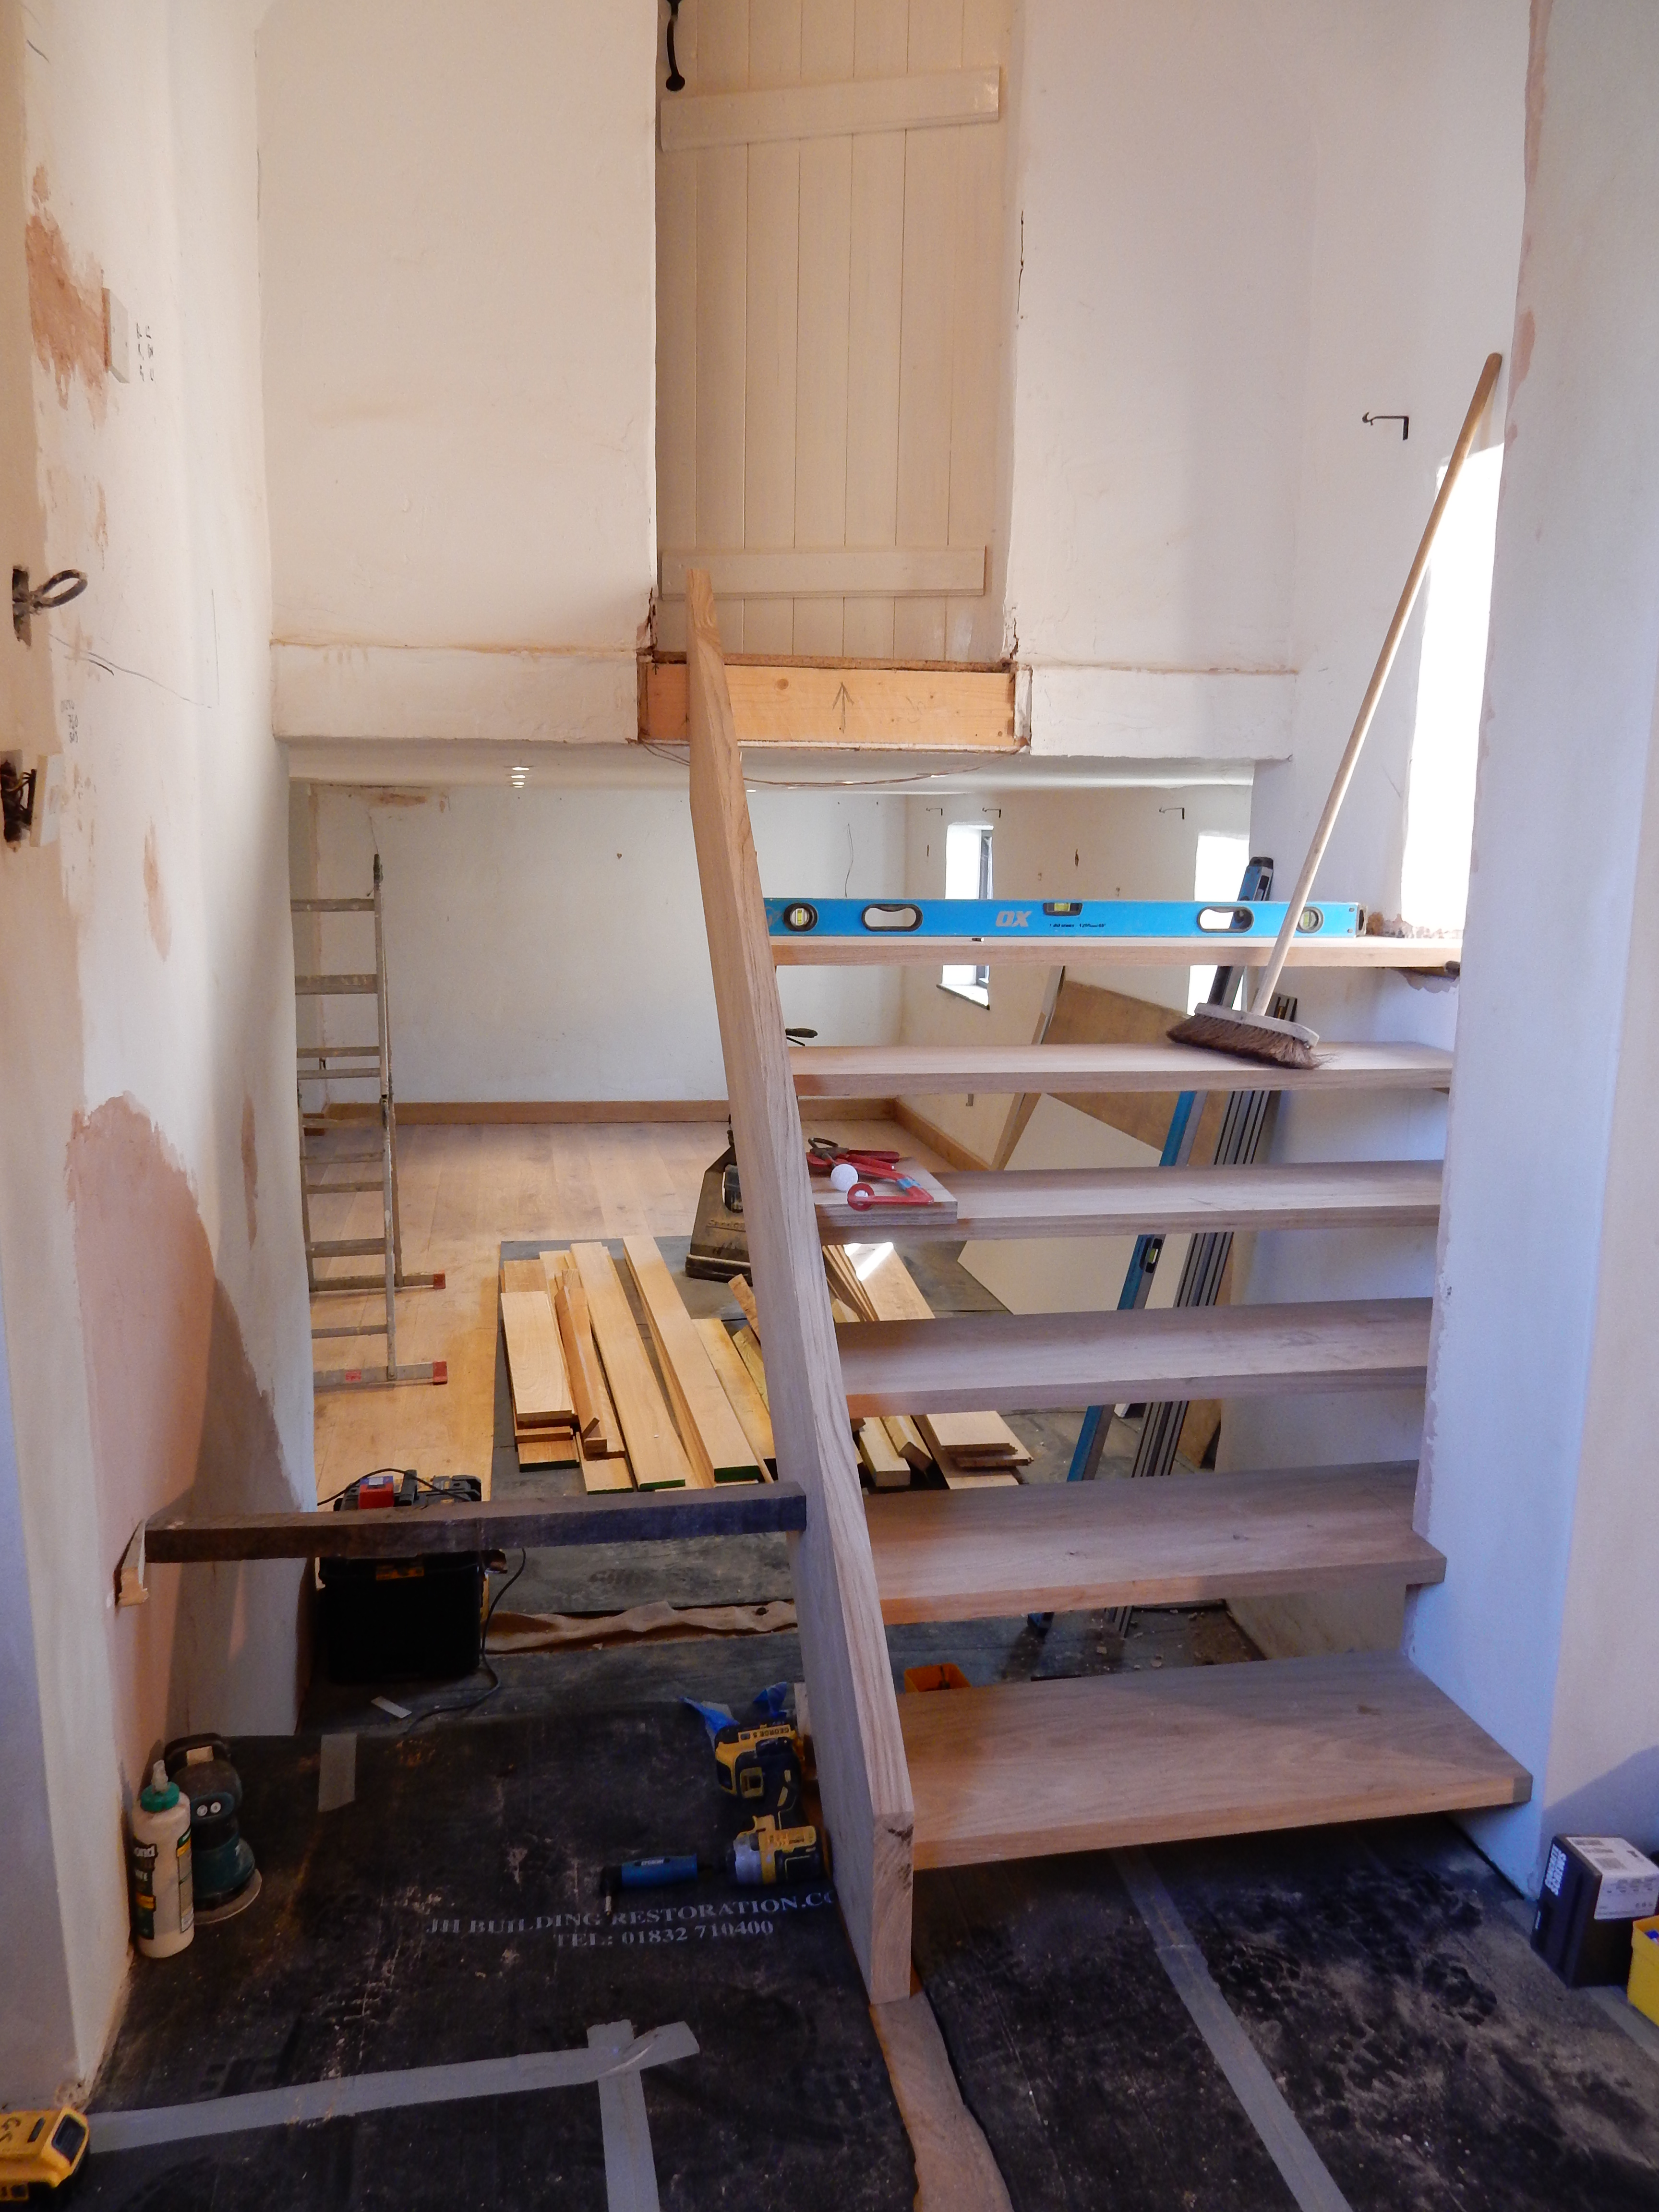
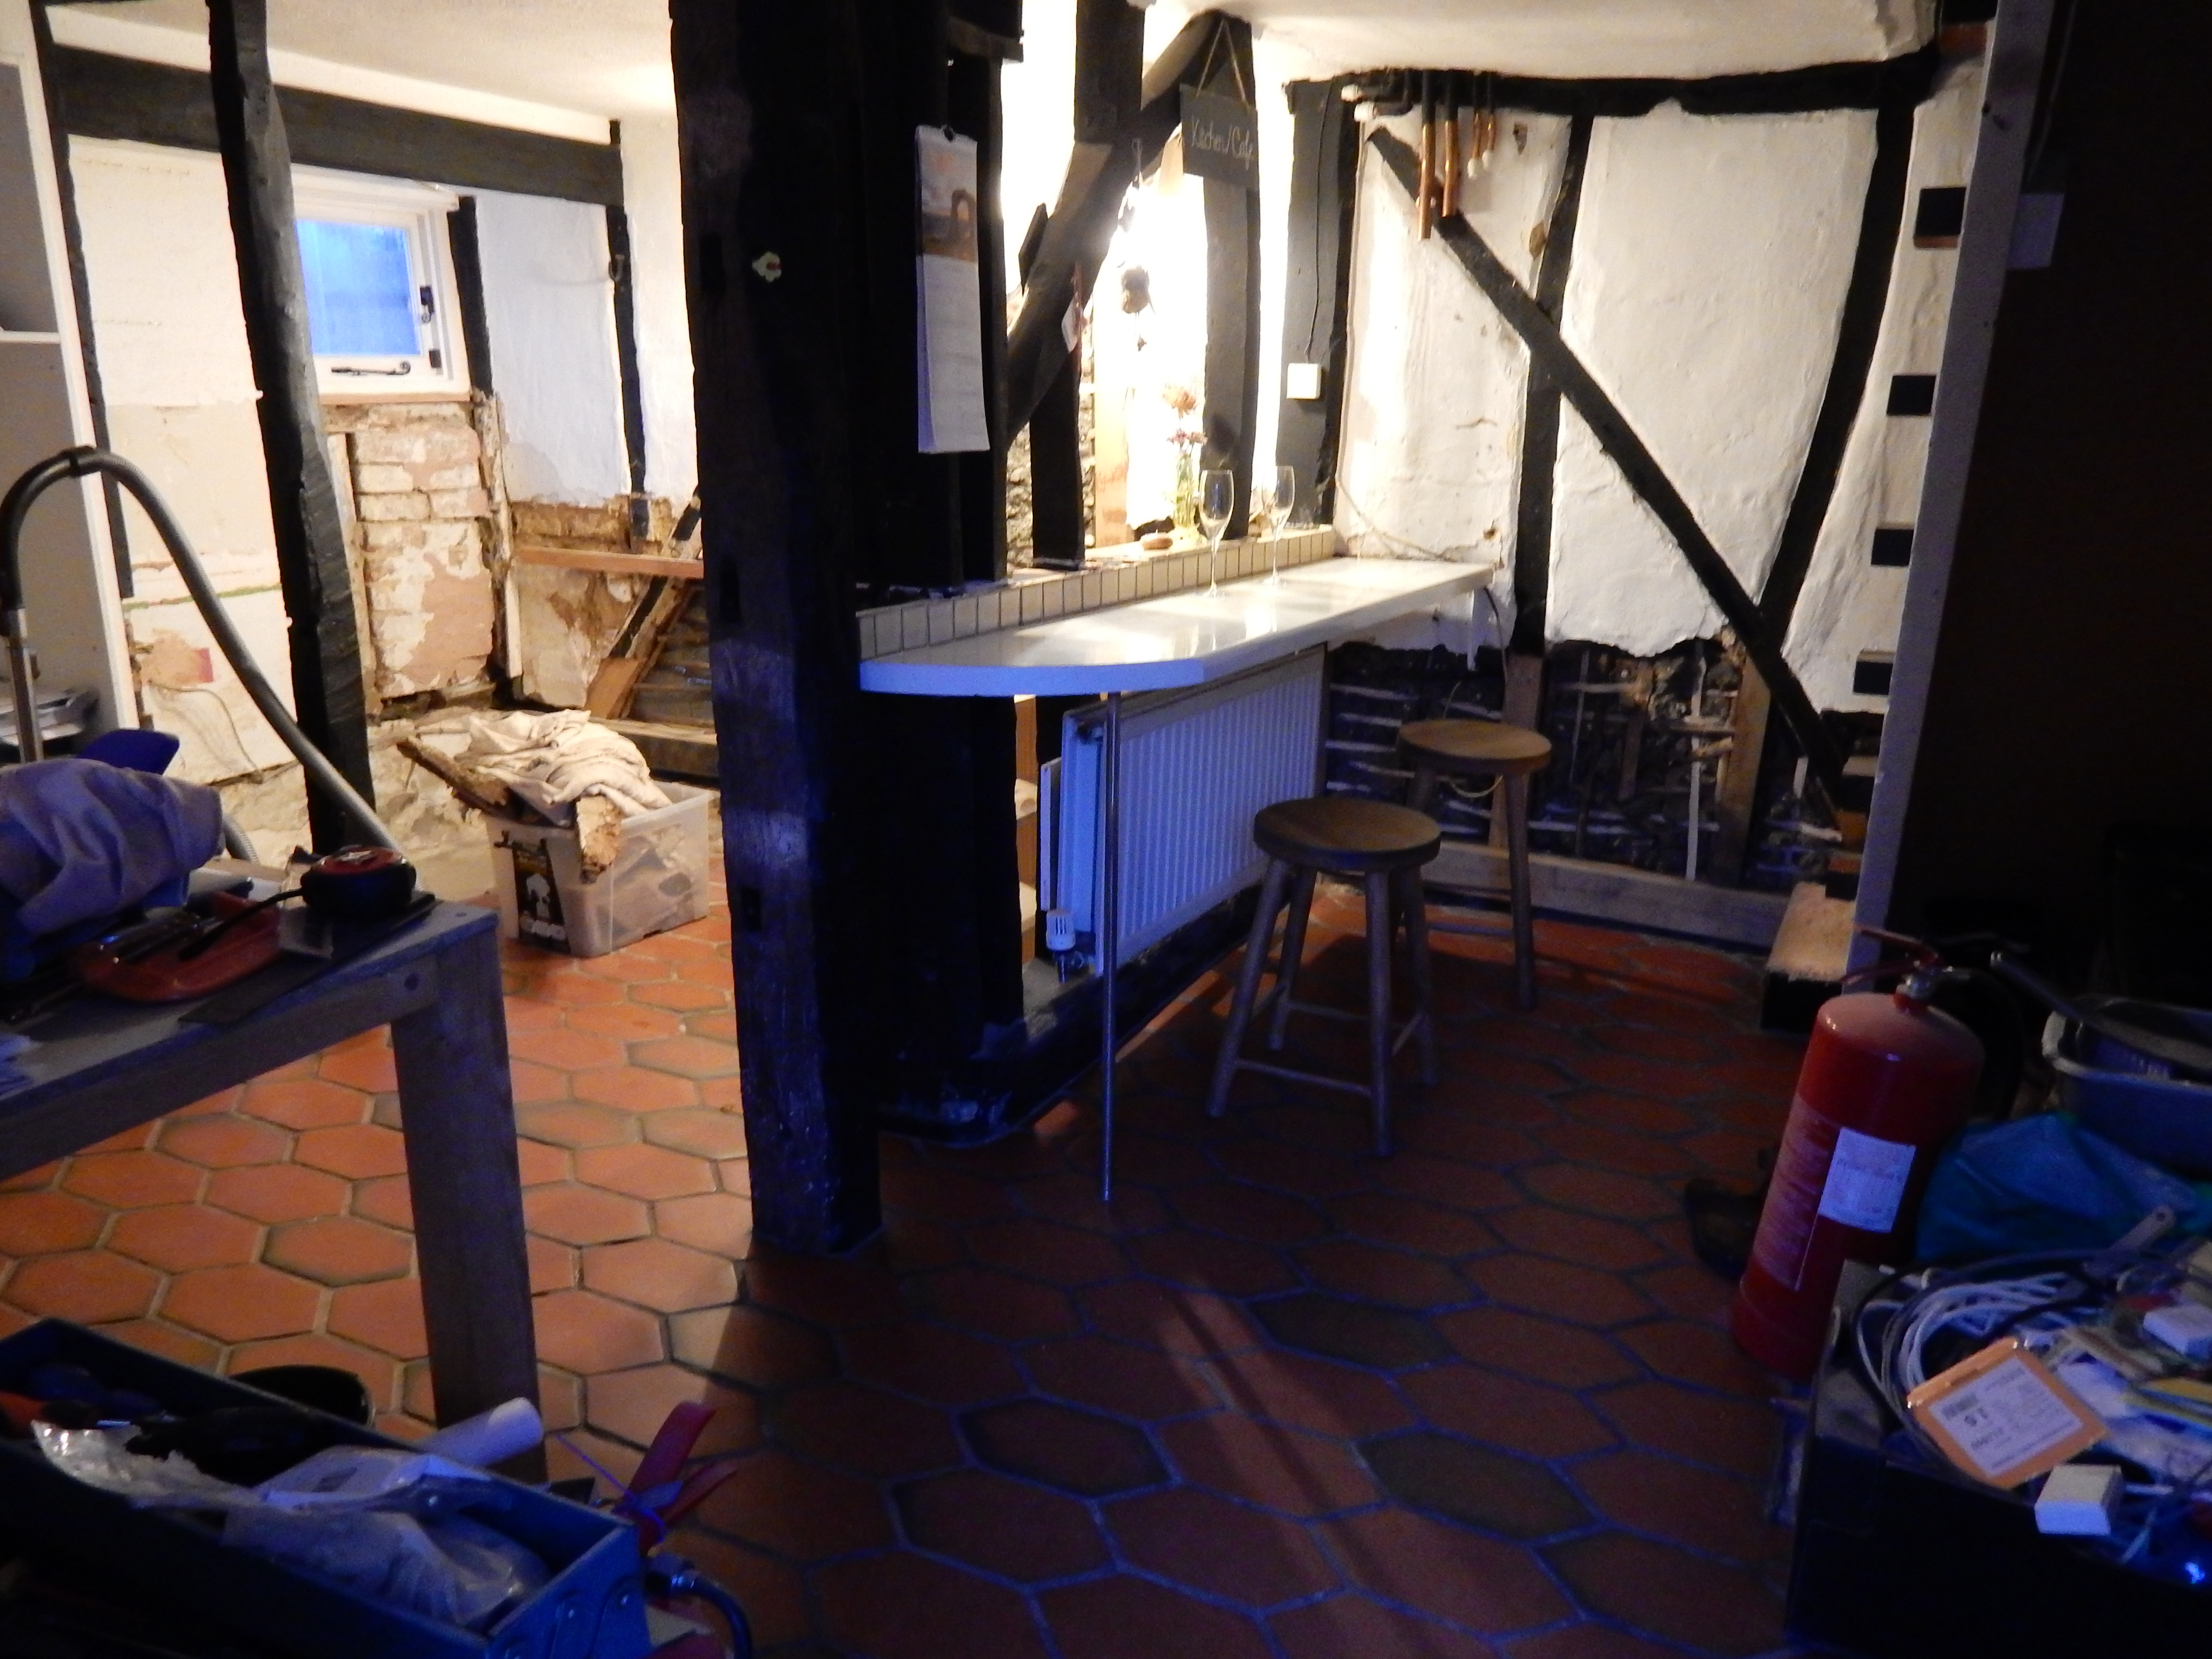
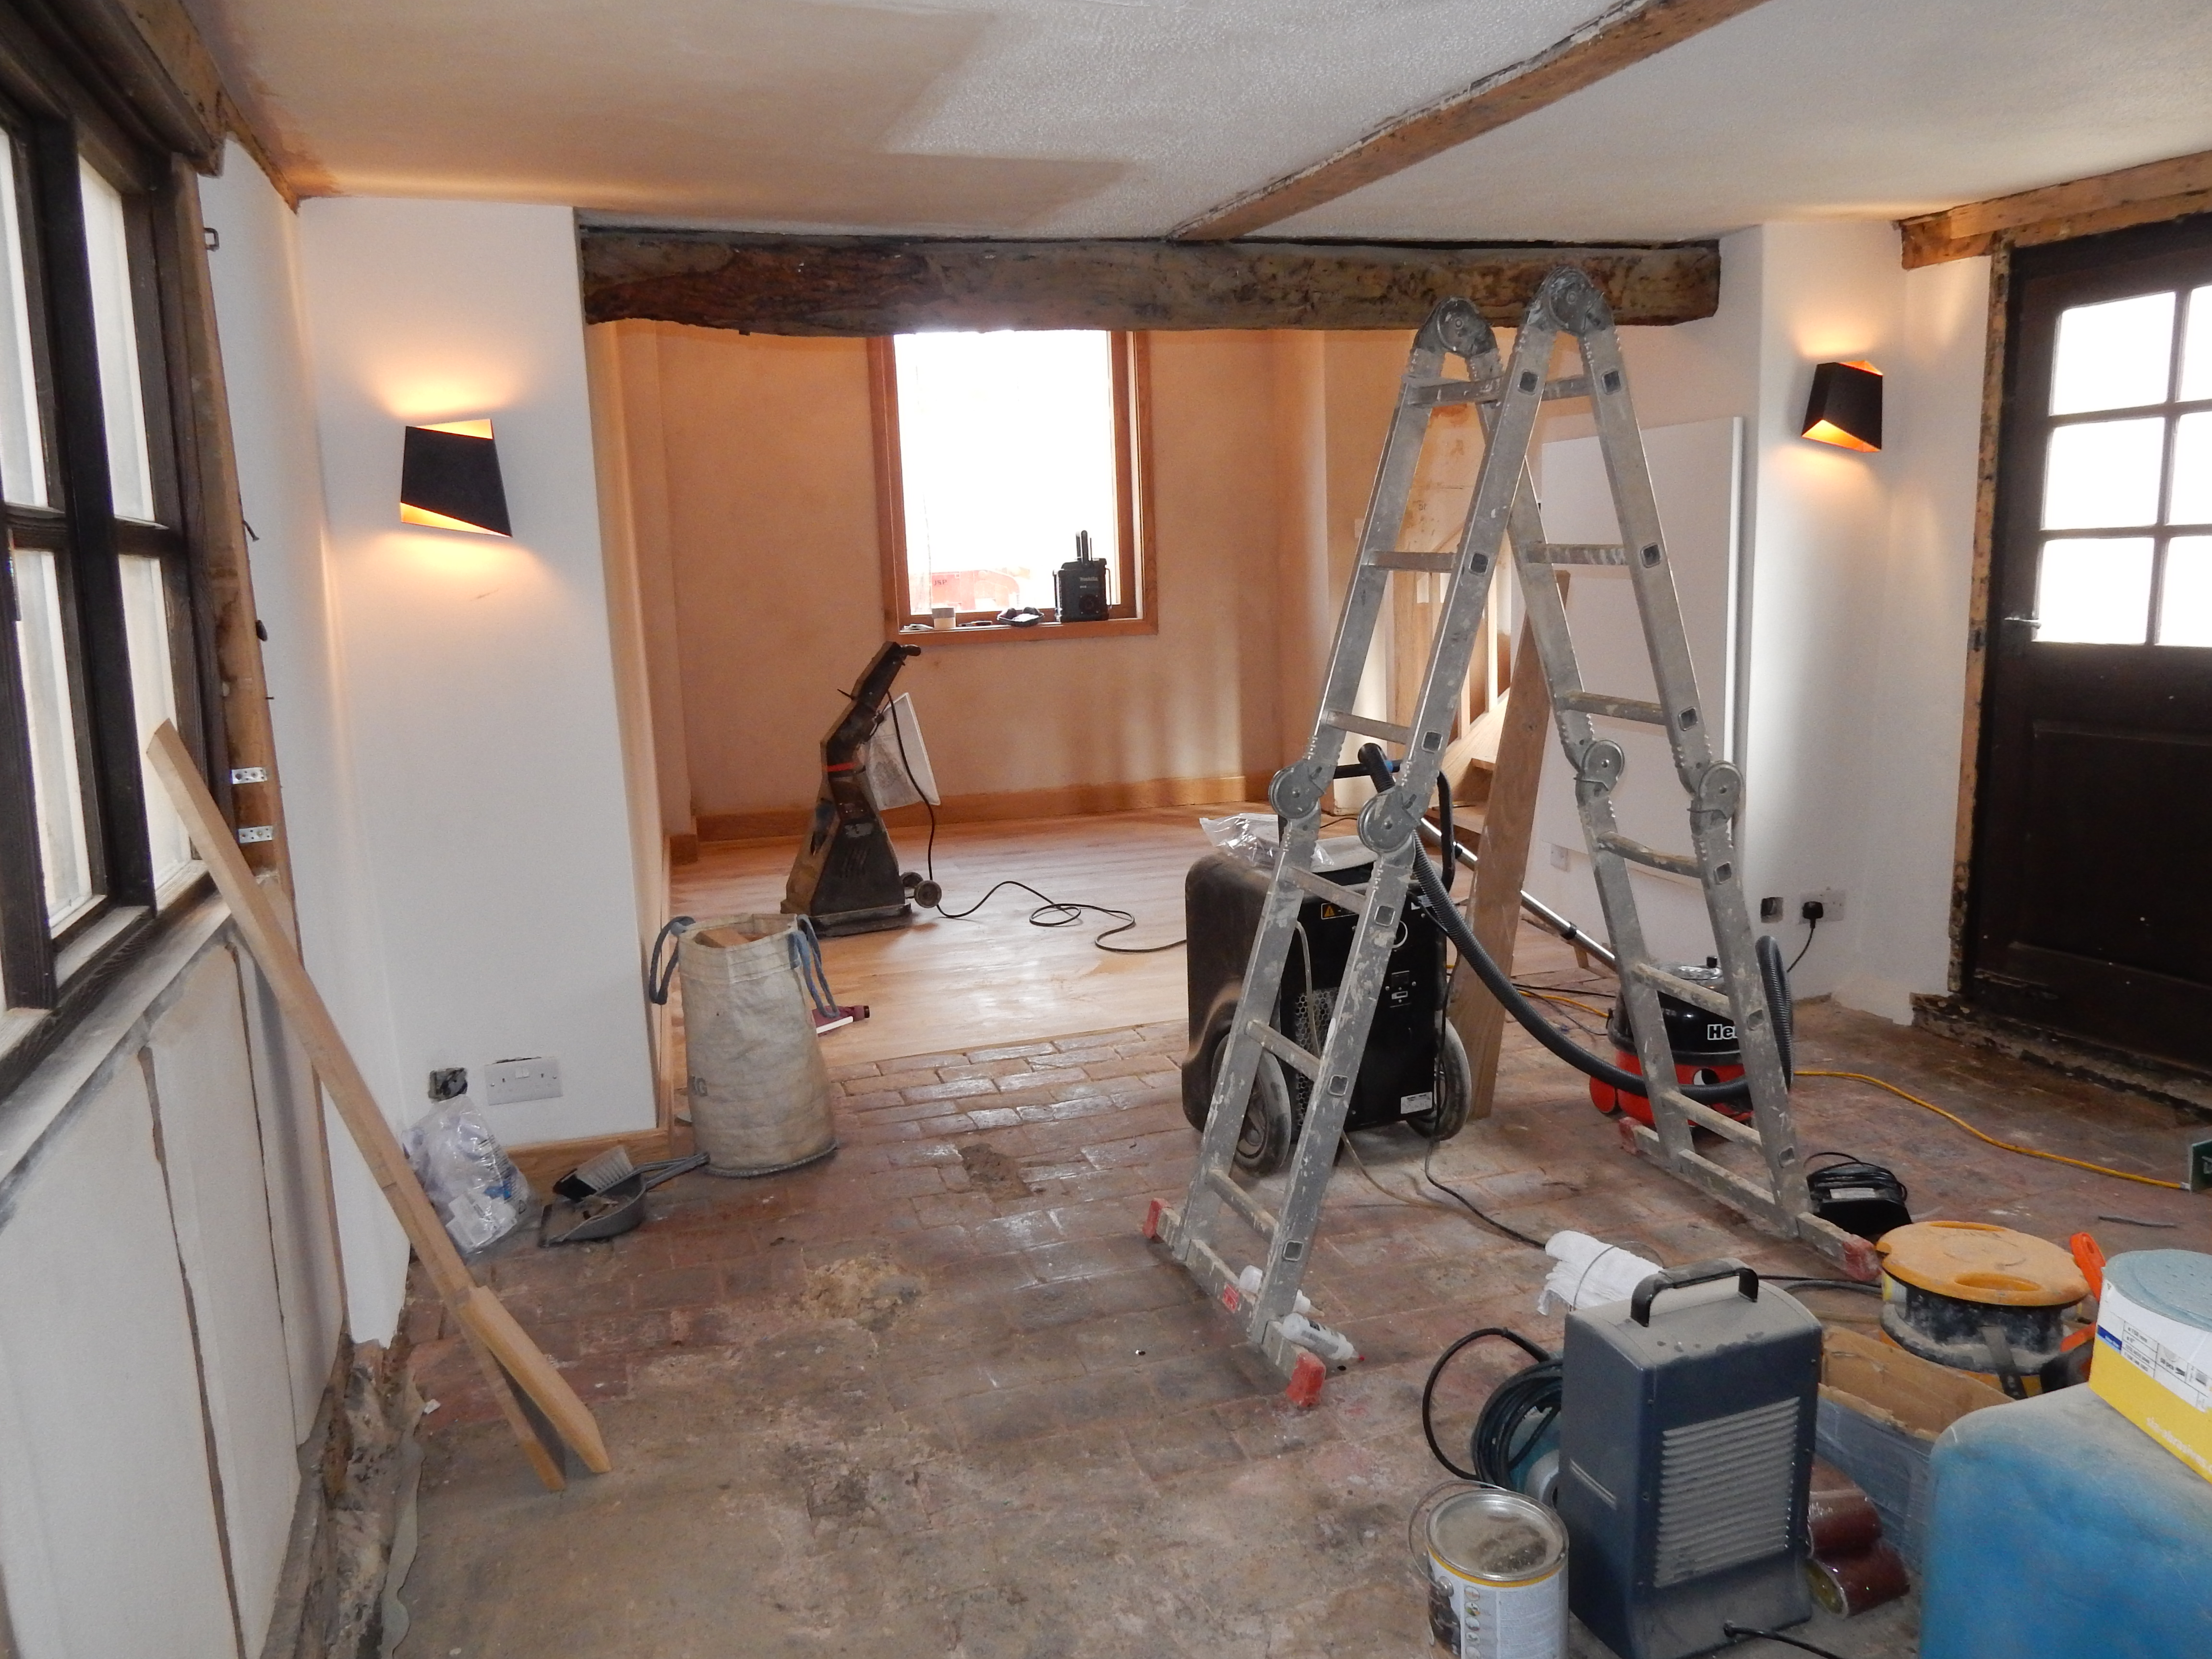
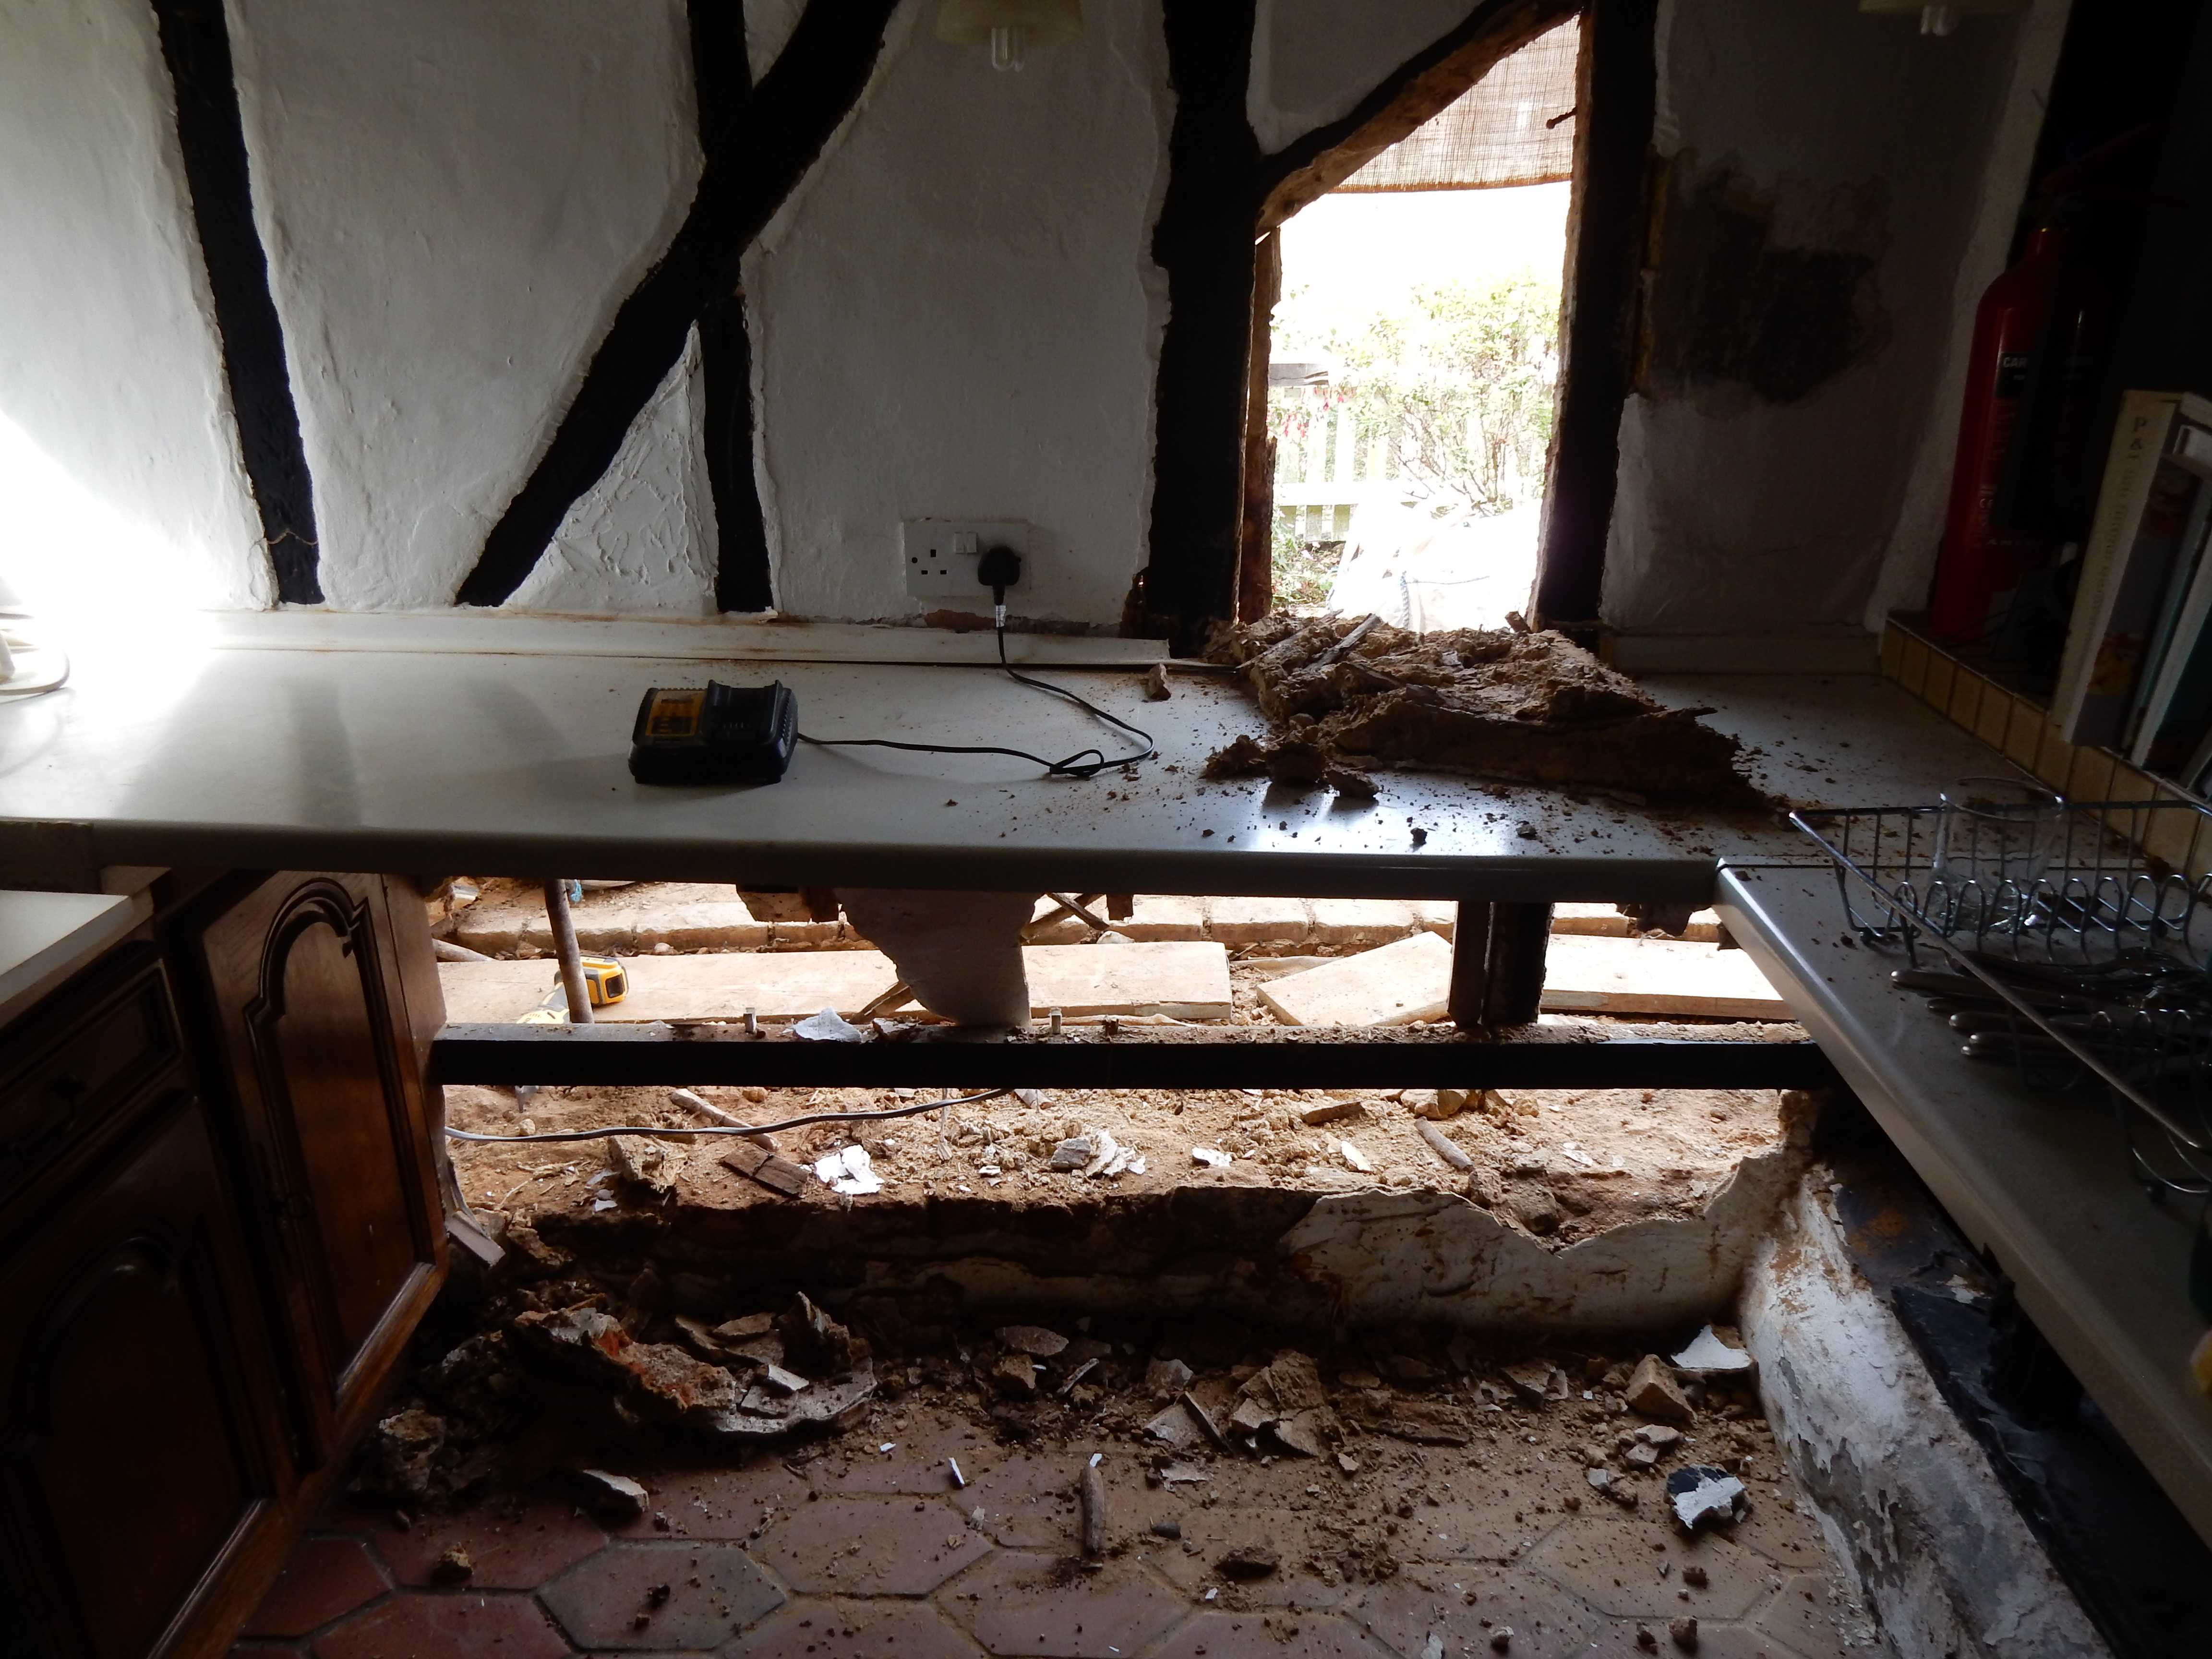
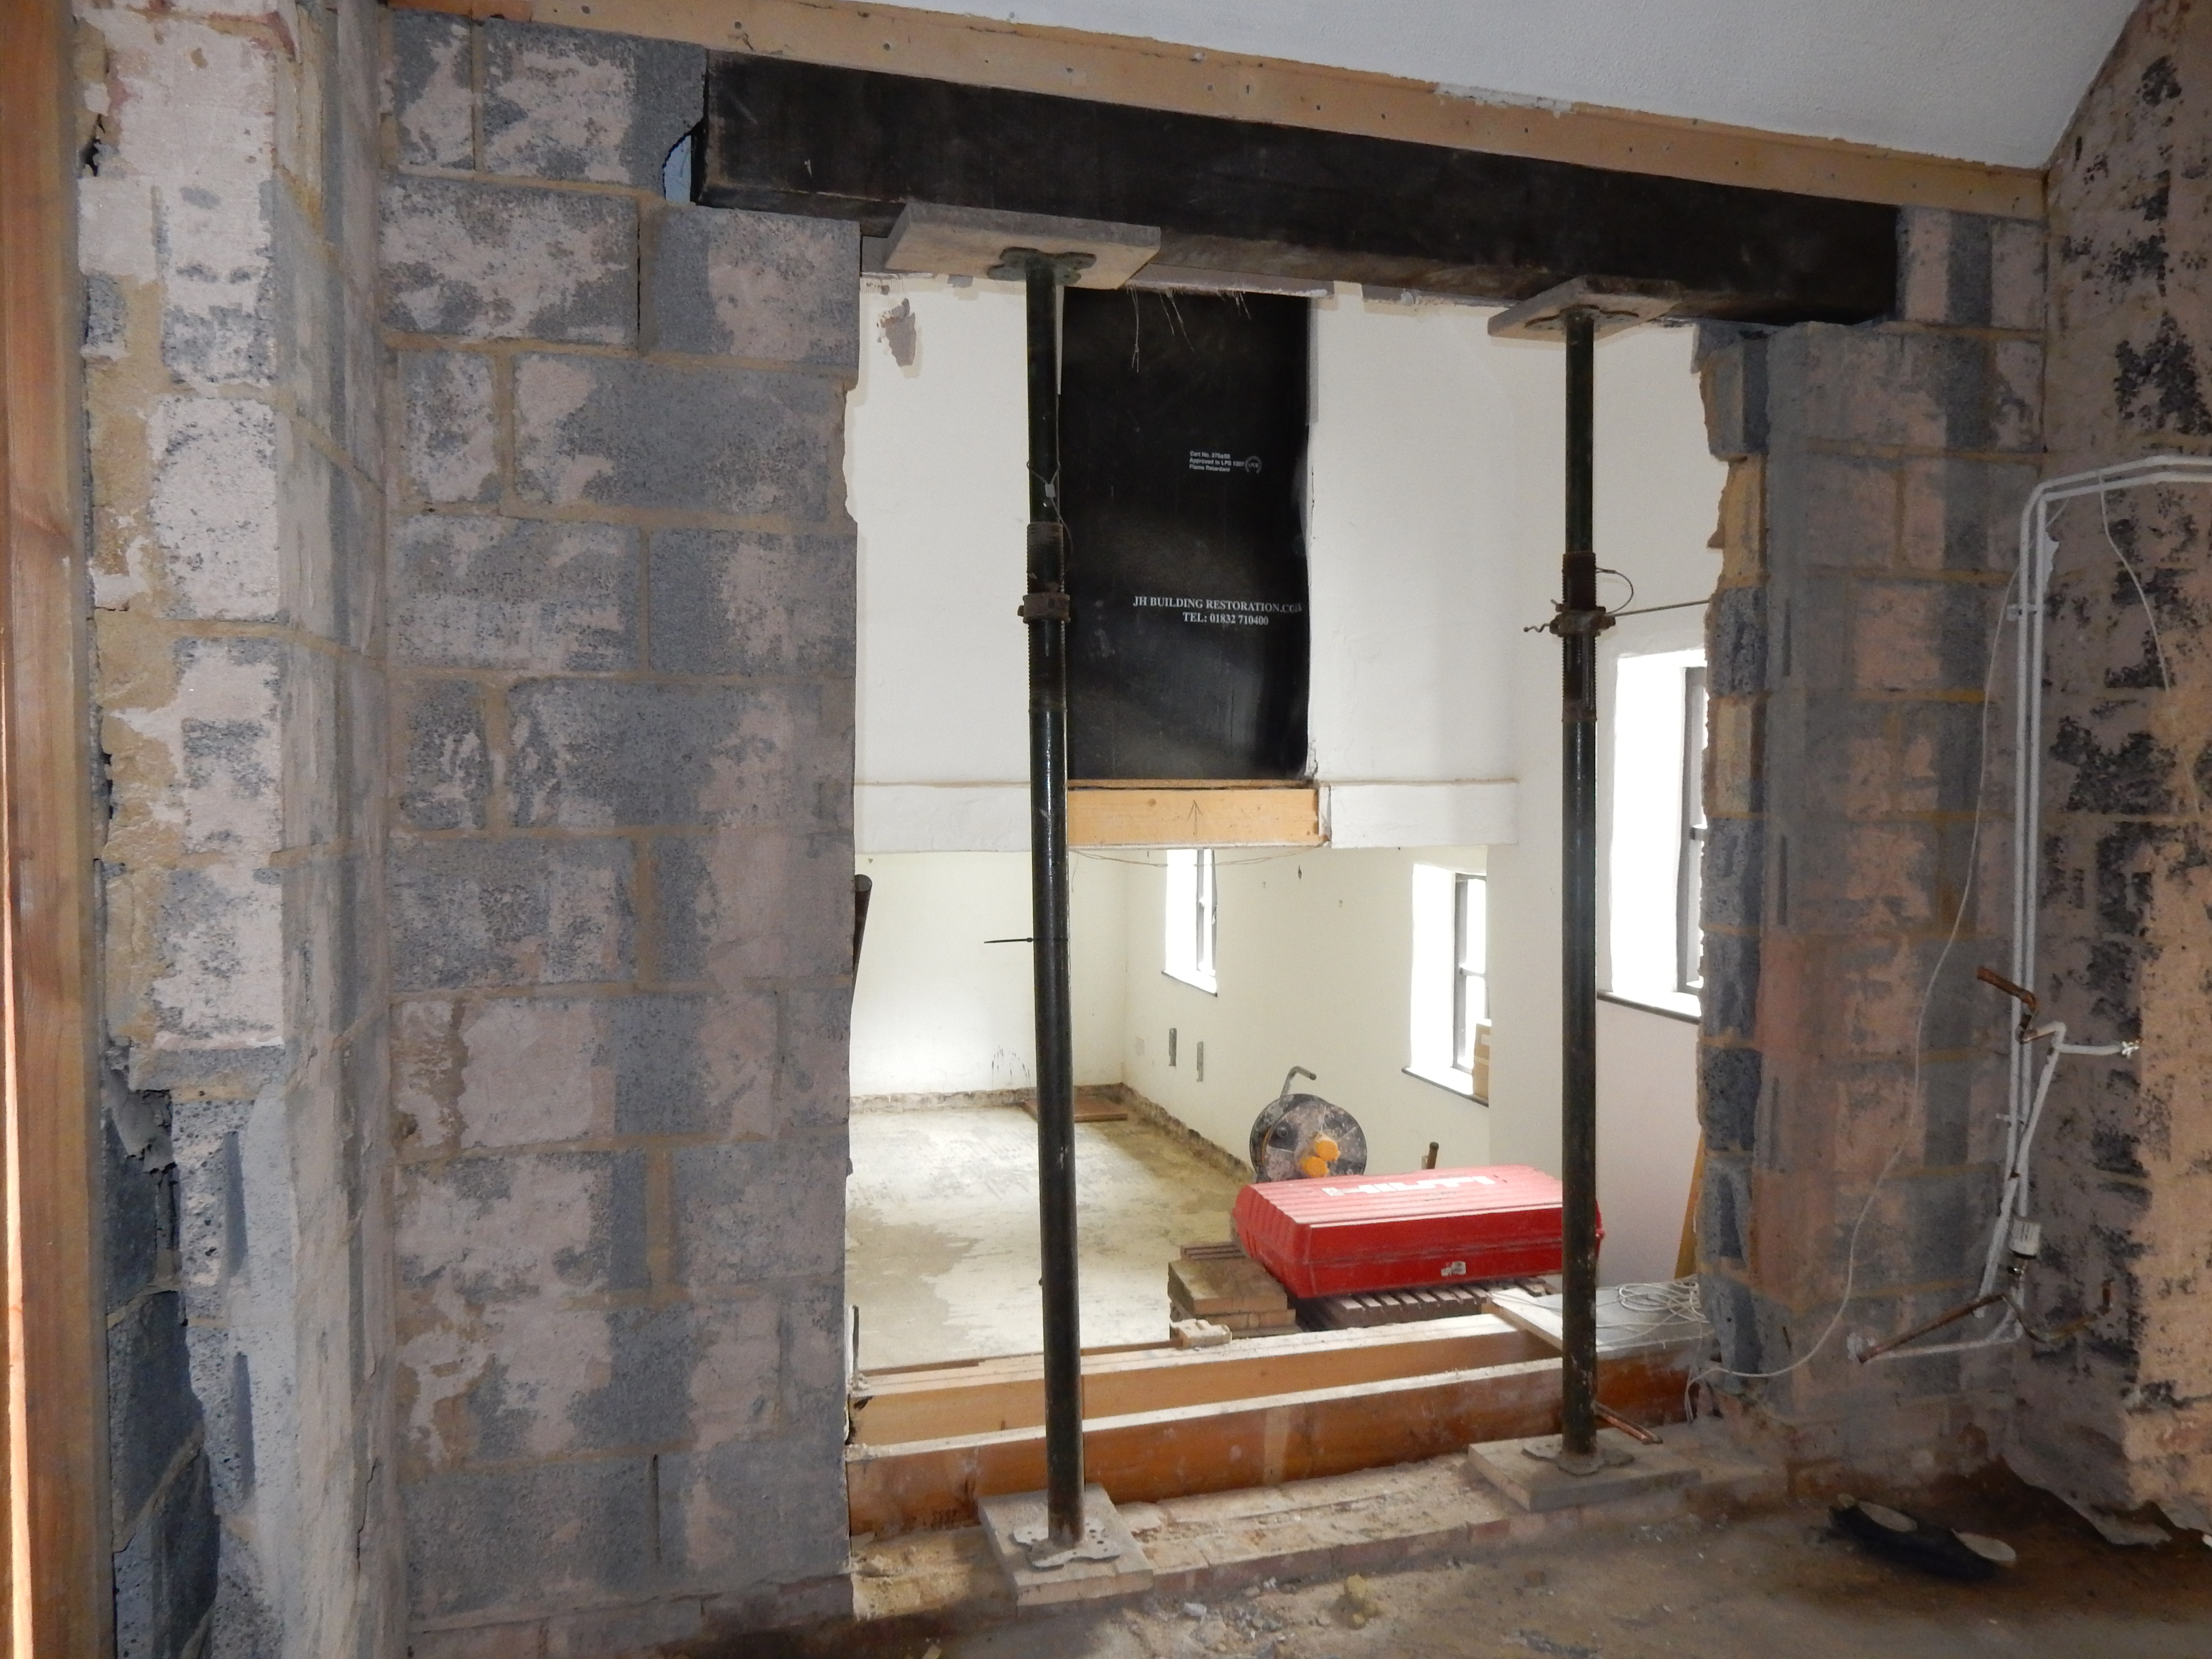
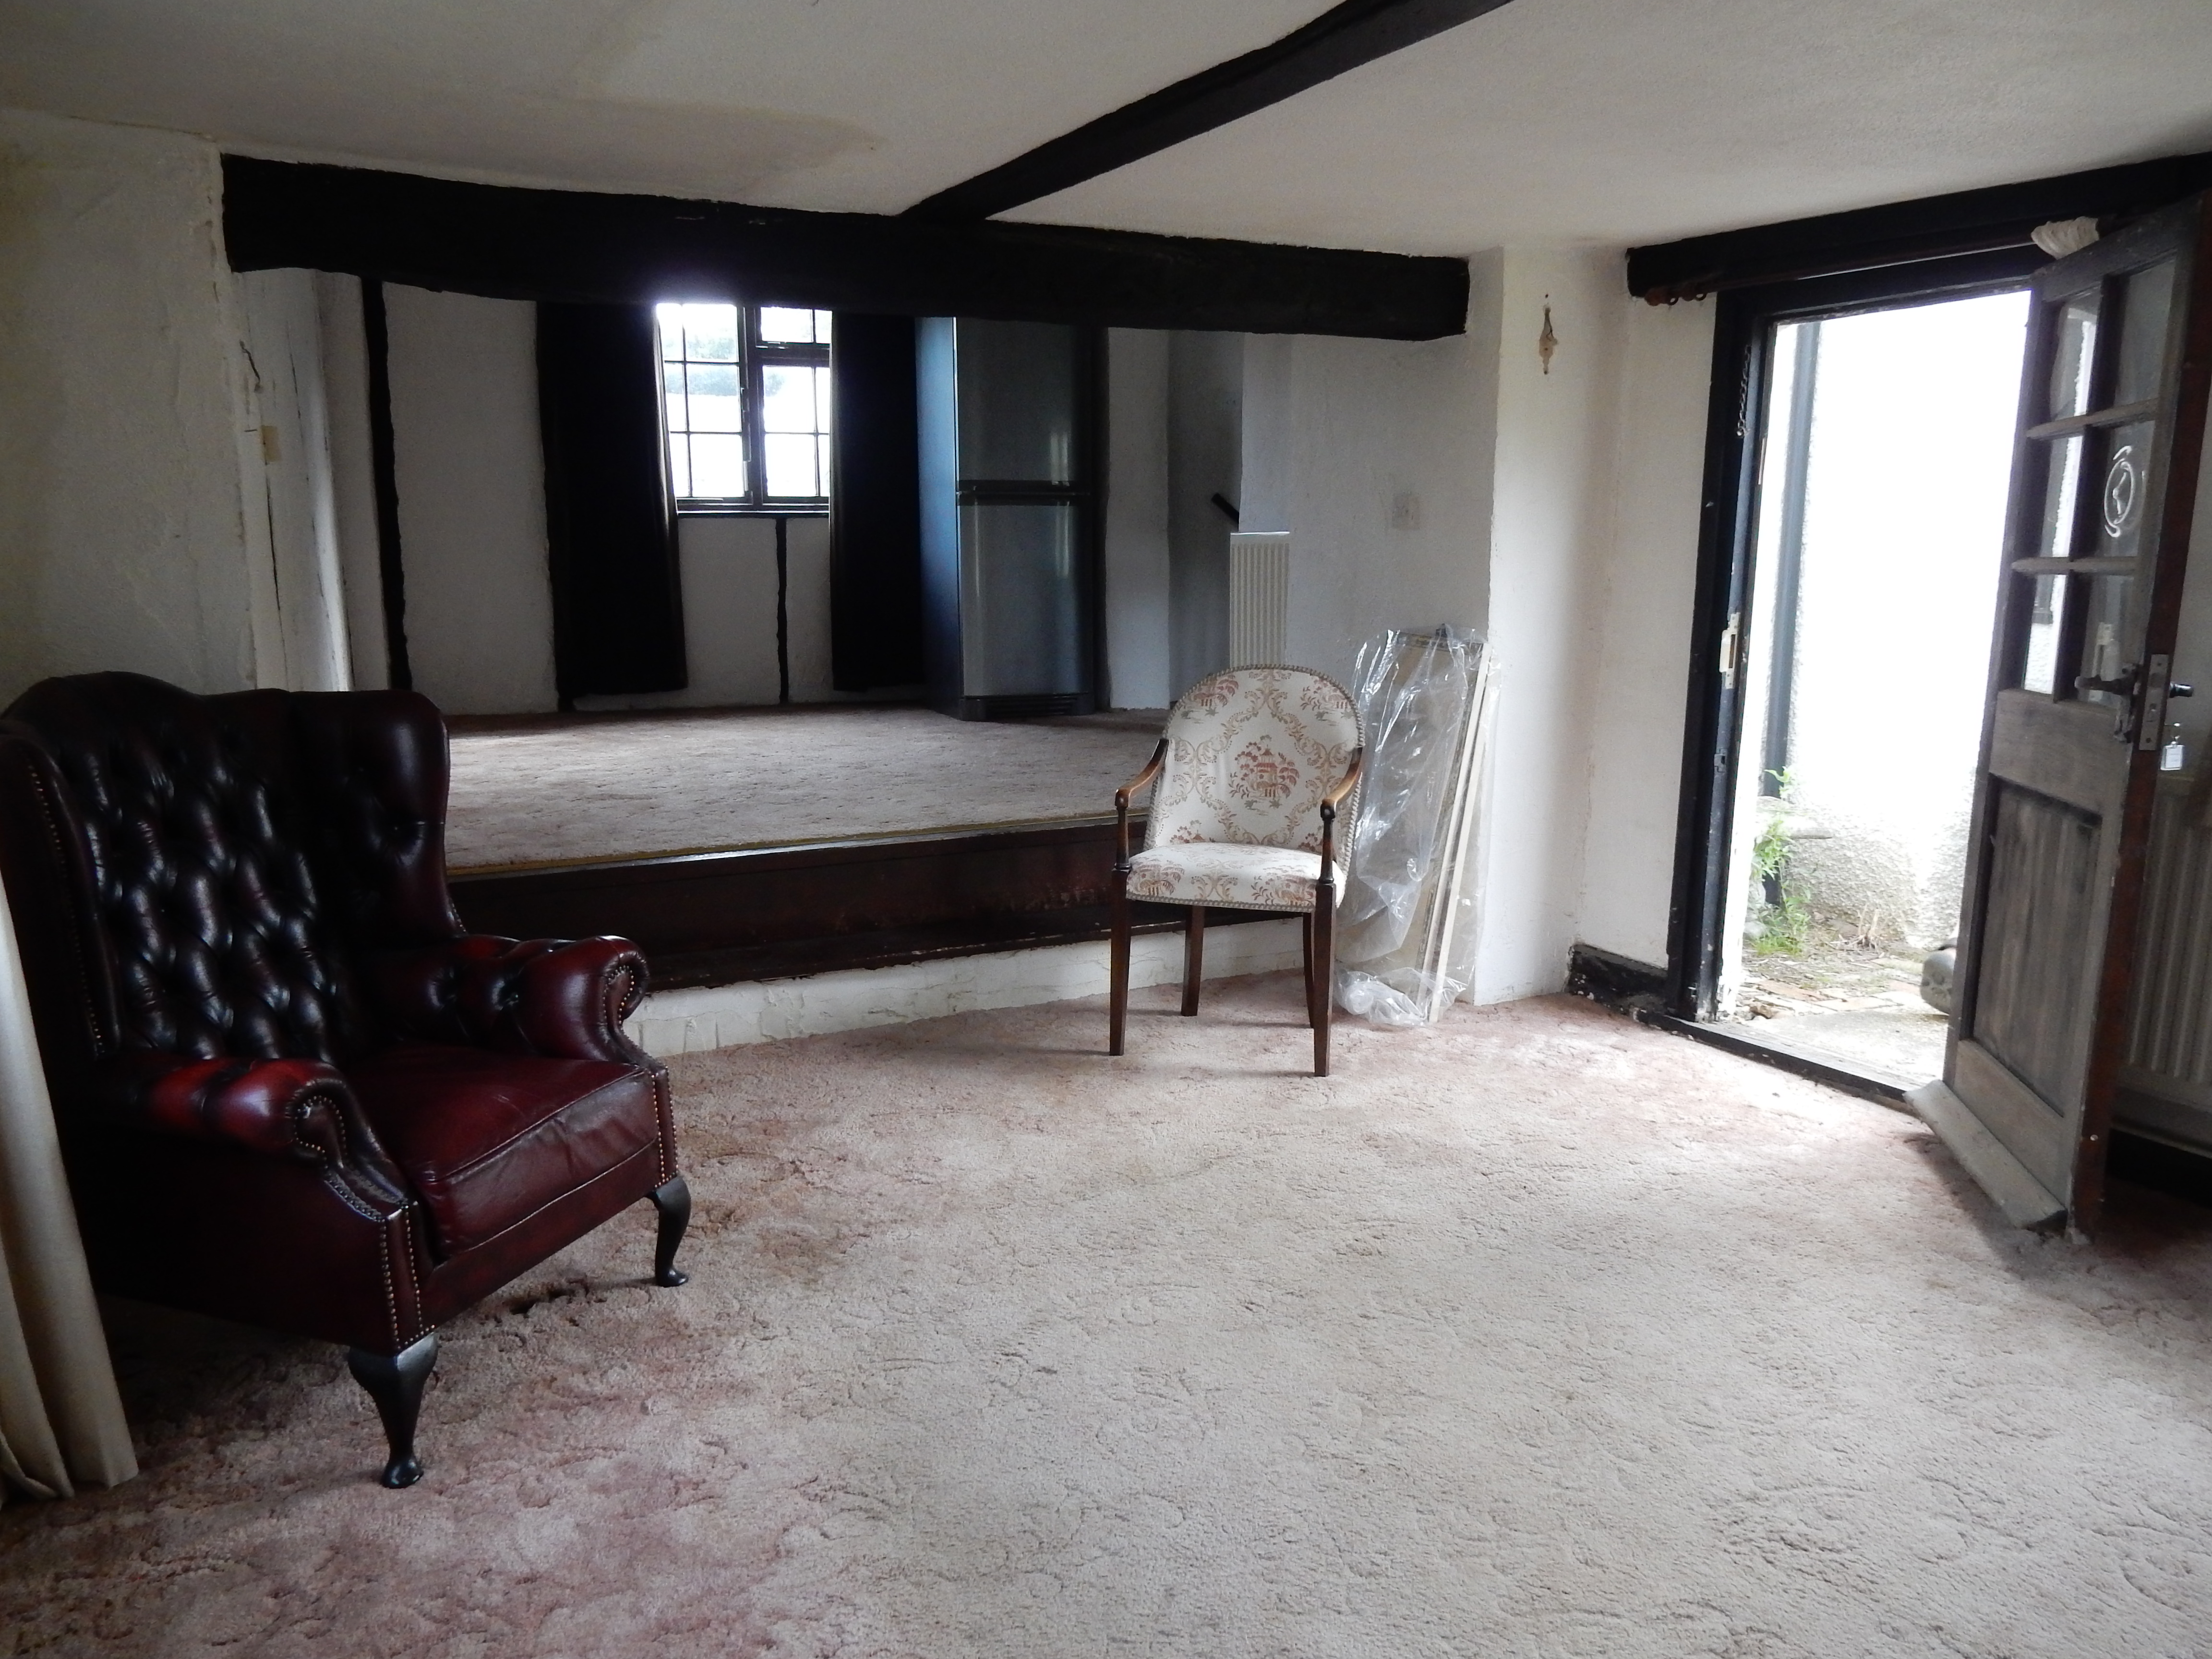
With work well under way on restoring the end wall and all the challenges known and being dealt with attention turned to the floors. Downstairs the old kitchen was tiled on two levels. We think this was to create more height in the part of the kitchen where the hob used to be as by the sink you’d hit the ceiling if you were over 5’6″. A good excuse for M to get out of doing the washing up! The plan was take up all the tiles, dig down to create one level and hopefully find the original floor which we had done successfully in the hall and sitting room.
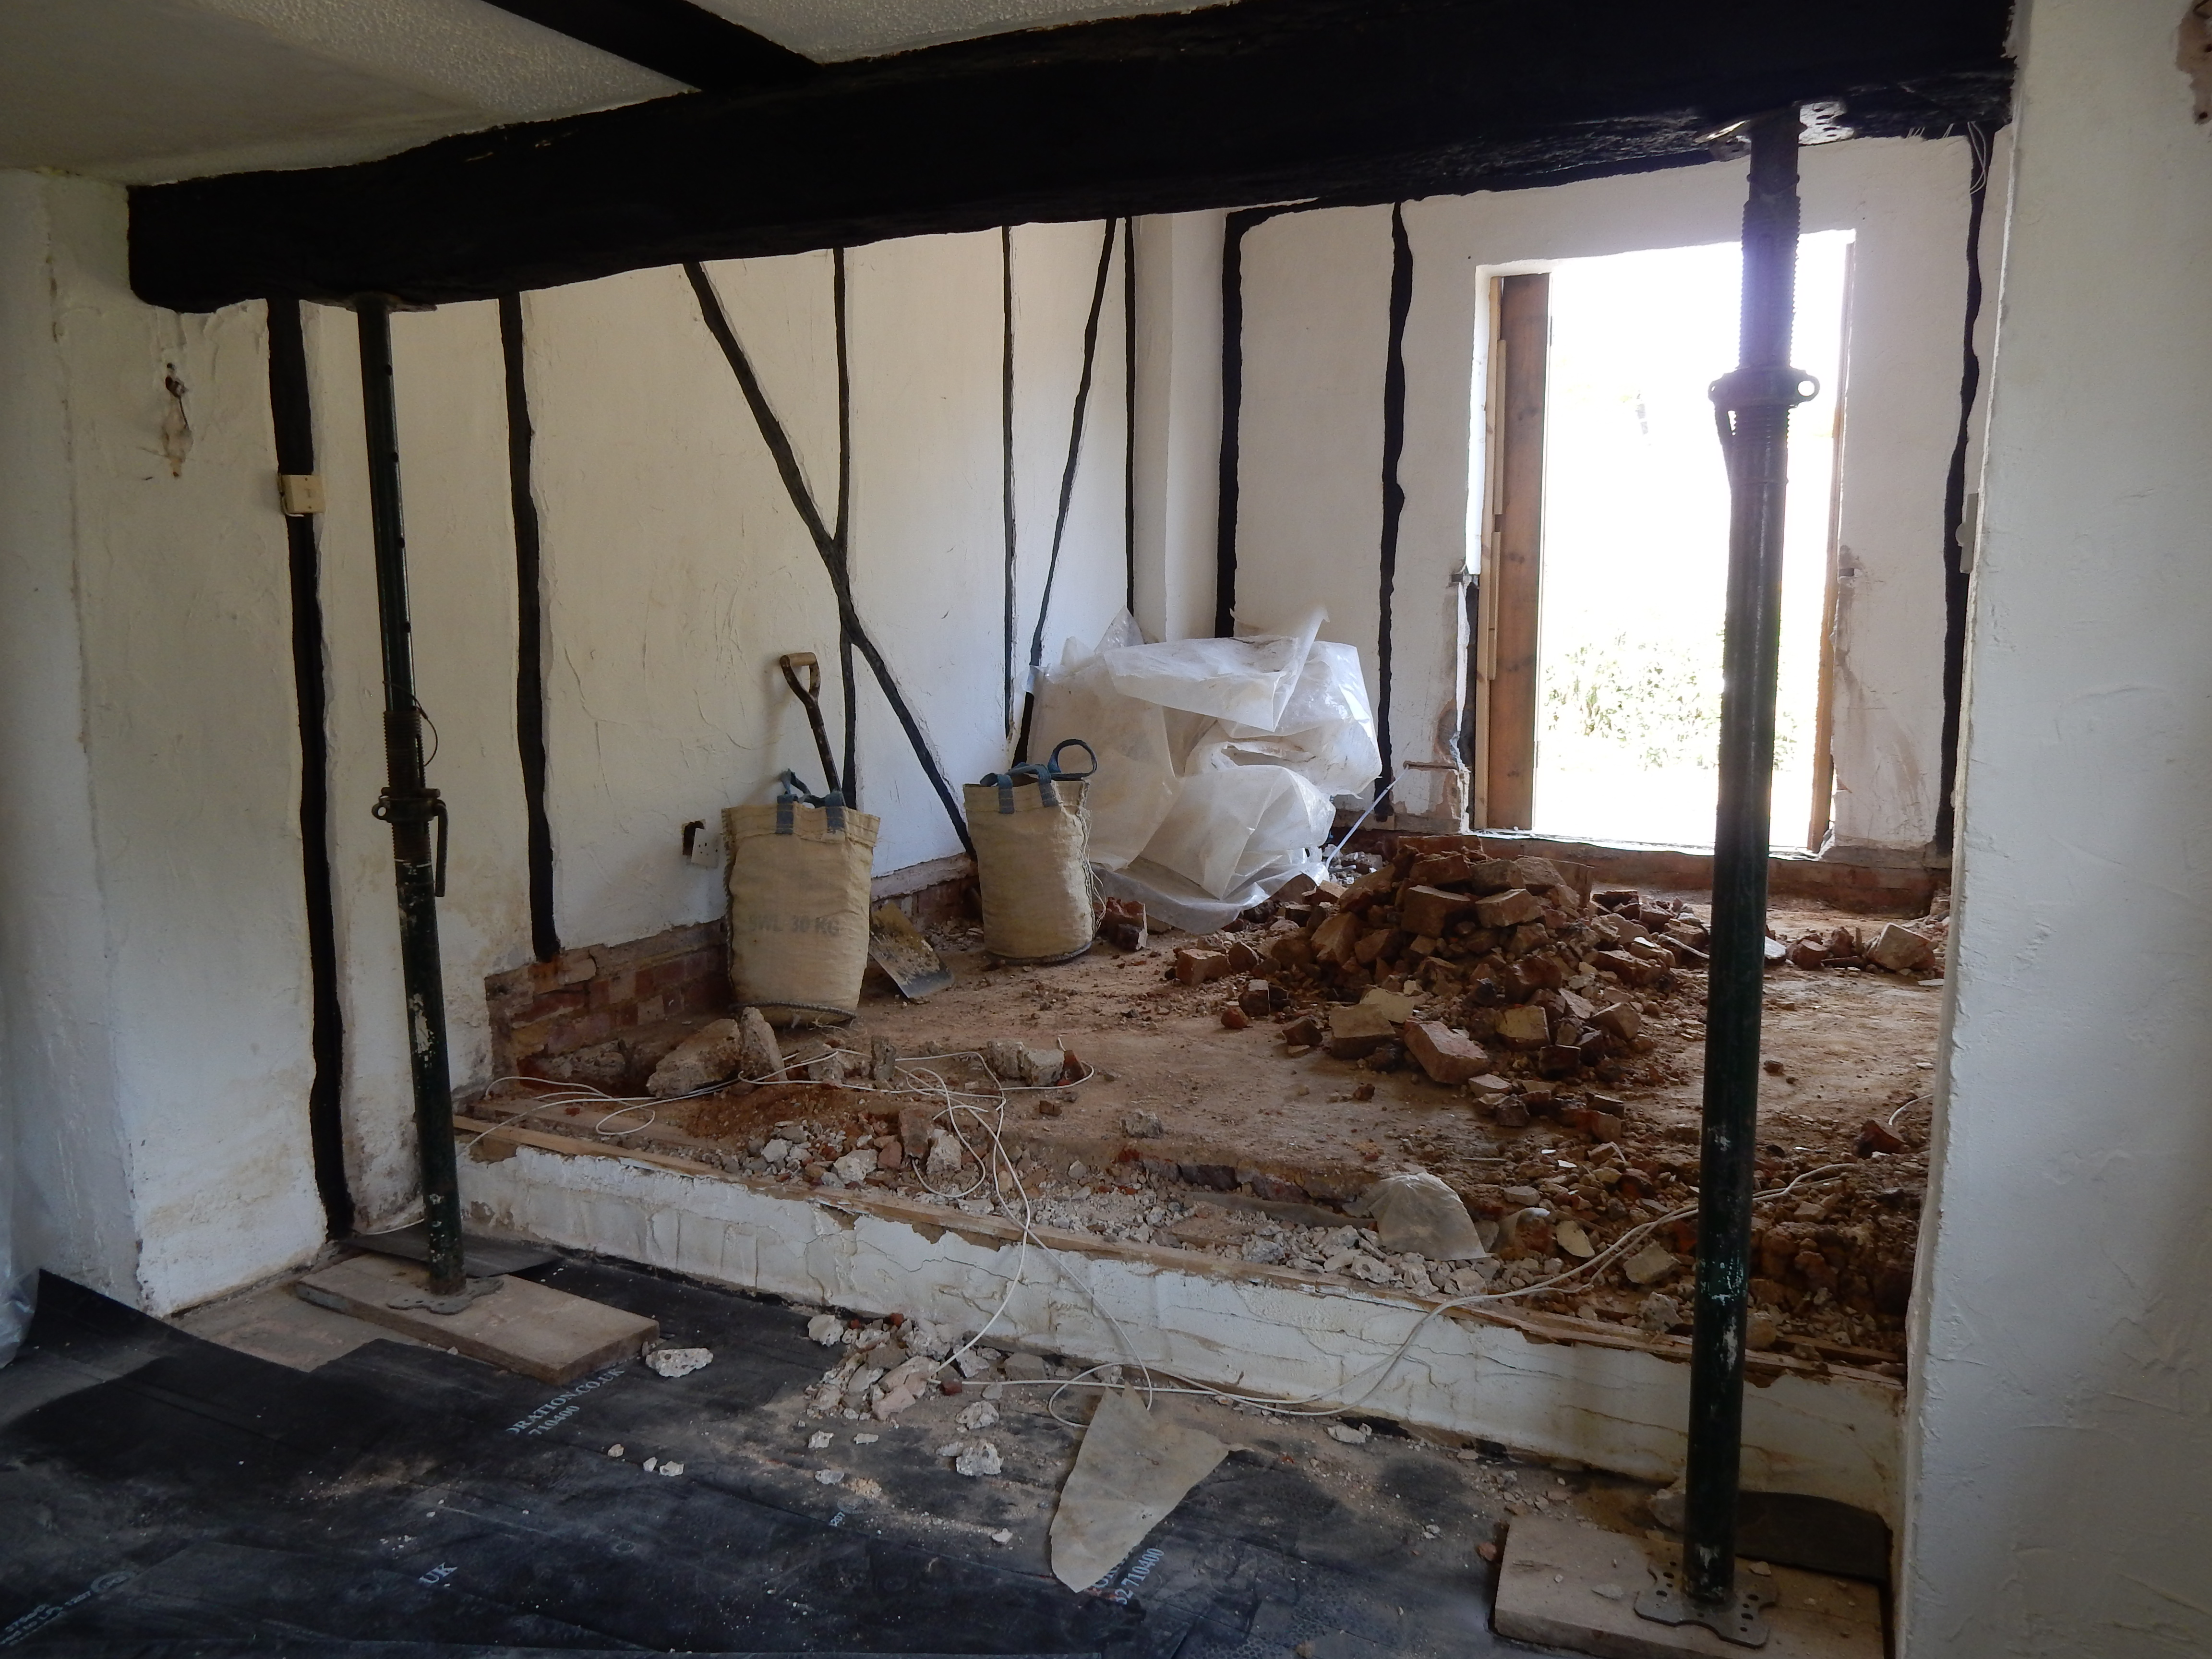
Upstairs the floor had always sloped and we knew some of the floorboards were loose so weren’t sure what we would find when we took the carpet up. When the builders did this we really did uncover the unexpected as we found that the floor joists were not attached to the back wall with the floor effectively free floating in the back half of the room. The builders were more panicked than we were, after all we have lived with this for nearly 14 years and there hadn’t been any appreciable changes. One of them rushed back to the workshop to get some acrow props to hold the floor up while we then decided what to do next. The tale of our two floors is for the next instalment!